How to Prep Rough Lumber with Hand Tools
With this bedrock skill, you can flatten any size board, freeing you from the limitations of your machines
Synopsis: Flattening and dimensioning boards by hand is the bedrock of hand-tool woodworking. Nothing can teach you more about wood than taking it from rough to ready with a handplane. You’ll improve your skill at reading the grain and sharpen your eye for a true surface. Through repetition, you’ll develop a sense of controlled strength that will benefit every aspect of your work. And once you’ve developed the ability to mill by hand, your projects will no longer be limited by the size of your jointer and planer.
Flattening and dimensioning boards by hand is the bedrock of hand-tool woodworking. Nothing can teach you more about wood than taking it from rough to ready with a handplane. You’ll improve your skill at reading the grain and sharpen your eye for a true surface. Through repetition, you’ll develop a sense of controlled strength that will benefit every aspect of your work. and once you’ve developed the ability to mill by hand, your projects will no longer be limited by the size of your jointer and planer.
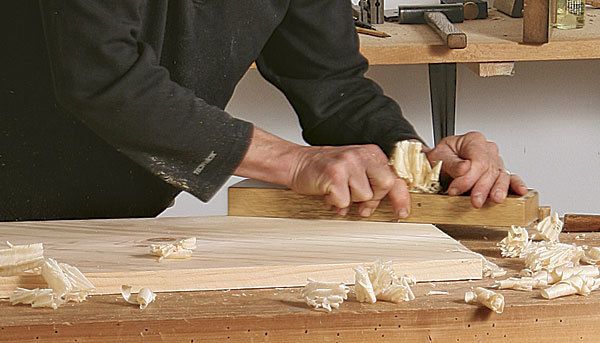
If possible, be kind to yourself with the species of wood you choose for hand milling. Softer woods free of knots and irregular grain are best. Most of the time, I mill a board in two separate stages: rough and finish. in the rough-milling stage, I first cut the board to rough length and width. Then I flatten the board, bringing it to within 1⁄16 in. of final thickness. I remove the bulk of material from both sides without worrying about making perfectly smooth surfaces. I do this because a board needs to be somewhat flat before it can be made perfectly flat—if it bends under the pressure of planing, the springback will leave the board out of true. The two-stage process also allows me to let the rough-milled stock rest for a day or so—and move, if it’s going to—before I plane it to finished thickness and smoothness.
To begin rough milling, shave the edges of the concave side of the board until, when flipped, it will lie flat. Don’t worry if it doesn’t contact in the middle; your aim is just to get it stable. Now start the rough milling with the convex side of the board.
Whether you use Japanese handplanes like me, or western ones, I recommend using three planes to do all the flattening: a scrub or jack plane (with its blade set for an aggressive cut), a jointer plane (long body for best jointing), and a smoother (short, wide body for a smooth final surface). The sequence of cuts with all the planes in the rough milling stage follows a similar pattern. Begin with strokes directly across the board—90° to the direction of the grain—and follow with strokes 60° to the grain, then 45°, and finally along the grain. Take side-by side strokes, overlapping them slightly.
After you have rough-flattened the first face, set a marking gauge to 1⁄16 in. thicker than your intended final thickness and scribe a line around the board. Repeat the rough-milling process on the second side, working down to the scribe line. When you’ve finished, let the rough-milled board sit overnight (at least) with plenty of air circulation before final flattening.
For the full article, download the PDF below.
Fine Woodworking Recommended Products

Bahco 6-Inch Card Scraper

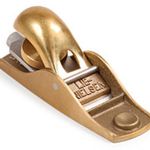
Lie-Nielsen No. 102 Low Angle Block Plane

Veritas Micro-Adjust Wheel Marking Gauge


Log in or create an account to post a comment.
Sign up Log in