Router-Table Setup Yields Consistent Stopped Cuts
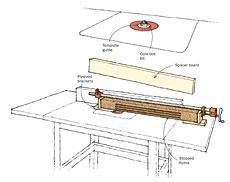
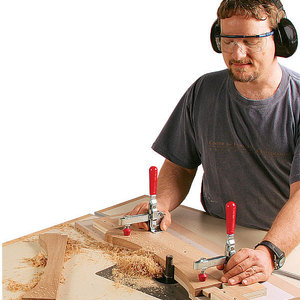
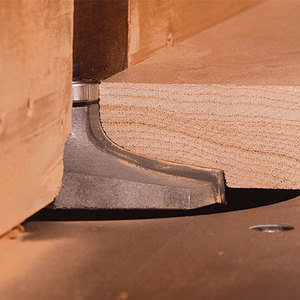
My design for a recent table project called for three stopped flutes on each side of the legs. With 16 faces to machine, I wanted a stop system for quick, uniform results. First, I installed a template guide into the appropriately sized snap ring for my router table’s insert. Then I made two L-shaped brackets out of plywood, the same width as the workpiece, and clamped one to each end of the leg where I wanted the grooves to stop. The bottom edge of each bracket rides the table, stopping the cut when the bracket contacts the template guide.
Raise the bit to compensate for the extra height of the workpiece, and adjust the fence to cut the center flute. Start the cut by lowering the work carefully onto the spinning bit, just short of the leading bracket. Back the piece up to the bracket, then move forward through the rest of the cut. When the front of the trailing bracket reaches the template guide, shut the router off and set up for the next cut. Use a spacer board to move the piece out for the two outer flutes, flipping the leg end-for-end between cuts. This creates perfect symmetry and repeatability.
Mark Steckel, London, None
Fine Woodworking Recommended Products

Olfa Knife
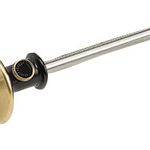
Veritas Standard Wheel Marking Gauge

Dividers






Log in or create an account to post a comment.
Sign up Log in