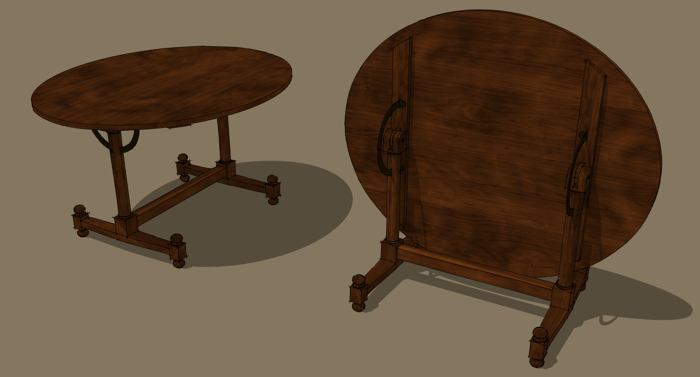
Recently a friend send me an e-mail asking how if he could change the color of the wood grain material he had created for a model he was working on. It’s actually an easy thing to do as I’ll show here. Before I show that, I thought I’d address another thing that came up in our conversation on the process.
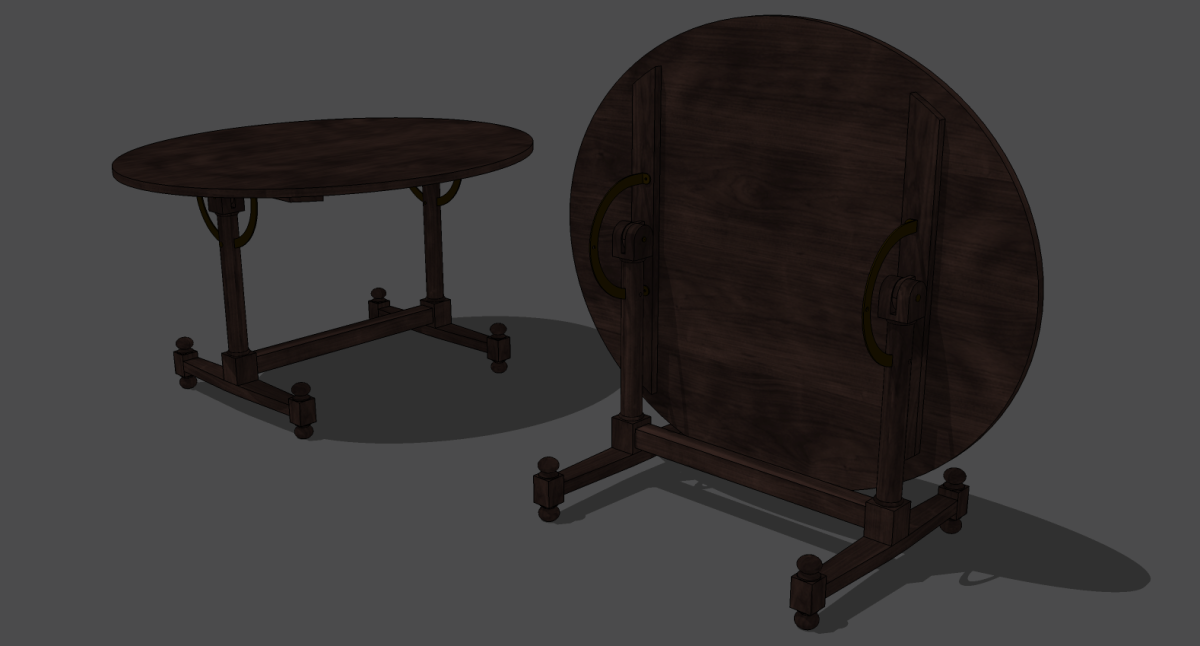
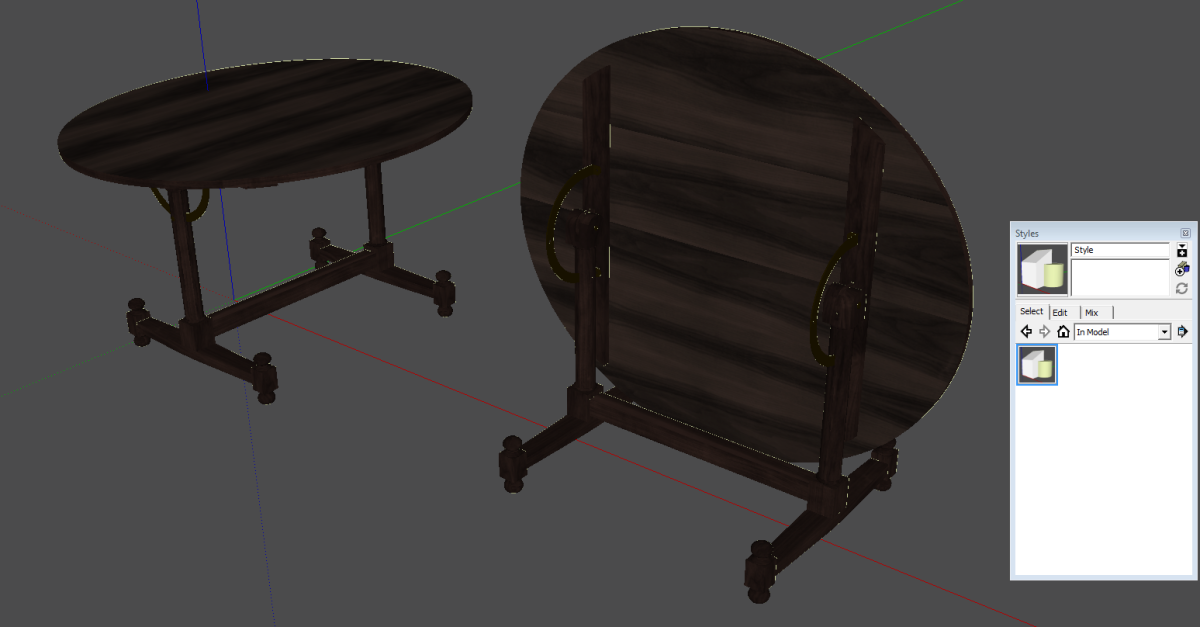
He noted that there was a sort of sparkle along the edges in his model. These didn’t show up until after he applied a dark material to his model. You can see this in my screen shot, below.
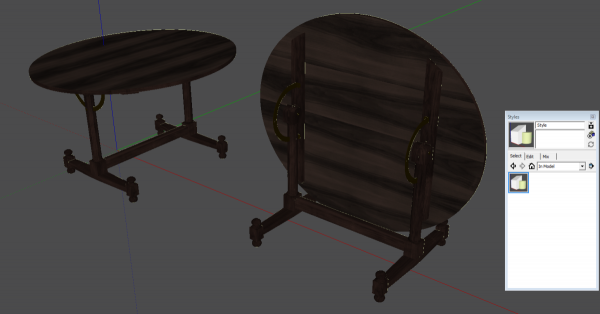
The sparkles are the back face color showing through at the edges. Without going into a lot of detail, this is due to a limitation in the graphics of the computer. The fix is to change the back face color to something dark.
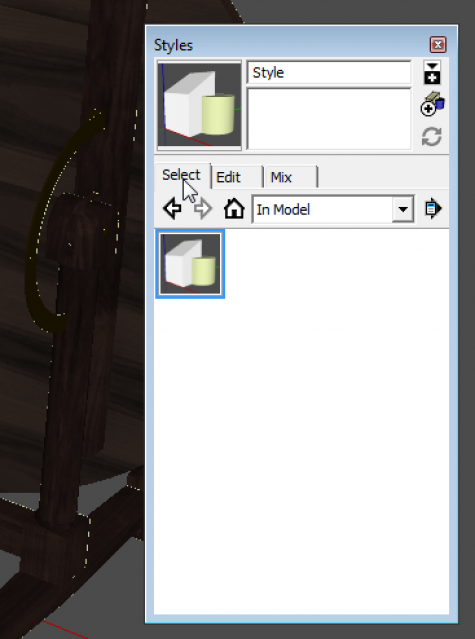
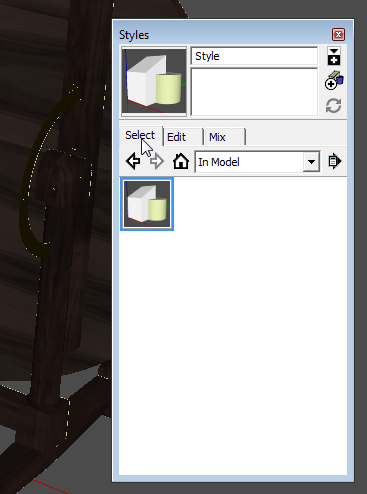
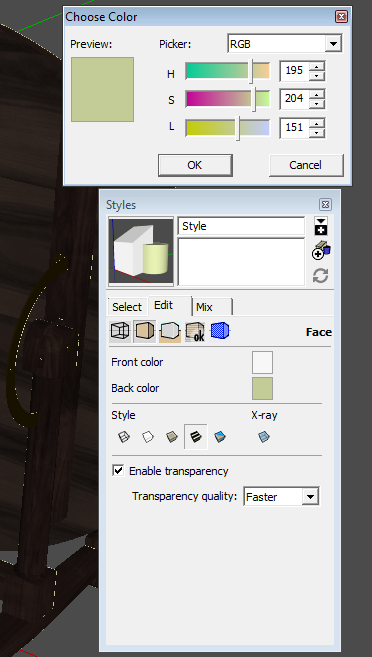
You can see that the back face color for my default style is a light green. The common default back face color is a blue-gray. To change it, click on the Edit tab…
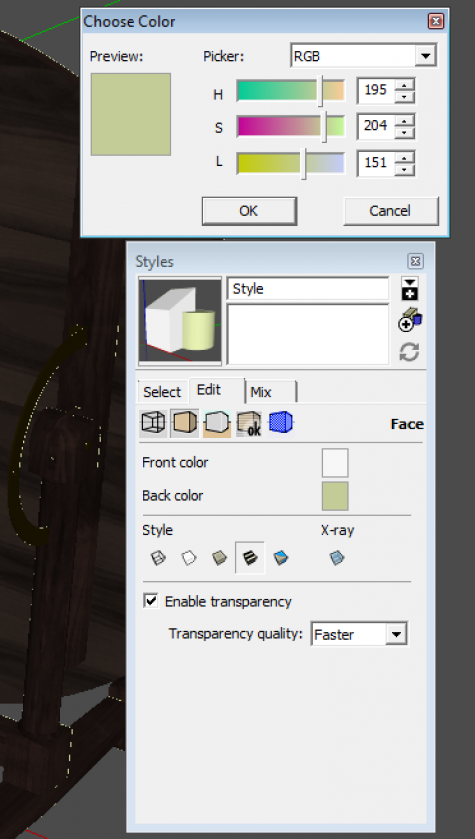
…then click on the tan cube icon below the tabs. Click on the back face square and change the color as needed.
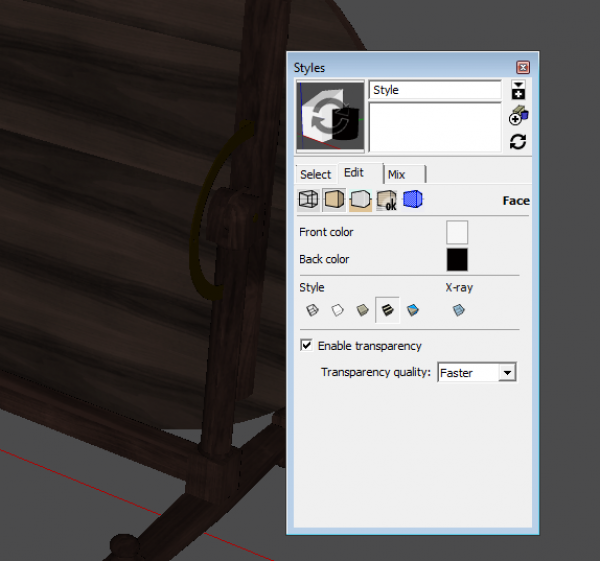
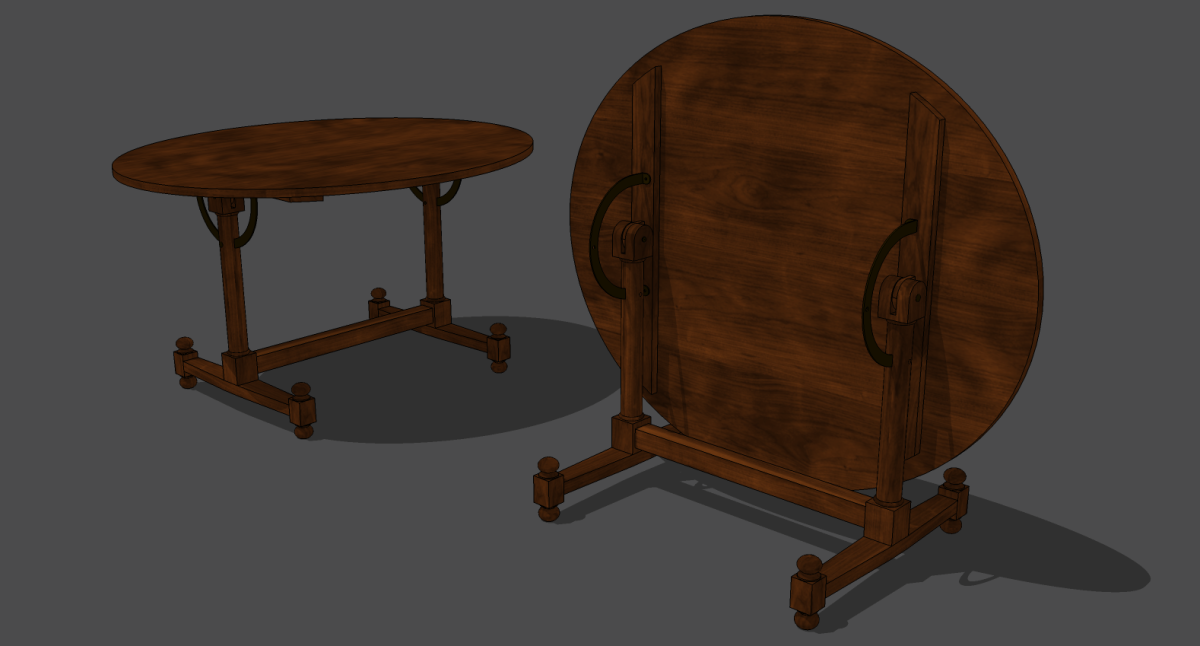
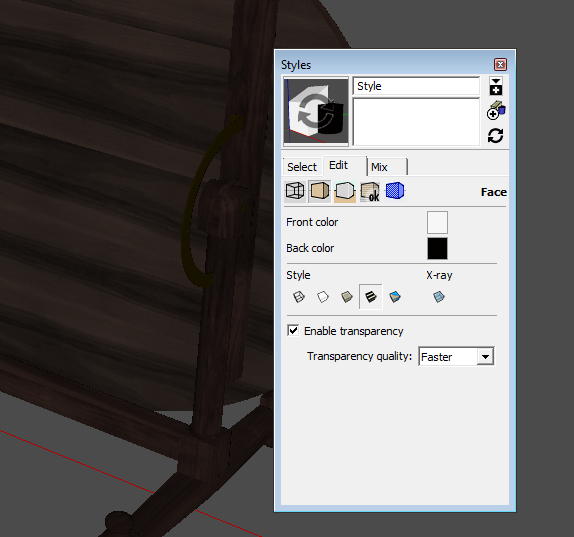
After changing the color, you can see the sparkles are masked pretty well. They are still there but not really visible. If you want the color change to stick, click on the thumbnail image for the style in the upper left corner to get rid of the circular arrows.
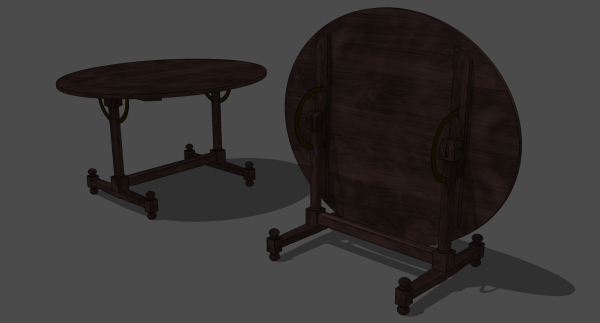
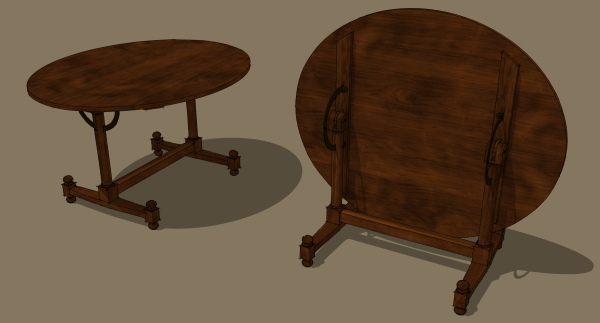
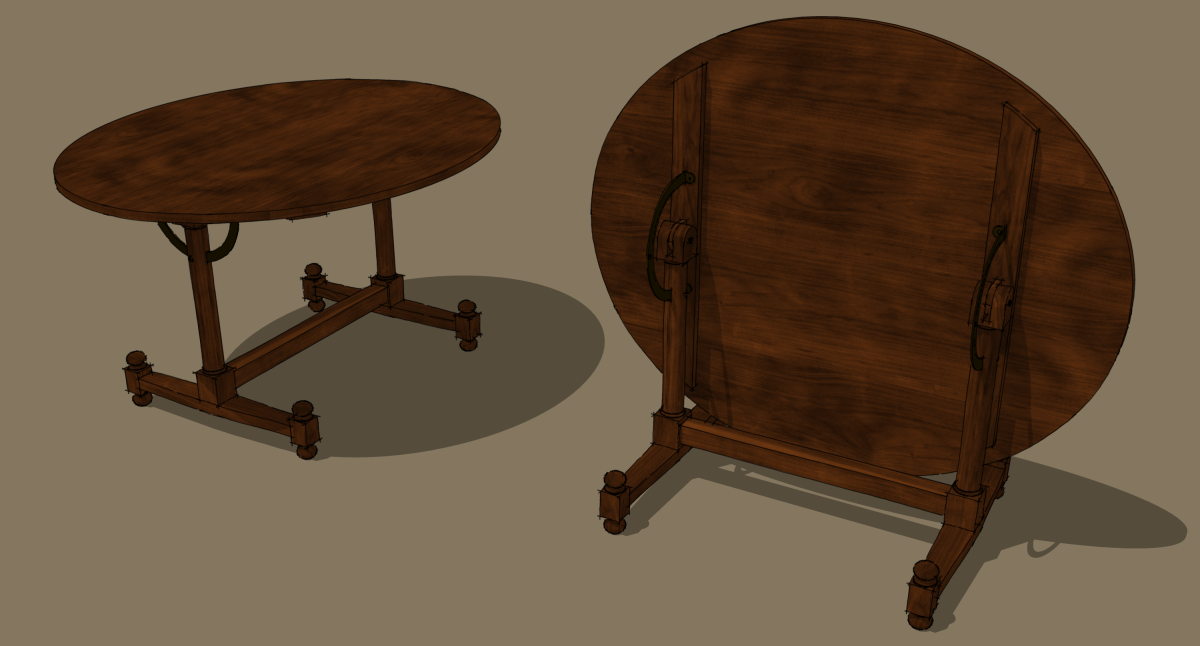
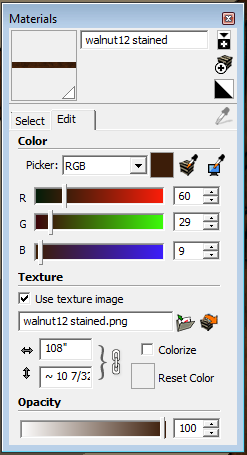
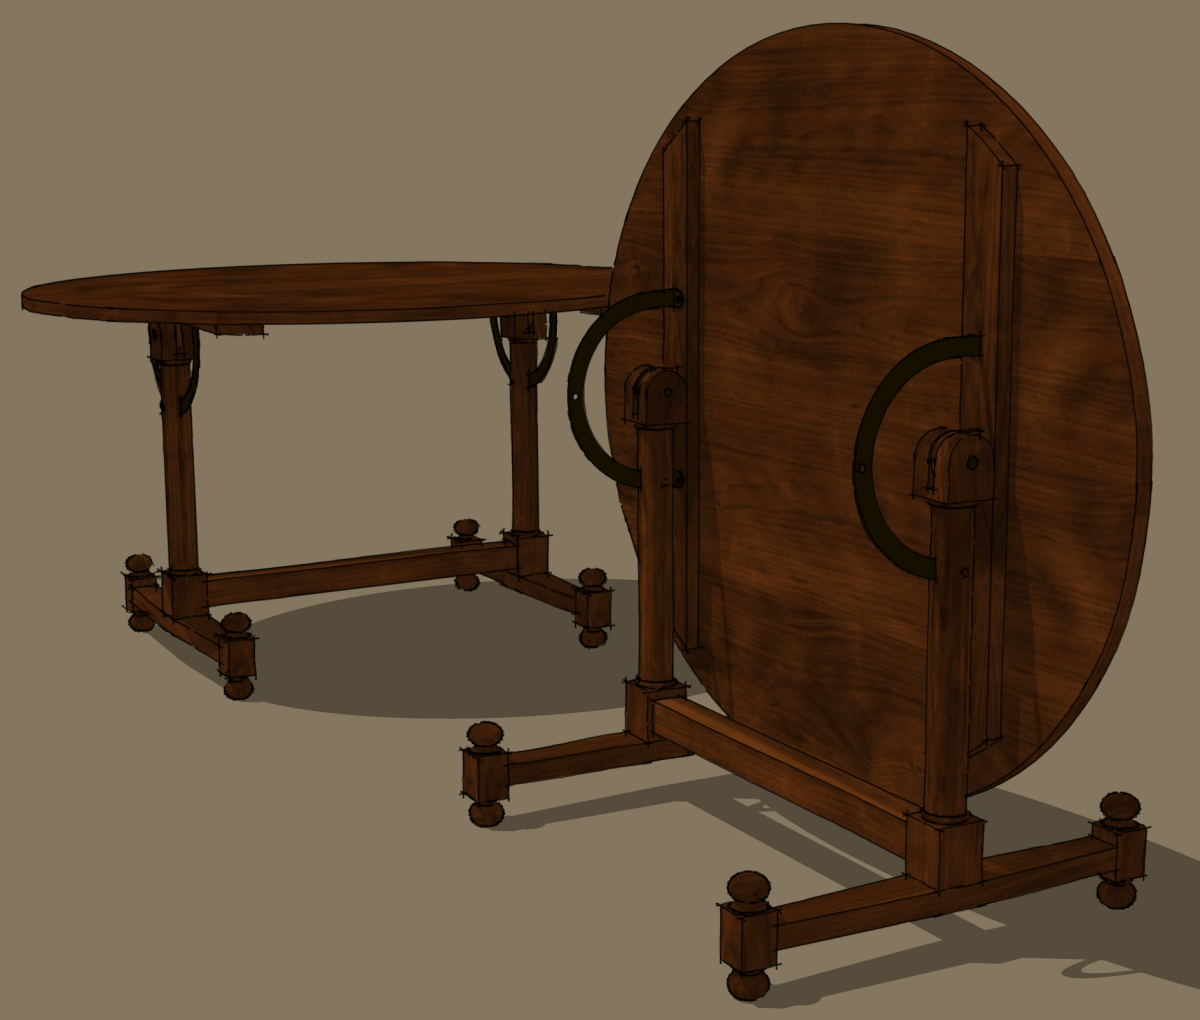
OK. So here’s a walnut table. I like the grain but I think the color is a bit dull. The original, a table made in France in the mid-1800s, has a much warmer color. We could edit the colors directly in SketchUp’s Materials window by selecting the material thumbnail and then the Edit tab.
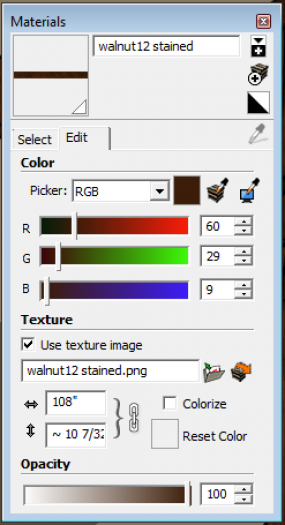
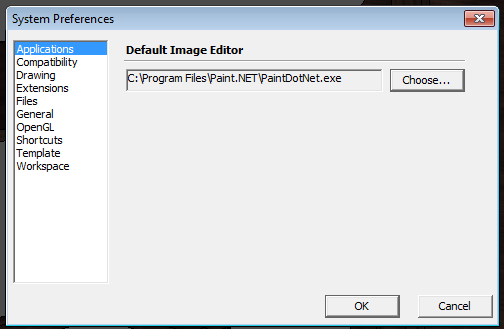
The editing options are kind of limited though. It would be better to use an image editor. Before you can do that, though, you need to select an editor in Preferences.
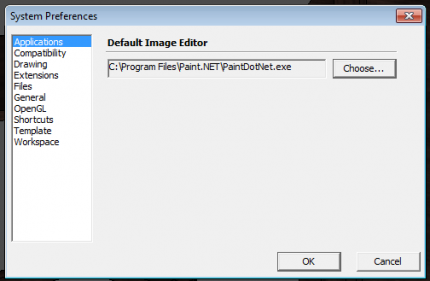
Go to Preferences>Applications and choose the image editor of your choice. I’ve been using PaintDotNet which is a freeware application that I’ve found is plenty capable for what I need.
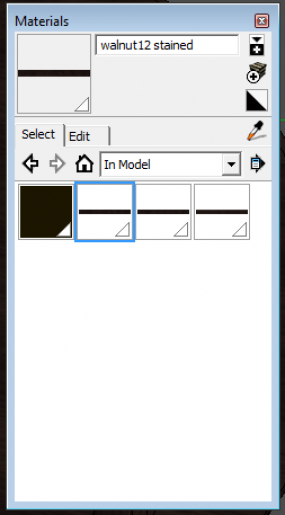
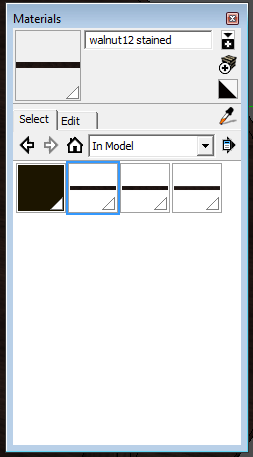
So now, to edit the material in the image editor, go to the In Model materials library by clicking on the house icon. Then right click on the thumbnail image and choose Edit Texture Image… The image editor you’ve selected will open with the texture image displayed. Make your edits and save the changes. I’m not showing what I did in the image editor since that will vary depending on the image you have and the editing you need to do. In the case of my walnut materials, I edited the RGB curves to warm up the materials.
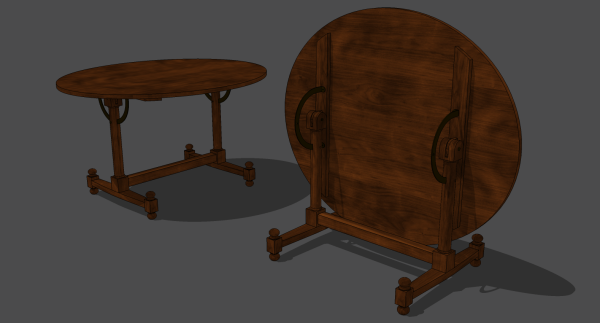
When you return to SketchUp after saving the changes in the image editor, you’ll see those changes reflected in model. You can repeat these changes if you need to.
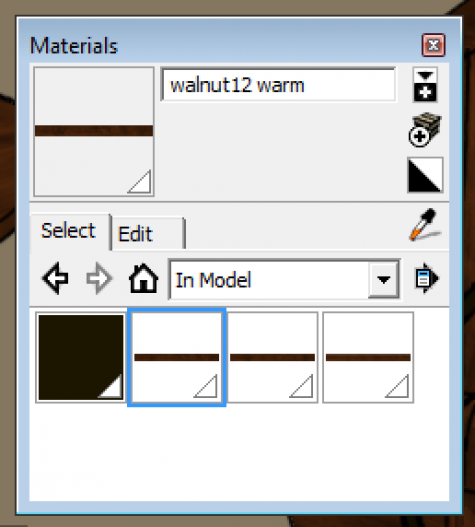
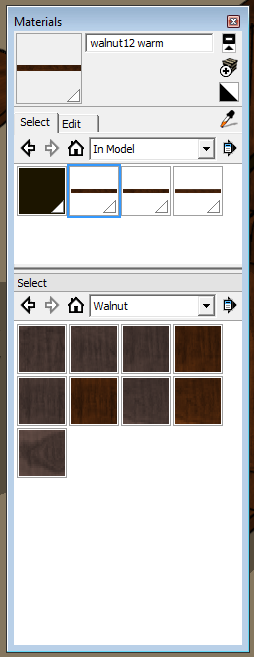
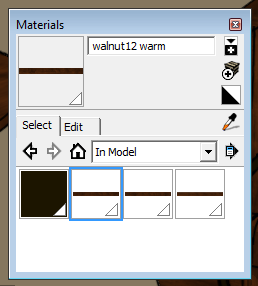
Once you’ve got a finish you like, save the changed materials for future use. In the Materials window, select the material thumbnail and change the name to reflect the editing. Open the secondary Materials pane by clicking on the white plus sign immediately under the X for closing the window.
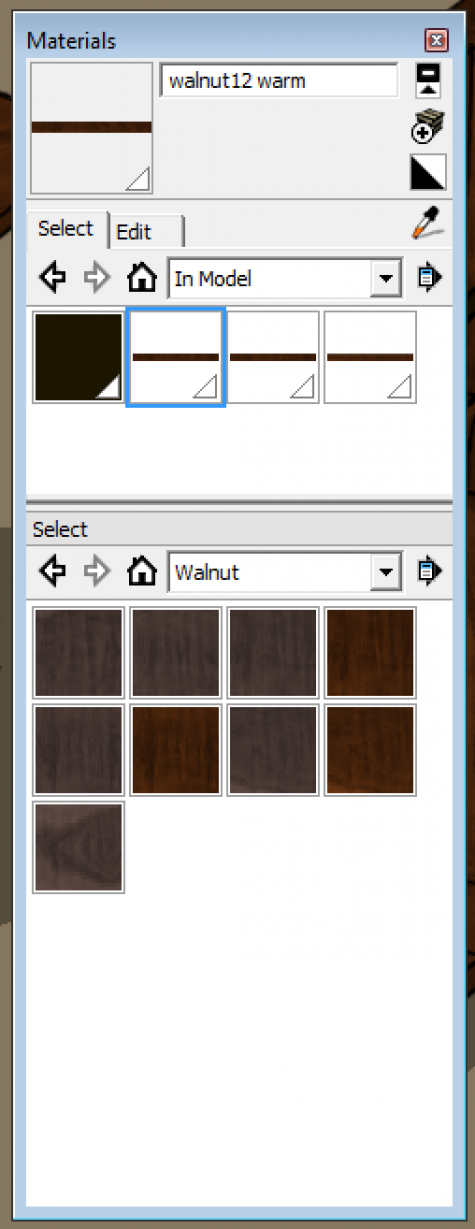
Set the secondary pane to the desired library and then simply click and drag the thumbnails from the In Model pane to the destination. Finished!
Note: I’ve shown this process for SketchUp on the PC. On the Mac it is a little different. Next week I’ll show that.



Log in or create an account to post a comment.
Sign up Log in