Built-ins That Fit Like a Glove
Tricks to fit a cabinet into any space
Synopsis: Built-in cabinets require a marriage between woodworking and carpentry, and that often means you have to insert a perfectly square cabinet into a not-so-square alcove. Greg Zall has a technique that ensures this partnership will be a long and happy one. He blends a few old carpentry tricks with some cabinetmakers’ tricks of his own, making his cabinets narrower and bases shallower than the space they will inhabit. He positions the whole assembly away from imperfect wall surfaces, and uses overwide face-frame stiles and an oversize top to compensate. When all is said and done, his pieces look exactly like they grew there, and yours will too.
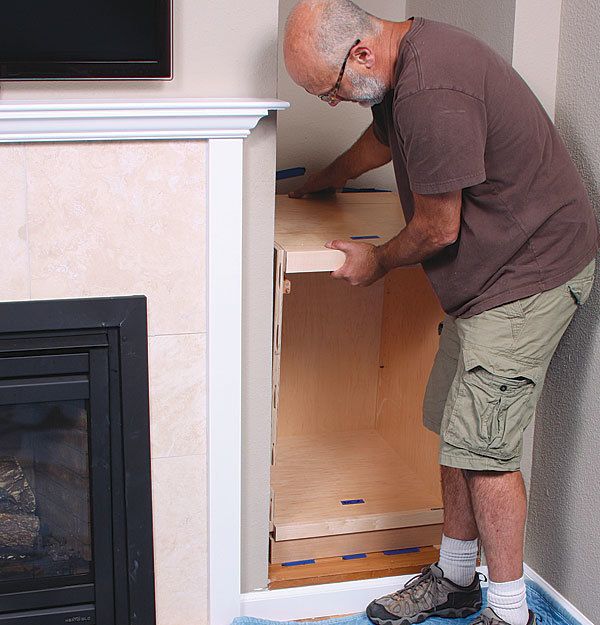
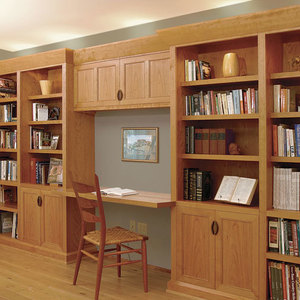
Installing a built-in cabinet is where woodworking meets carpentry, and where square meets not-quitesquare. Walls that are out of plumb and corners that are not 90° are tricky to work around, especially when you’re installing in a three-sided space. I face this challenge regularly when I build a wall-to-wall desk or design a cabinet to fit into the alcoves that are a common architectural detail in the San Francisco area, where my shop is. To make my built-ins fit like a glove, which I think fine furniture should, I pair a few old carpentry techniques with some cabinetmakers’ tricks of my own.
I start with a cabinet narrower than the space, and a separate base shallower than the cabinet. That design lets me position the whole assembly away from the imperfect wall surfaces. I compensate for any undersizing with overwide face-frame stiles that I scribe and cut during installation. Then I cap it with an oversize, thick-edged wood top. These techniques ensure that any built-in will fit perfectly.
The case and the base are quick and simple
I assemble the cabinet and most of its parts before installation. The case and the base are equal width, but the base is 1 ⁄2-in. shorter, front to back. That keeps it away from the back wall, where a bumpy surface could prevent it from sitting flush with the face frame in the front.
I use 3 ⁄4-in.-thick, veneer-core plywood for everything except the back, which is 1 ⁄2 in. thick. I use pre-finished plywood to save time. Join the case parts with biscuits, glue, and screws, and the base with glue and nails.
Big face frames fit better
The face frames are the heart of my technique for a perfect fit. The trick is to attach the rails before installation, but leave the stiles overwide, unattached, and with the biscuit slots already cut. That way I can scribe the stiles to the wall and cut them while they’re loose, which is easier. Then I use the friction from the wall, rails, and biscuits to help hold the stiles in place while the glue sets.
Leaving the stiles 3 ⁄8 in. too wide gives me more than enough scribing room, but it’s a good idea to check the walls beforehand to see how flat they are. To make it easier to scribe and trim the stiles, I cut a 3 ⁄4-in.-wide by 1 ⁄2-in.-deep rabbet along their back edge, where they touch the wall. The rabbet leaves 1 ⁄4 in. of solid wood along the edges, which is strong enough to resist breakage but thin enough to trim easily with a jigsaw and block plane during installation.
From Fine Woodworking #229
For the full article, download the PDF below:
Fine Woodworking Recommended Products

Jorgensen 6 inch Bar Clamp Set, 4 Pack

Bessey EKH Trigger Clamps


Comments
I absolutely love this article. Simple easy tricks and considerations for accurate built ins. Will use this!
Log in or create an account to post a comment.
Sign up Log in