Tips For Square Glue-Ups
Follow these basic steps for flawless results
Synopsis: There’s no need for your glue-ups to be frantic and desperate; that’s what leads to open joints and out-of-square assemblies. Simply follow these basic steps before you glue up and your cases will be square. First, make sure all the components are sized correctly and all surfaces are flat. Then, make sure you have the proper clamping blocks and cauls, sized and configured to direct and distribute clamp pressure where you need it. Now, do a complete dry-fit before you glue. Something wrong? Learn how to correct it. Follow the tips in this Fundamentals, and your glue-ups will be less stressful, your joinery more professional.
From Fine Woodworking #226
The absolute worst time to try to solve a problem is when the glue is starting to tack. I watch my students scurry like mice in a maze, tracking down extra clamps to pull together a joint that just won’t budge. In desperation, out comes the claw hammer and then things really start a downward slide.
Frantic glue-ups create open joints and out-of-square assemblies, which in turn means that doors and drawers don’t fit. Sad to say, these wounds are usually self-inflicted. However, if you follow a few basic steps before and during the glue-up, you can approach this stressful time calmly and confidently.
First and foremost, gluing up a project needs to be viewed as the end of a process, not an isolated event. Proper alignment doesn’t just magically happen, but rather is the outcome of a well-executed plan.
Let’s start with design. For example, if I’m building a free-standing, open-front bookcase with fixed shelves, I’d feel comfortable using slats for the back. The glued shelves make up for the slats’ lack of rigidity. However, if inset doors are part of the design, and if the shelves are adjustable, I’d go with a frame-and-panel back, especially one with glued-in panels. It will help make the main box square, which makes fitting the doors much easier. It also will keep it rigid, preventing the doors from binding.
It sounds obvious, but the piece you’re gluing up should have the potential to be square! For example, if making a small table with a single drawer opening, the shoulder-to-shoulder distance on the rear apron better match the shoulder-to-shoulder distance on the drawer rails in the front. If not, the table will be a trapezoid and the joints may show gaps. Likewise, the shoulder-to-shoulder distance of the upper and lower drawer rails better be the same or the opening, no matter how much tweaking is involved, won’t be square.
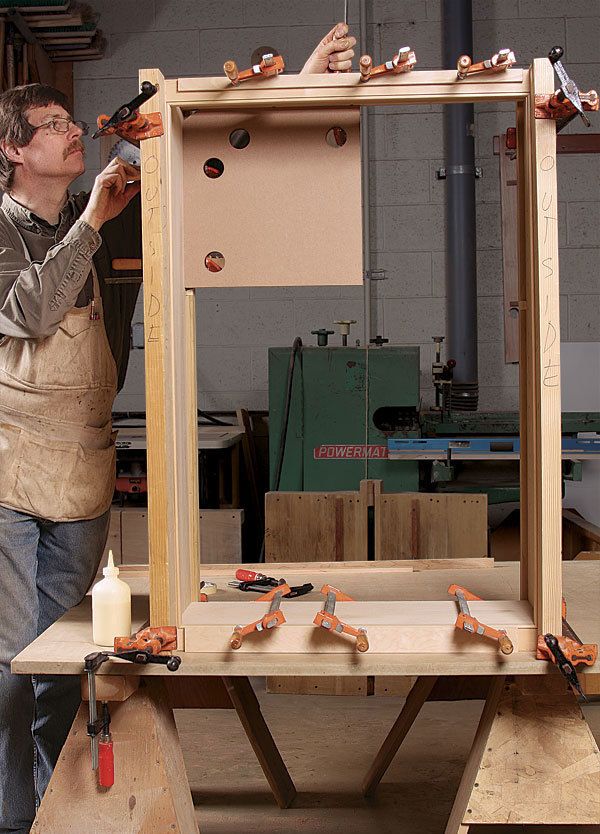
Joints that fit properly need minimal clamping pressure. If an assembly can only come square by overtightening the clamps, the object will not remain square when the clamps come off but will eventually creep back into distortion. You should prepare properly sized clamping blocks and cauls to direct the pressure accurately. Grabbing random-size blocks misdirects the pressure and just doesn’t get the job done. For larger cases, corner braces with clamp holes along the edge ensure 90° corners.
For the full article, download the PDF below.
Fine Woodworking Recommended Products

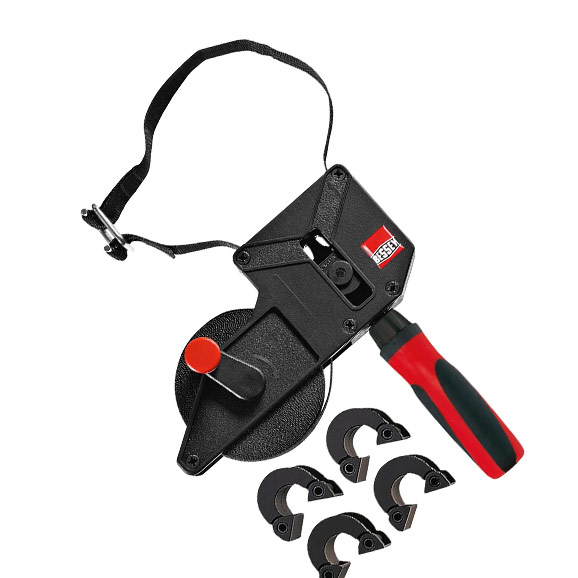
Bessey Band Clamp

Dubuque Clamp Works Bar Clamps - 4 pack

Bessey EKH Trigger Clamps


Log in or create an account to post a comment.
Sign up Log in