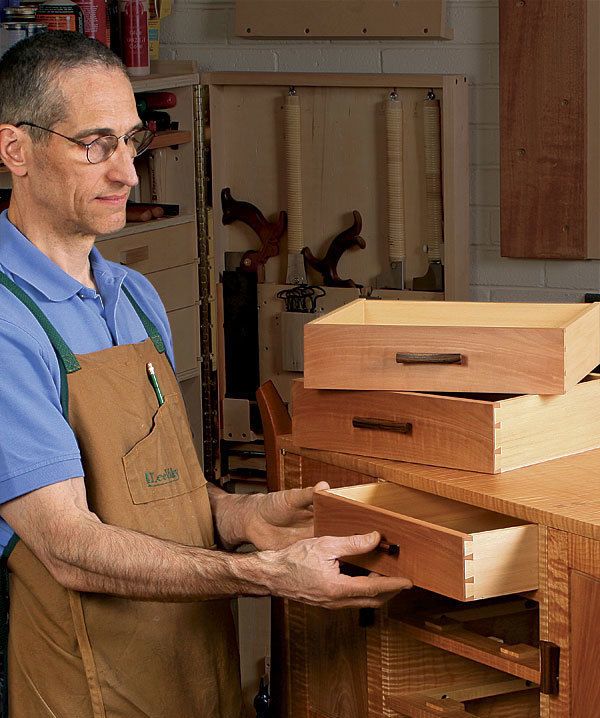
4 Steps to a Sweet-Fitting Drawer
How to make drawers that fit as good as they look
Synopsis: This step-by-step procedure for fitting a drawer comes from Rob Porcaro’s years of experience making furniture. The key is that it does not compound errors as you move through the steps, but rather eliminates them. From the first step of tapering the case slightly to make it slightly wider at the back, to the process of fitting the drawer front to its opening, to cutting the dovetails, Porcaro guarantees his procedure will get you a great fitting drawer every time.
From Fine Woodworking #224
You don’t need to know any mysterious art passed down from a master to fit a drawer successfully. All you need is a logical process. And that’s what I’d like to share with you. I’ve distilled what I’ve learned through the years into a clear path that guarantees success. The key is that it eliminates—rather than compounds—errors as you move through the steps.
I start with an old cabinetmaker’s trick: I taper the width of the drawer pocket slightly. Then I fit the drawer front to its opening. It’s easy to take that one board and plane its ends and edges so that it fits perfectly into the opening, even if the opening itself is slightly out of square. I then make the sides and back to match the front. There’s nothing new about these steps. but after them, I do one thing that will be new to some of you. Instead of marking and cutting my dovetails so that the pins are proud, I leave the drawer sides slightly proud. That makes gluing the drawer together much easier and takes all the hassle out of fitting it. All you need to do is plane the sides down to the pins and the drawer slides right in.
A drawer fits into a pocket. And you won’t get a truly good fit for the drawer unless you take care when making the pocket. They can be made in variety of ways and from a variety of materials. No matter how you do it, I’ve got a tip that makes the pocket a perfect partner for the drawer.
The pocket should be slightly wider at the back than at the front—about 1⁄64 in. How that’s accomplished depends upon how the case is made. For a cabinet with solid-wood sides dovetailed into a top and bottom, I assemble the piece dry, use a shopmade bar gauge to measure the front of the pocket, and then slide it to the back to see how wide it is in relation to the front. I then disassemble the case and use a handplane to remove a few shavings, typically from the back. For a plywood cabinet, you would simply make the back panel of the cabinet a hair longer/wider than the face frame. The exact process might vary but the result will be the same: a slightly wider pocket at the back.
After you have the cabinet assembled, mill the drawer front to near final thickness and rip it to width. It should be just narrow enough to fit the height of the opening. Then crosscut it about 1⁄32 in. larger than the opening’s width. Now turn off the machines and get out your shooting board and handplane.
For the full article, download the PDF below.
Fine Woodworking Recommended Products

Festool DF 500 Q-Set Domino Joiner

Jorgensen 6 inch Bar Clamp Set, 4 Pack


Log in or create an account to post a comment.
Sign up Log in