Router Jig Turns Stumps into Beautiful Side Tables
Learn how to expand the capabilities of Nick Offerman's basic slab-flattening jig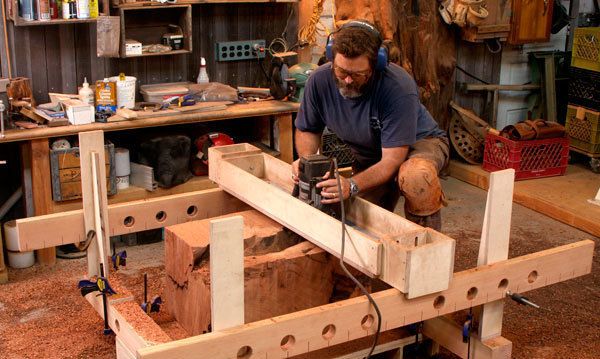
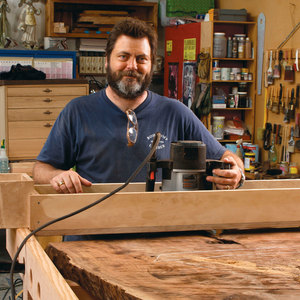
Aside from being the fastest way to flatten big slabs, short of owning a $10,000 wide-belt sander, my router jig (Level Big Slabs in No Time Flat, FWW #222) also lets me build another kind of organic yet refined table, hewn from chunks of big stumps. I use it to flatten big slabs for my natural-edge tables.
All you have to do is add four simple towers that raise the guide rails. I also recommend building a plywood base platform that sits on the floor. If you put the whole setup on the workbench, like I do for slabs, these tall workpieces will put the cutting action at shoulder level.
Download the free plan for Offerman’s stump-flattening jig
Not your everday end table. The jig quickly turns interesting stumps and big burls into side tables, end tables, and night stands that are both rustic and refined.
I start by chainsawing the piece to rough shape, using a carpenter’s square to lay out lines to trim the sides as flat and square as possible. Then I set it on the support table, and clamp down the base rails to the platform. You could use your workbench as your platform, but the plywood platform, set on the floor, lets me rout at a more comfortable level. Next, I clamp on the four towers and then measure up to figure out where to clamp on the guide rails. Again, the idea is to have the trough just miss the high points on the rough workpiece, and then use the router itself to lower the bit for each pass.
The flattening process isn’t much different as it is for slabs, but now, depending on your design, you will have as many as six sides to rout flat and square. So after flattening one side, I flip over the whole piece and rout a parallel side. Then I lay the piece on one of its rough sides, and place a carpenter’s square against one of the flat sides to make sure it is square to the table below. Finally, I follow a similar process to square the last three sides.

Saw the chunk as square as possible. Offerman uses a carpenter’s square and a white crayon to draw guidelines on the log. The more square you get it, the faster the work will go with the router jig later.

Big chainsaw is a big help. You can get the job done with a shorter bar, but this 36-in. bar makes it much easier, creating a flat, square side in a single cut. Don’t force the saw; it’s removing a lot of material. Offerman wears safety glasses, earmuffs, and Kevlar chainsawing pants to keep his acting career intact.

The same jig, plus a few accessories. Four simple plywood towers raise the rails high enough for the side tables Offerman makes. Just measure up from your base or workbench to set the rails level and at the right working height.

Level the two opposite sides. Shim the chunk to get the upper side as level as possible. You don’t have to clamp down the heavy chunk of wood. Rout the top side flat, and then flip the chunk to mill the opposite side parallel to the first.

Square the other sides. Turn a rough side upward, and use a square and shims to make one of the flat, routed sides perpendicular to the base. Rout the top side, and then follow the same process for the fourth side and two ends.
Fine Woodworking Recommended Products
MicroJig Matchfit dovetail clamps
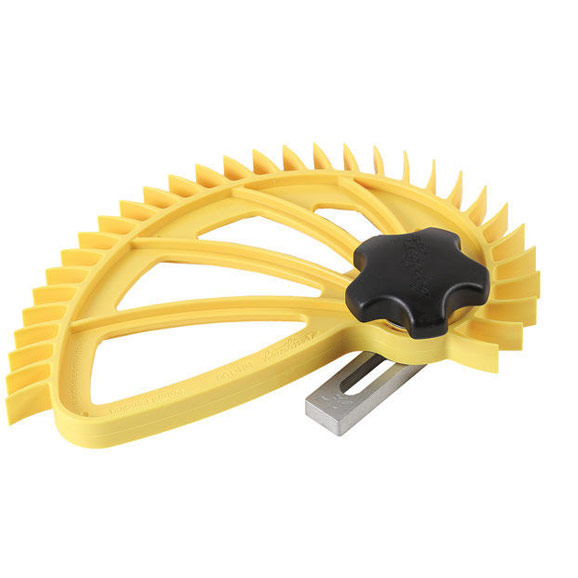
Hedgehog featherboards
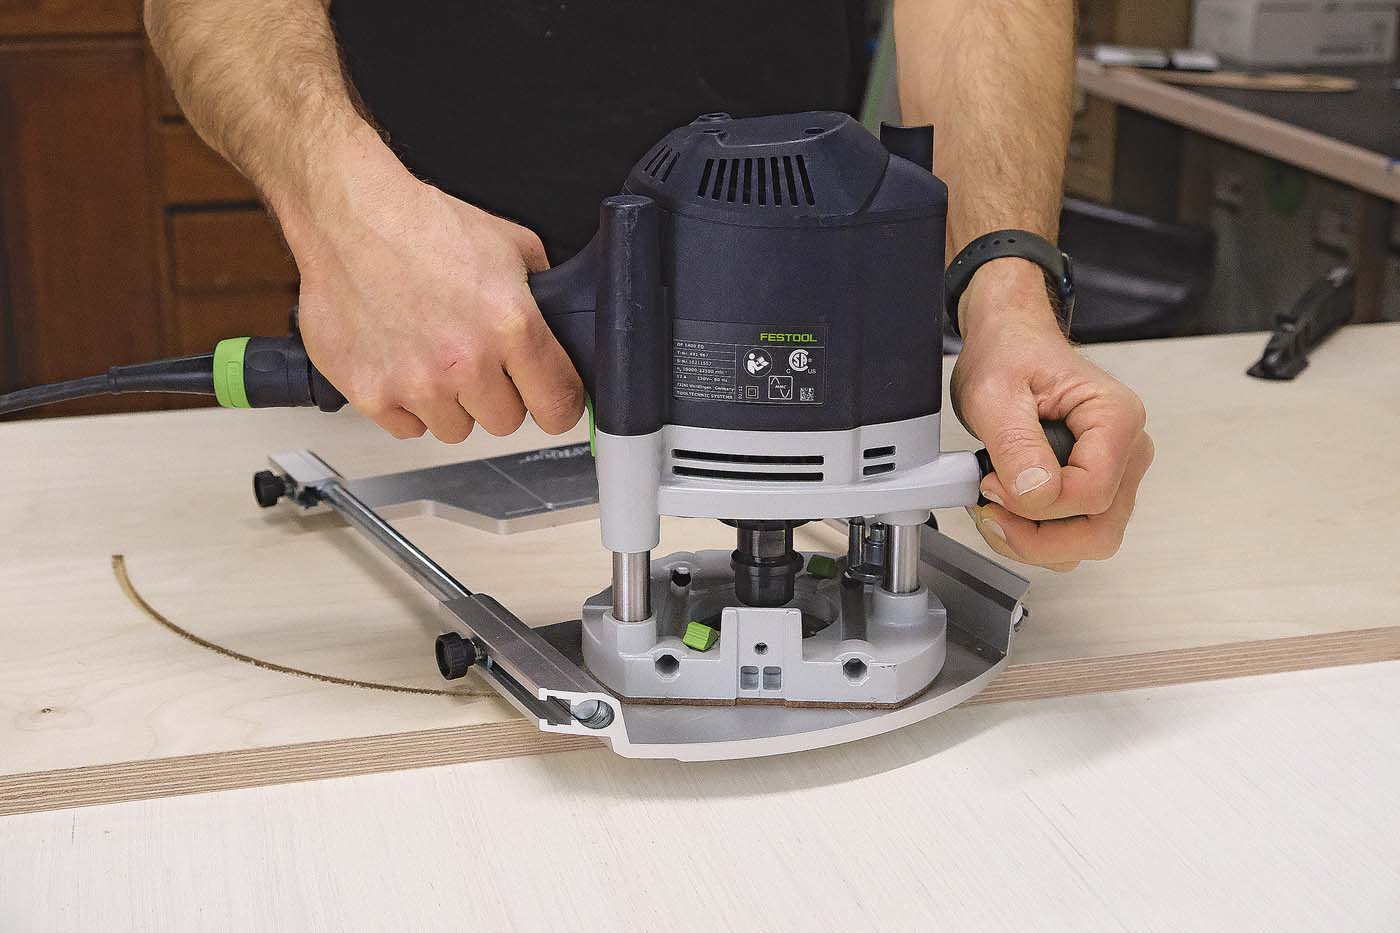
Woodriver Circle Cutting Jig







Comments
I had to cut down some trees to make room for expanding my house. I let the logs dry then spall naturally. I wanted the trees to live on as something useful in my shop and decided on stout workbench legs. I then used a similar carriage like system to square up two adjacent sides or the logs which revealed the spalling and left the two other sides with some natural features or an adze refined surface. I used MDF for its stability and dead on straightness but I didn't have quite the spans shown in this article. I'd bet Offerman’s stump-flattening jig could also be used for some interesting higher order polygons (ie hex or octo), pyramids, or out of plane faceted bases. A thought provoking article!
Log in or create an account to post a comment.
Sign up Log in