
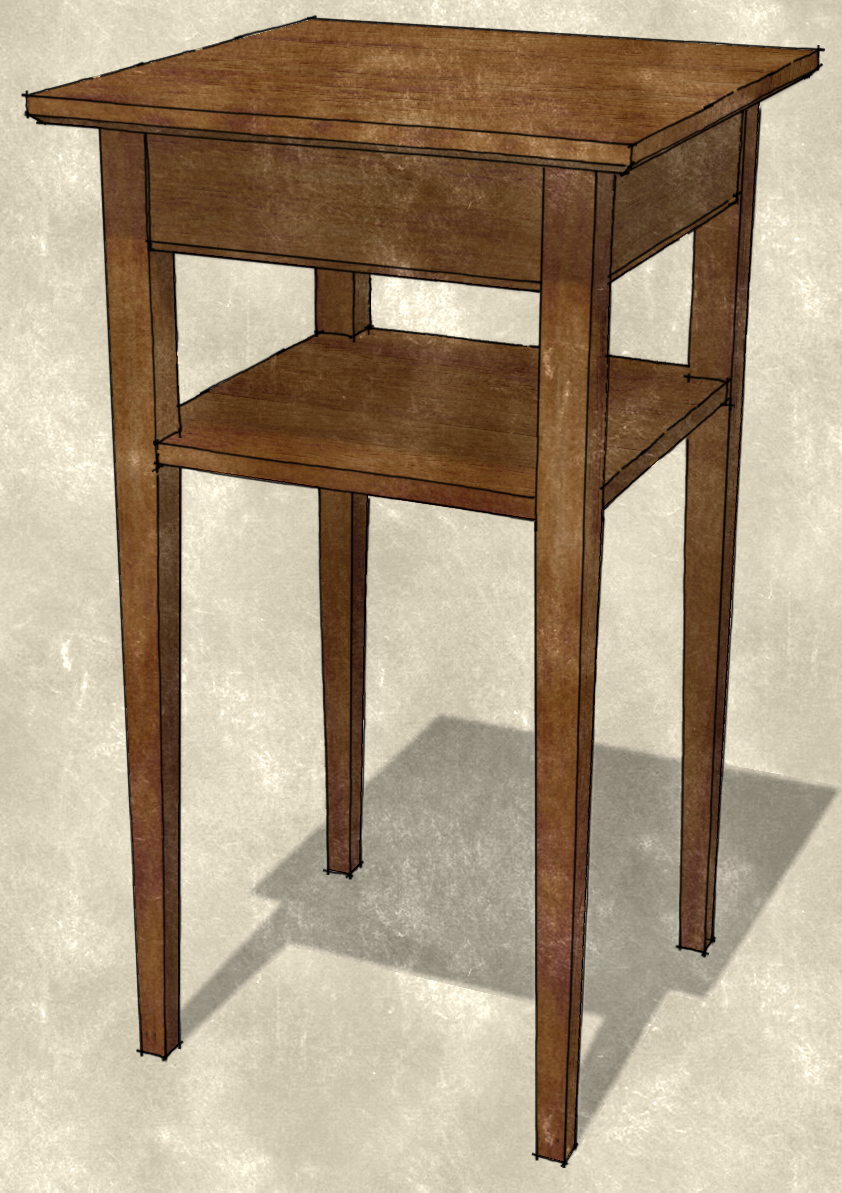
The other day a friend of mine was asking me about how I go from a 3D model in SketchUp to a plan or shop drawing. He was looking for an efficient way to do the same thing so he can spend more time in his shop. My approach is pretty straightforward and it works for me for any type of project. For this example I am using the model I did for the Walnut Night Stand project from the current Getting Started in Woodworking series. You can download the plan for this project if you wish.
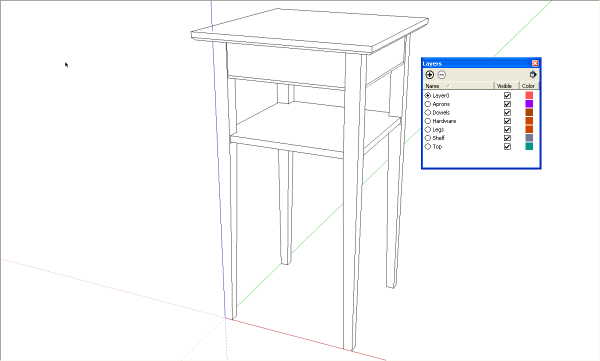
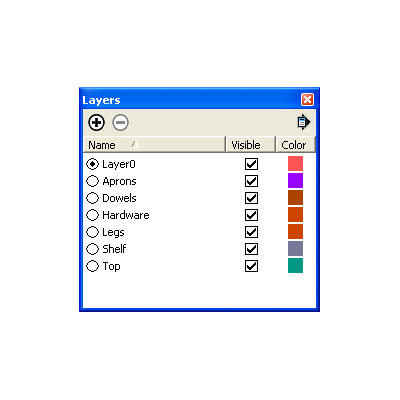
After I have drawn the entire assembled model I create the layers I’ll use for organization. It is important to keep in mind that in SketchUp, the only purpose for layers is controlling the visibility of entites. If you aren’t familiar with the use of layers in SketchUp, take a look at this blog post. Remember to keep Layer 0 as the active layer. The layers are given names to suit the parts that will be associated with them. In this case it’s short list: Aprons, Dowels, Hardware, Legs, Shelf and Top.

After I create the layers, I turn off their visibility by unticking the boxes to the right of their names. Then I make the layer associations. To do this, open the Entity Info box. Select the component(s) whose layer association you want to change and the select the desired layer from the drop down list. If your model is complex, you might want to select the components from the Outliner instead of selecting them in the drawing. This can save you time making sure you have all instances selected without having to chase around the model. Since the layer visibility has been turned off for all but Layer 0, as you make the layer associations, the components will disappear.
When you’ve made all of the layer associations, you should have a blank drawing window. If there’s anything left, you should investigate. If it is loose geometry, is there geometry missing from a componet? Are they just stray lines that don’t belong to any components? Deal with them by either adding them into the proper component or deleting them. It wouldn’t hurt to hit Zoom Extents and make sure you don’t have stray line segments off in the distance. Delete those as well.
In addition to layers created for the components, you may also want to add layers for dimensions and other text. I add all dimensions and text in LayOut so I don’t have those layers in the model. I also add dashed lines in LayOut instead of SketchUp but if I were putting them into the model, I would also create a layer for them.
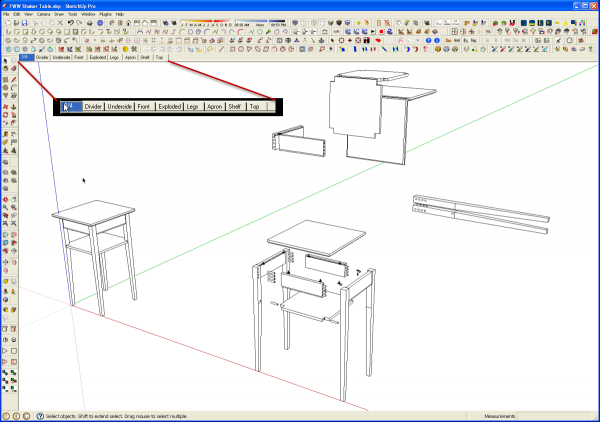
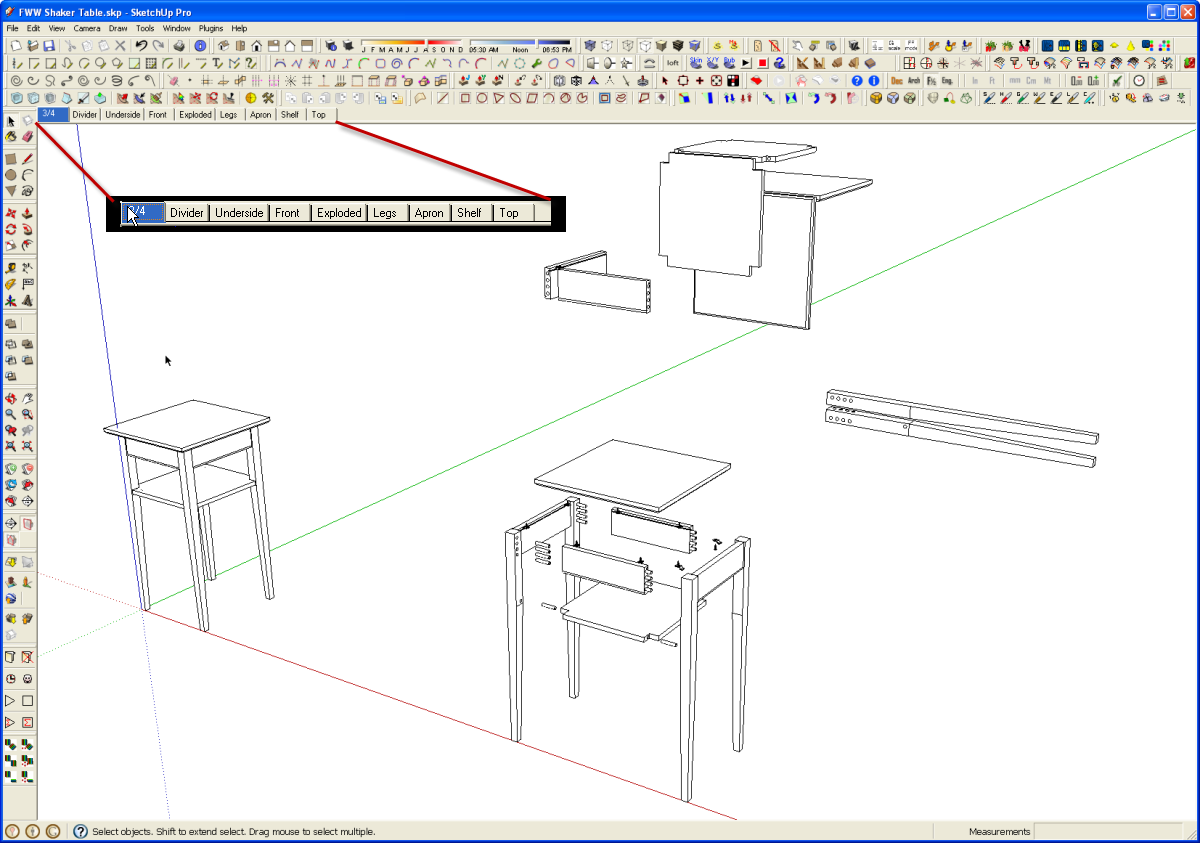
Next I turn on all the layers and begin to set up the views I need for the plan. I typically make a three-quarter perspective view along with 2D front and side views. Each of these is set up as a Scene. You can either go to View>Animation>Add Scene or open the Scenes dialog box and add them there. To make the exploded view, I copy the model off to one side and pull the components in that copy apart as needed. I also copy off components for detail views. In the view above I have all of the layers turned on so you can see how the parts are spread out out. I can control what is visible in each scene by ticking or unticking the visibilty boxes for the layers. You can see that the shelf and top overlap each other above the exploded view but since their visibility can be controlled, they don’t show as overlapping in the plan. You can also see I’ve made rotated copies of the various parts to create two views of the same part in one scene.
Once the scenes are created it is time for the plans. If you have the pro version of SketchUp, this would be the time you would save the file and then send it to LayOut. If you are using the free version, you would add in the dimensions and text as needed to the various scenes. You might wait until this point to add the layers for the dimensions and text. You might want to make layers to match each scene so that the dimensions for the top can be hidden when you are looking at the shelf and vice versa. You could put the dimensions for the top on the same layer as the top. This might cause you problems if you have some scenes in which you want to see the components but not the dimensions.
Keep in mind that Screen Text remains in a constant position on the screen. If you insert screen text, it’ll show in the same place in each scene unless you give it a layer association and turn that layer off when you don’t want the text.
If you are using LayOut, you’ll simply export a PDF file when you’re finished. In the free version of SketchUp you can either print each scene directly from SketchUp or export images of each scene. If you do the latter, you can import them into a word processor or other application and arrange the images as needed. Then you can make a PDF or just print the file and head off to the shop.
If you have the need to do much of this sort of thing, you’ll probably find that LayOut makes it a lot easier to get to the final document. One of the big benefits of using LayOut is that if you find a need to edit the model after you’ve created the document, the views in LayOut can be updated automatically.




Log in or create an account to post a comment.
Sign up Log in