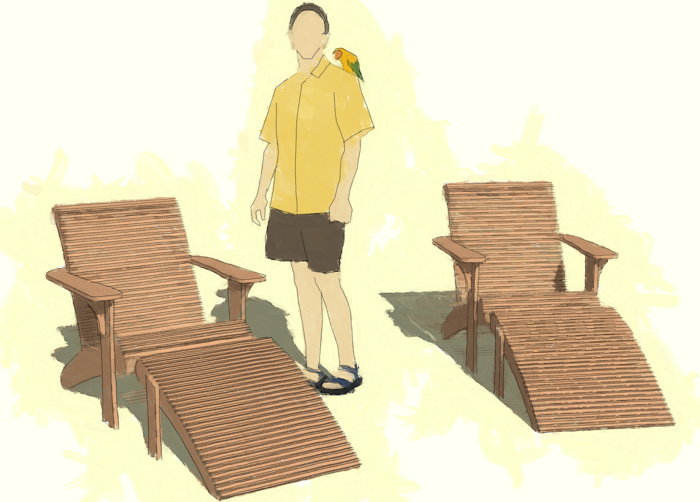
I had a request for the contents of a blog post I did on the old blog platform. I no longer have the text and images but I found the model so I could redo it. Perhaps this will be new for some readers.
For this demonstration I am using a plugin called PathCopy.rb which, when installed will show in the plugin menu as Copy Along Path. I’m also using the Weld plugin. While I’m demonstrating this on an Adirondack chair, the same process could be used for other applications such as creating a dentil molding along a curved path, setting studs for a curved wall or curb stones along the edge of a sinuous garden path. Although the slats could be put into place one at a time and rotated to the correct orientation, this process will make it much faster.
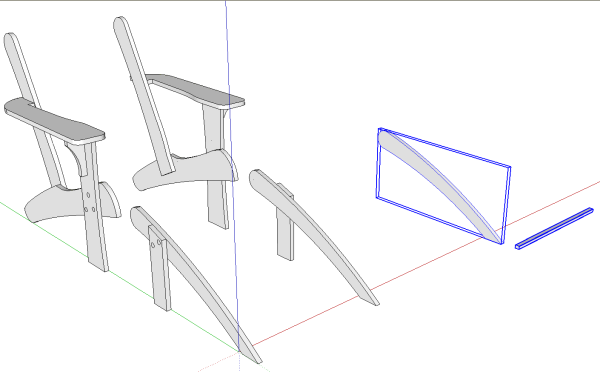
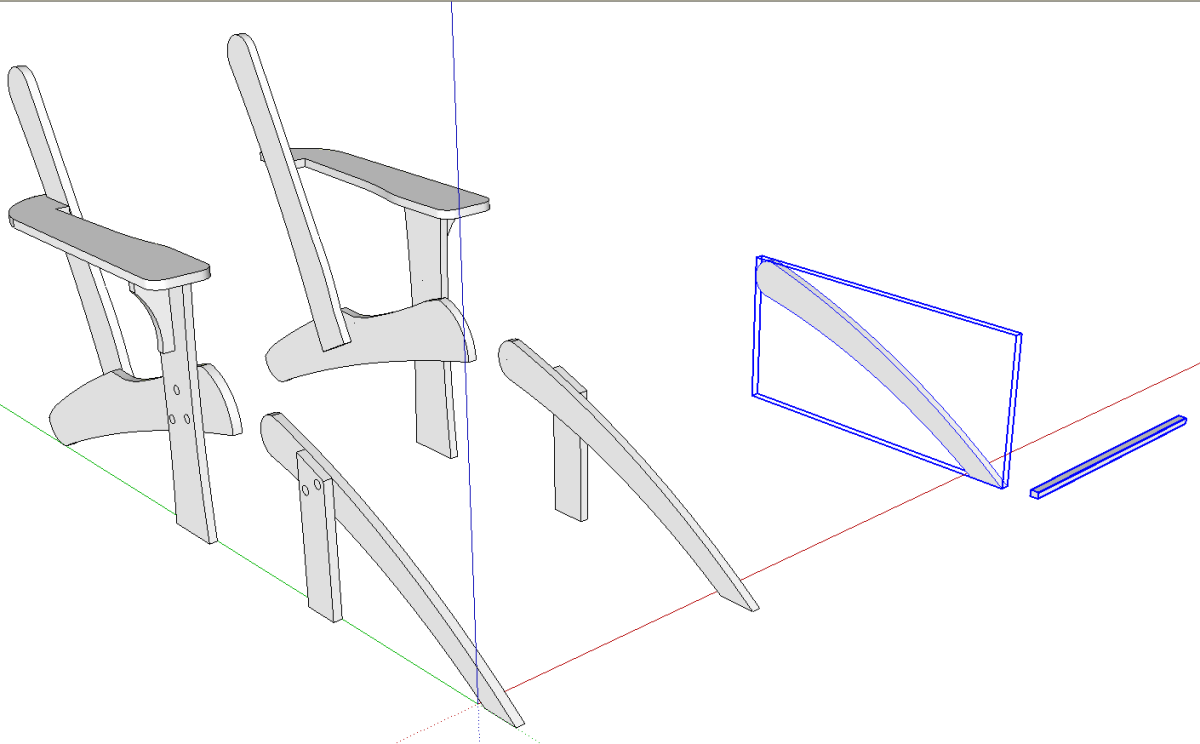
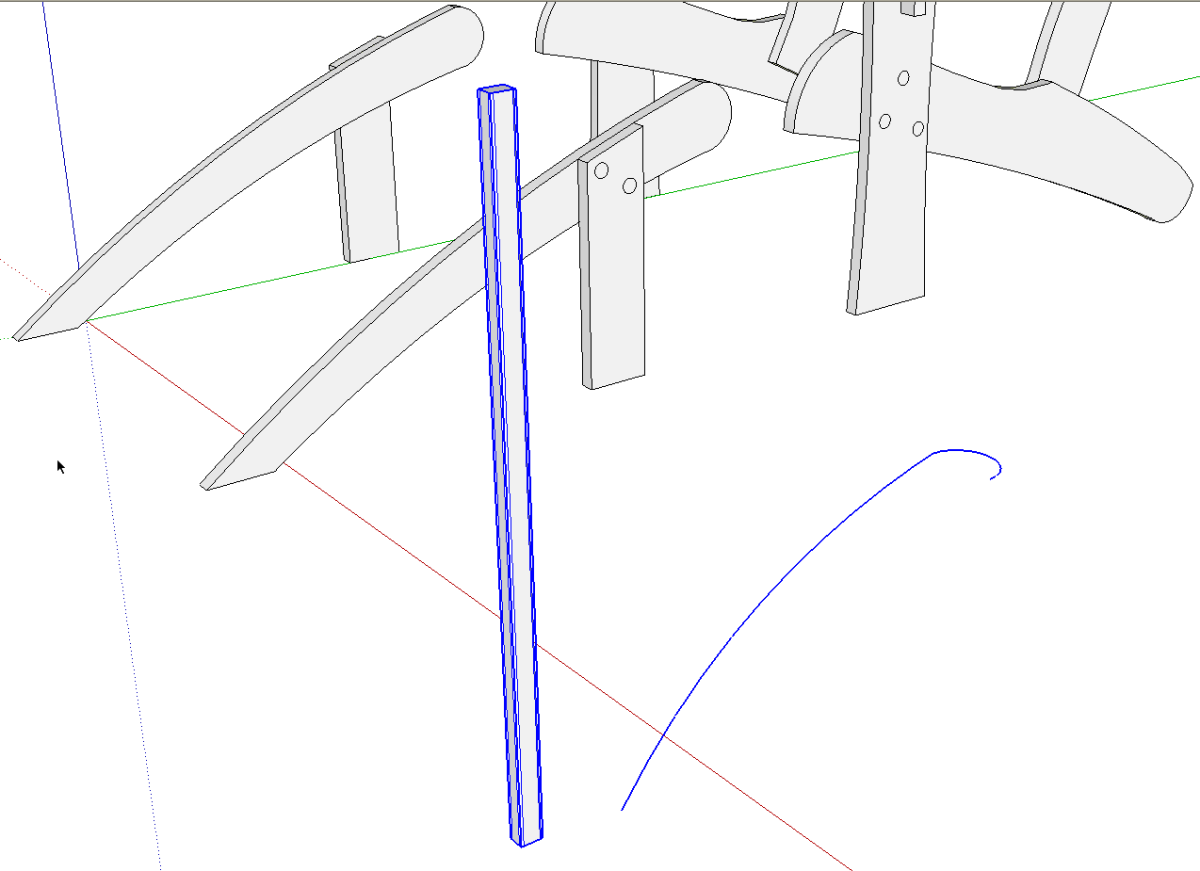
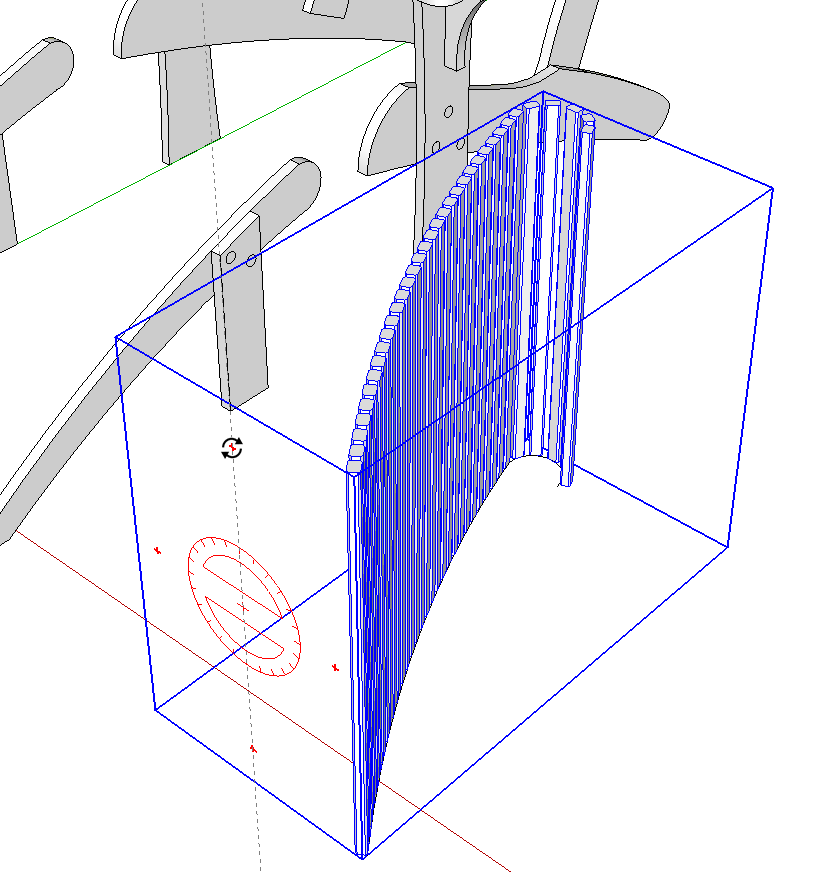
I’ve hidden all the lateral members of the chair and ottoman to show the curved edges over which the slats need to be placed. I’ve also copied the slat component and one of the arched legs down the red axis a bit. Normally I draw everything in place but because of the way the plugin works, I make an exception.
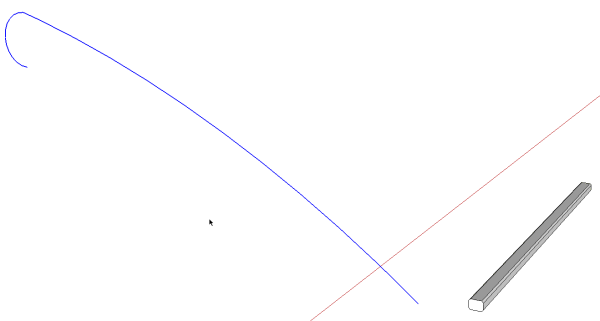
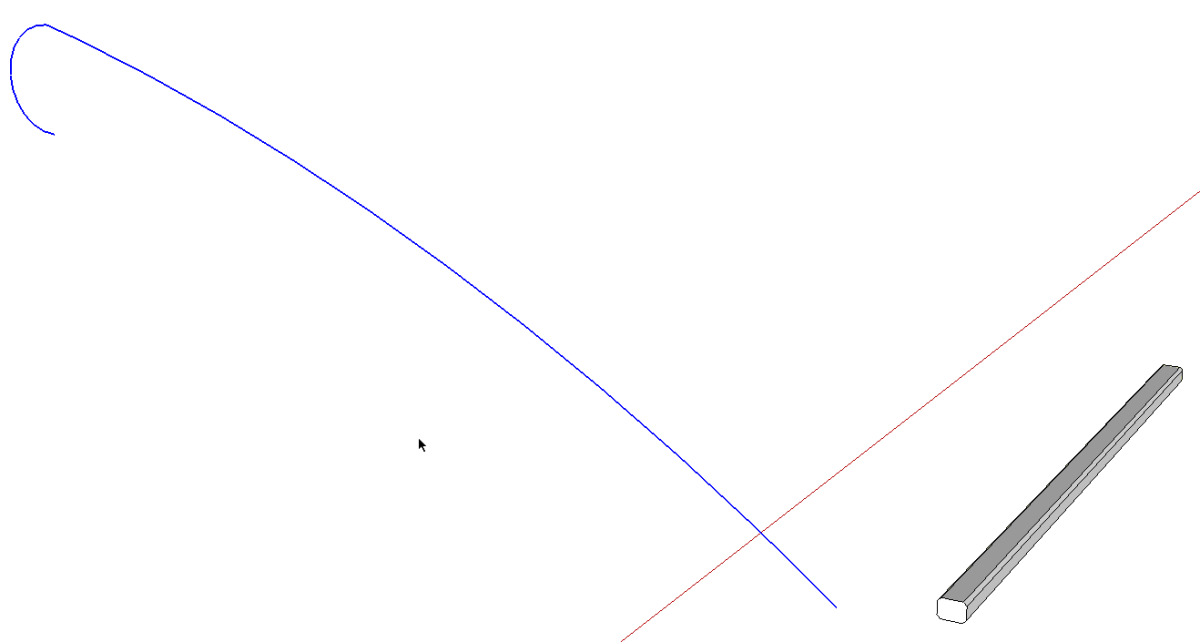
All I need of the ottoman leg for this is the edge on which the slats will lay. I exploded the component and deleted all but those edges. Then I selected the remaining edges and used the Weld plugin to weld them so they’ll act as one entity.
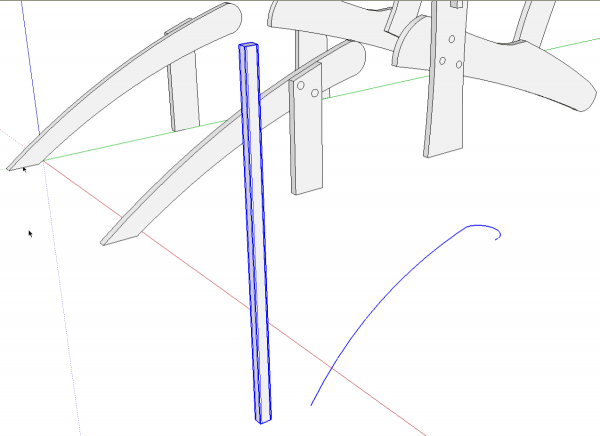
PathCopy is designed to work on a path that is lying on the ground plane so I rotated it along with the slat component to that orientation. The slat doesn’t really need to be rotated. I just did that to make it easier to see the orientation of the curve.
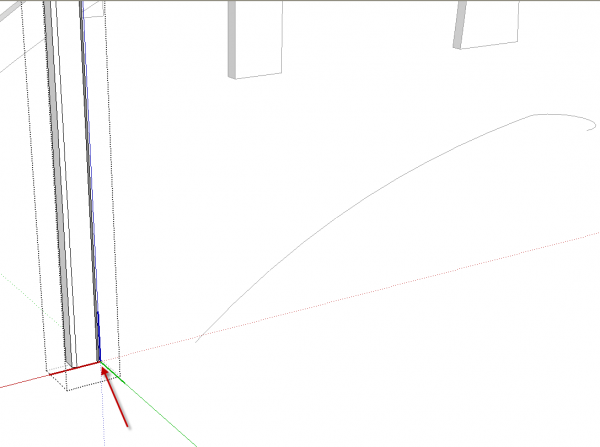
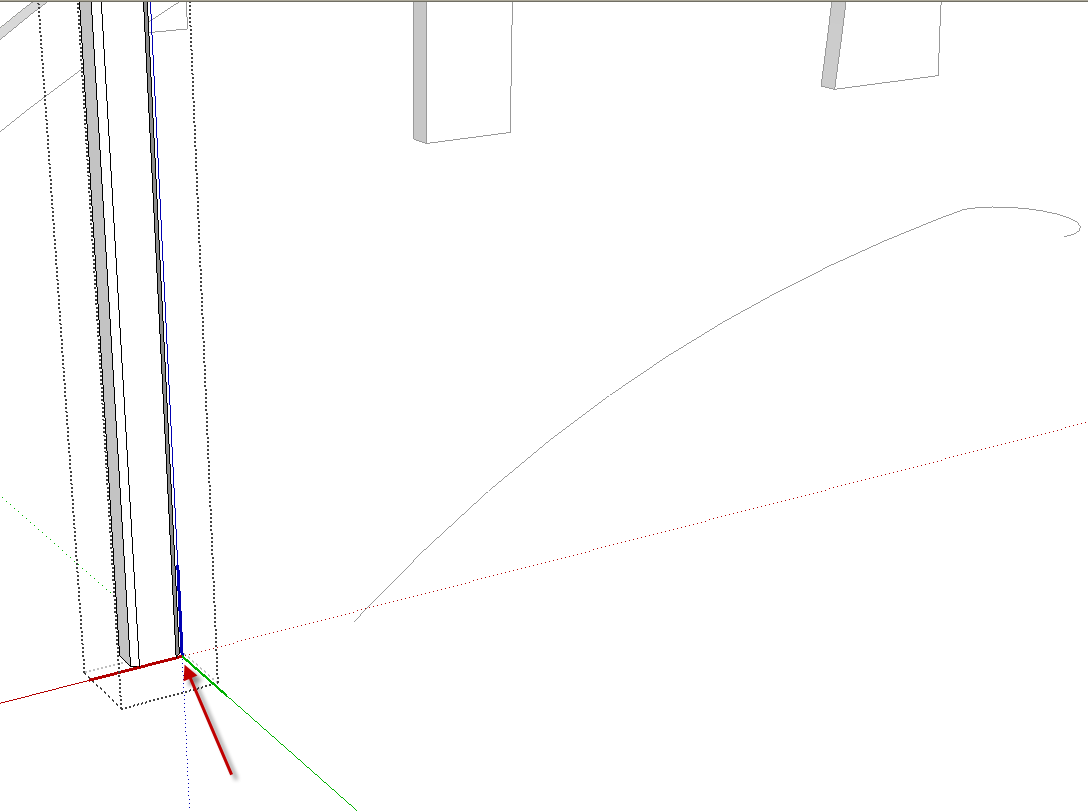
Whether the slat component gets rotated or not, it needs to have its blue axis oriented along the long dimension so that the slats will be oriented correctly along the path. The slat was originally drawn horizontally so the axis was not aligned correctly for this opertation so I changed the axis orientation to suit. The component’s red axis will be placed along the path so it needs to run parallel to the face that should lie on the path. The location of the component origin determines the insertion point and in the case of this plugin, the first slat’s placement will be based on the distance from the end of the curve to the component origin. You’ll want to experiment with location and orientation of the axes to see how the plugin positions the copies of the component.
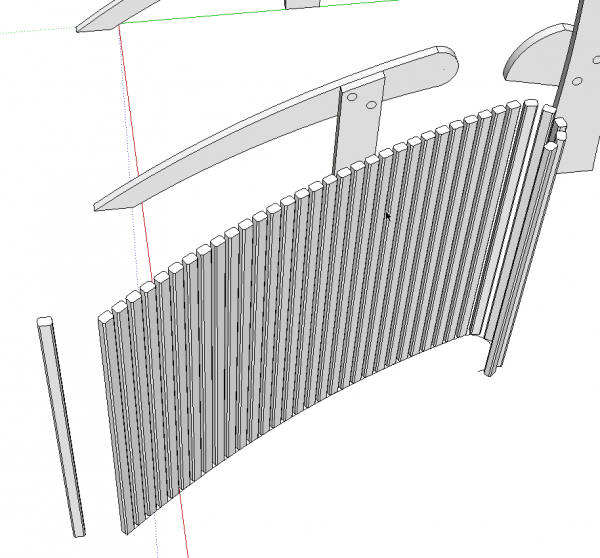
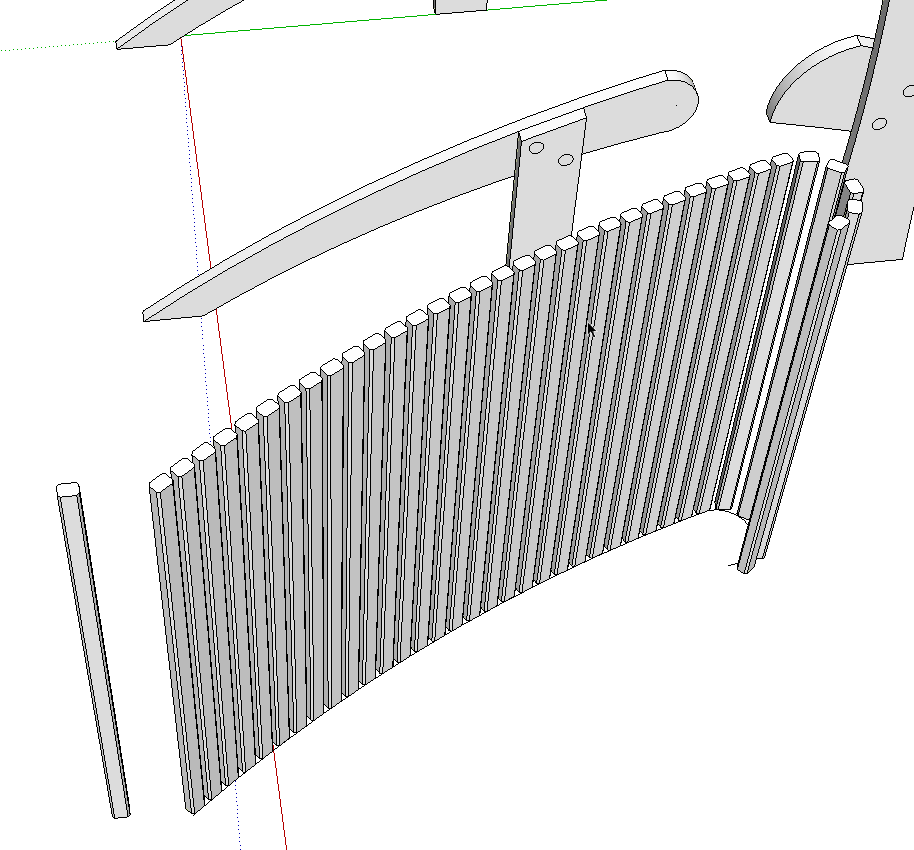
Find Copy Along Path in the Plugins menu. There’s a flyout menu with two options; Copy to Path Nodes and Copy to Spacing. If you choose Copy to Path Nodes, a copy of the component will be inserted at the vertices along the path but it will not be rotated to lie on the path. In this case I’ll use Copy to Spacing, though. The VCB will become active so we’ll type the desired spacing and hit enter. This spacing is the on-center distance between component origins, not the gap between the slats. After entering the spacing, click on the path and then the component to be copied. There’s guidance for which to select at the bottom left of the drawing window. Presto! The slats are placed almost perfectly.
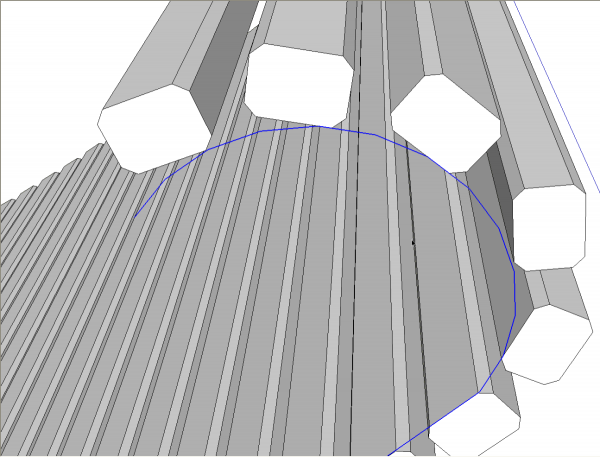
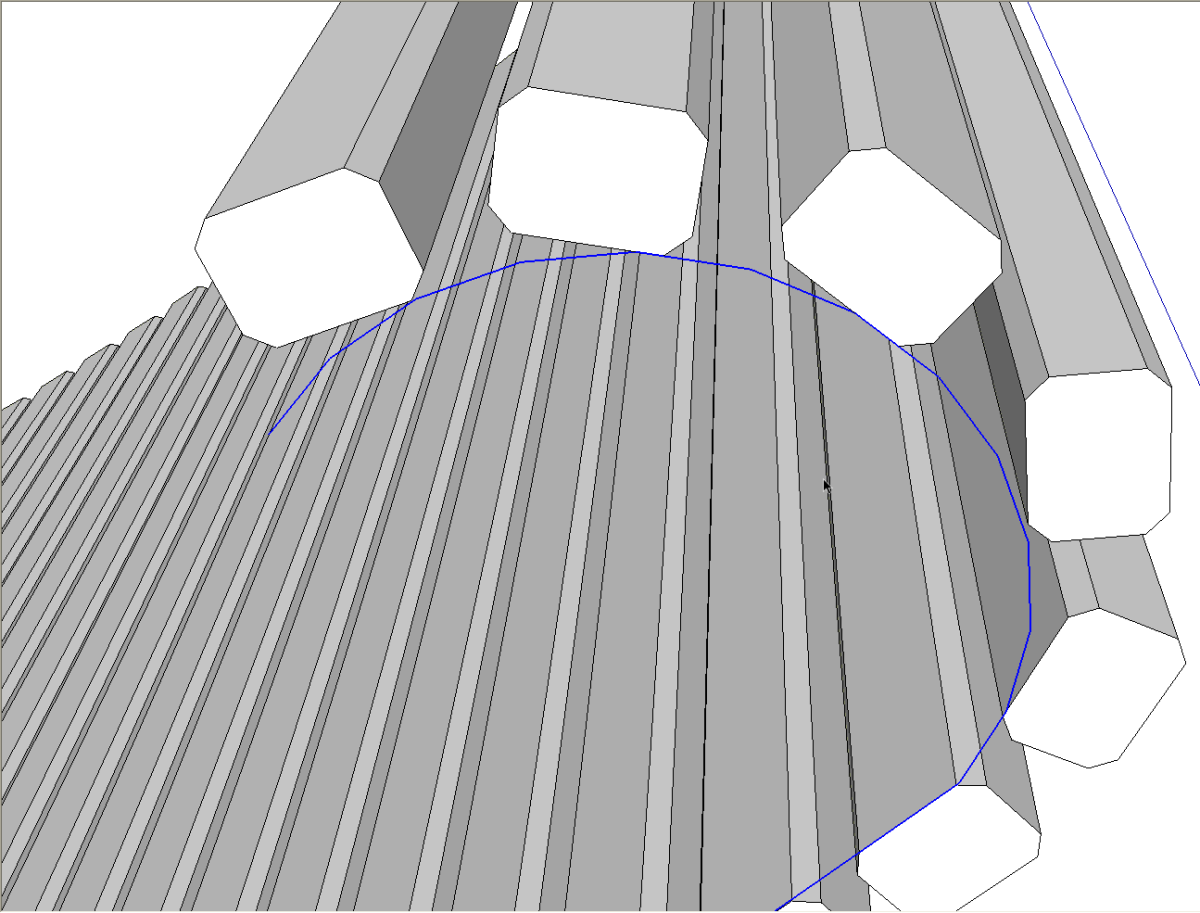
It’s almost perfect but not quite because along the tighter radius portion of the curve the slats aren’t laying on the path quite right. This is due to where the component origins fall on the curve. the components’ red axes are aligned with the segment on which the origin lies. As you can see, some of the slats need a bit of rotating. It would be nice if the plugin sorted this out automatically but in this example, it is only five of the 35 slats. Using the plugin and fixing these few slats is still much faster than placing all the slats manually.
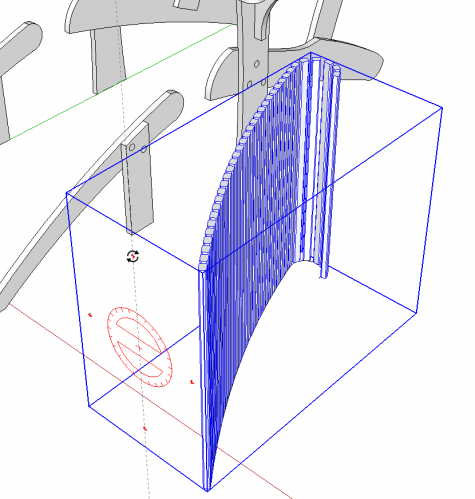
After fixing those few slats, I selected them all and made a nested component of them. This makes them easier to handle when moving them into place on the chair. I repeated these steps for the seat and back rest on the chair using the same slat component I used on the ottoman. Quick and easy.
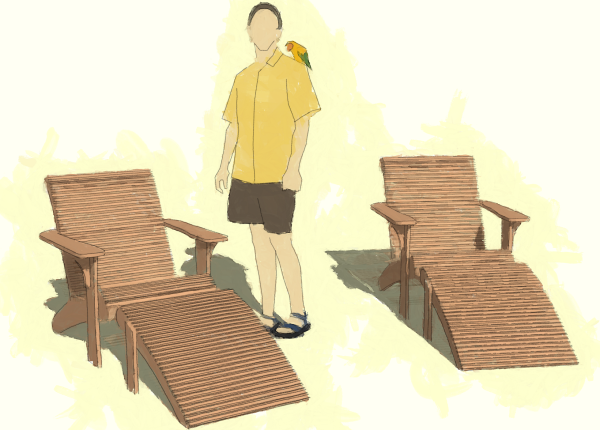
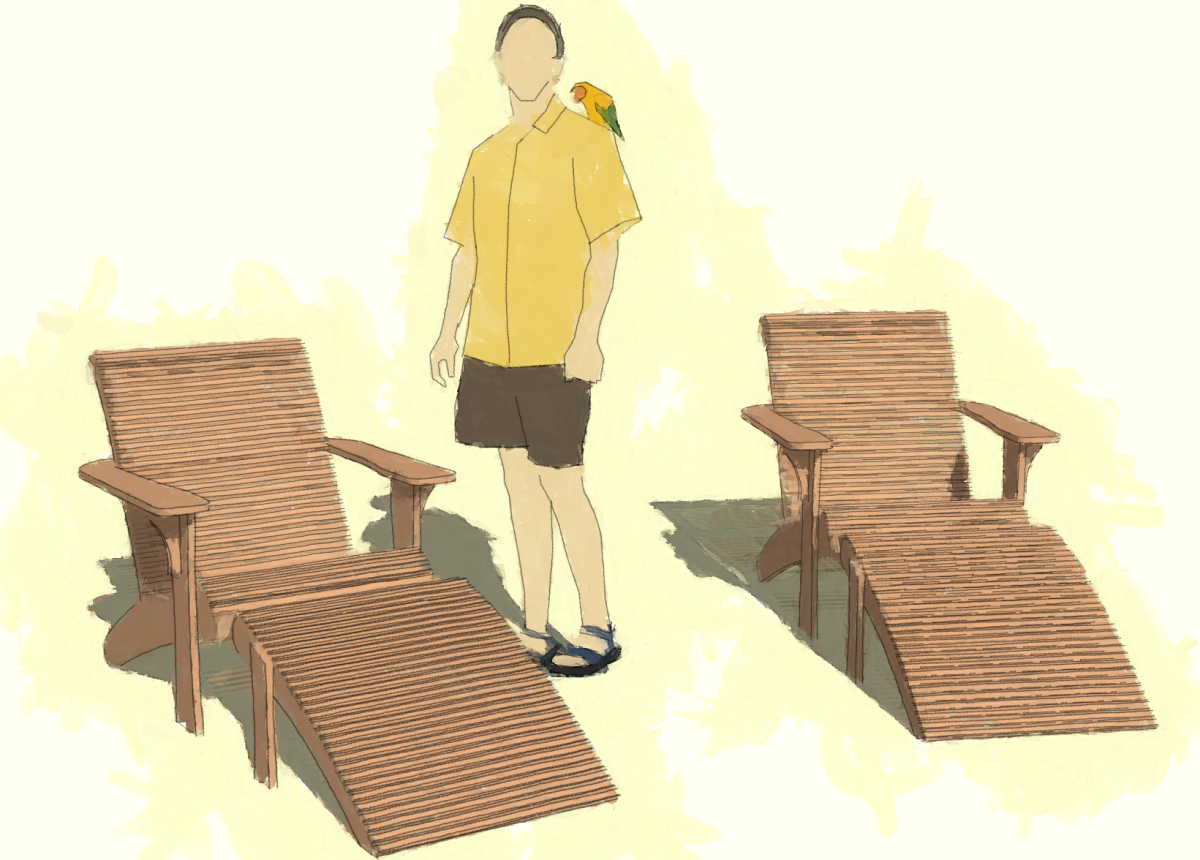
Now all we need is a little sun and we’re ready to relax. The parrot is optional.



Log in or create an account to post a comment.
Sign up Log in