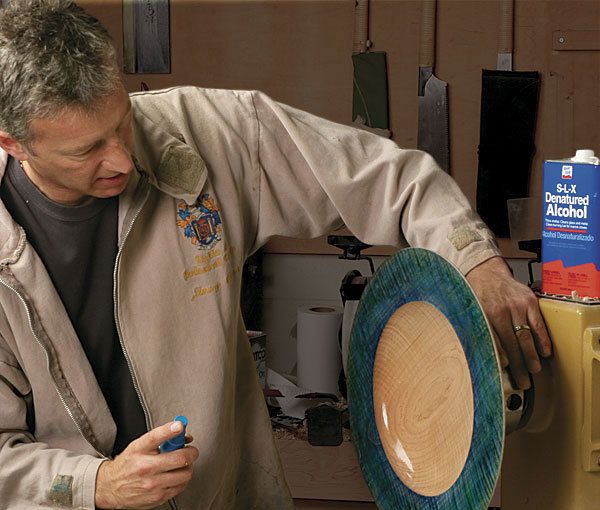
Synopsis: Make a creative process even more creative by adding bright colors to your turned platters and bowls. Jimmy Clewes shows how a creative dye job can transform an ordinary turned object into a piece of art that stands out from across the room. Here you’ll find advice on choosing the right kind of dye, sealing off areas that will remain undyed, prepping the surface, and adding the proper topcoat to bring the colors to life.
From Fine Woodworking #218
On many turnings, adding a bright dye can transform a competent piece of work that might not get a second glance into a piece of art that stands out from across the room. Wood turning is a creative craft, and coloring is an even more creative process. Even if you’ve never applied dye to furniture, I hope you’ll break the bonds of inhibition and try dyeing a turning.
When it comes to dyes, my first choices are alcohol-based, and in particular those by Chestnut products. These are pre-mixed and can be used at full strength or diluted with denatured alcohol. These dyes have a 5% shellac content, so each application progressively seals the wood. Therefore, the later colors soak in less and become more like glazes, creating a layered look rather than mixing into the previous ones.
Two ways to confine the color Unless you plan to dye the entire piece, you have to create a clean break between the dyed and undyed parts. The safest way is to turn and sand the whole piece, then seal the section that will remain undyed. In this case, I wiped a 1-lb. cut of shellac onto the platter’s recessed center, and once that was dry, I applied a coat of Danish oil. If any dye seeps onto the sealed and oiled surface, it comes right off with steel wool. On the other hand, avoid leaving either finish on the section to be dyed or you’ll end up with a blotchy appearance.
If you are a confident turner, a quicker method is to turn and sand the area to be dyed, but leave some waste wood on the adjacent section. After the dyes have been applied and dried, come back and turn the rest of the piece, removing the unwanted dye at the same time.
Prep the surface and apply the dye The surface must be flawless, because any blemishes will show up when you apply the dye. If you are using curly or burl wood (both give pleasing results), the grain may be running in different directions, so inspect the surface very closely. Use the same sanding method described in my article (“Faceplate Turning is Fun,” pp. 70-75).
For the full article, download the PDF below:
Fine Woodworking Recommended Products
Osmo Polyx-Oil
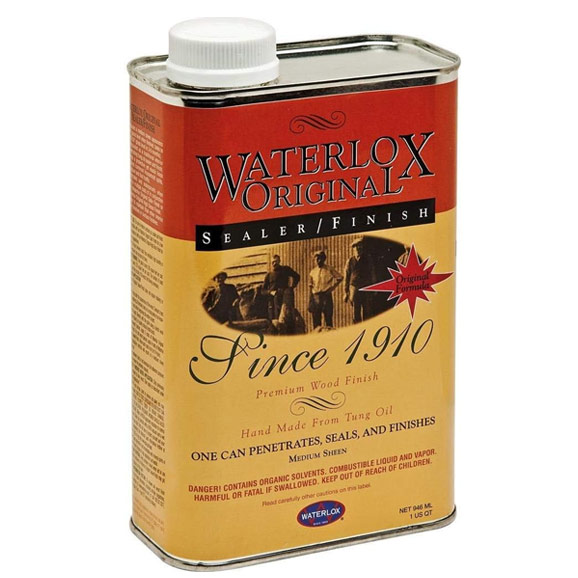
Waterlox Original




Log in or create an account to post a comment.
Sign up Log in