How to Add Quarter Columns to Your Furniture
Make classic fluted columns of any length, without a big lathe
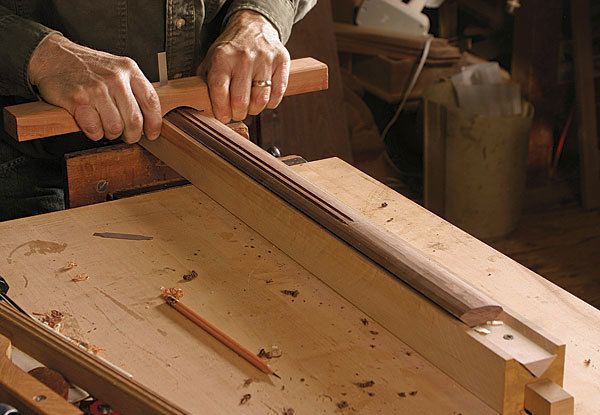
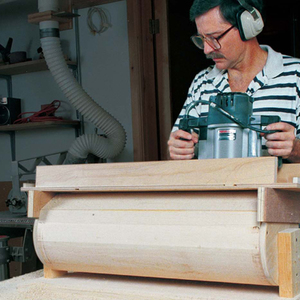
Synopsis: Especially if you use Jeff Headley’s method. Instead of turning a whole column on a lathe and then cutting it into quarters, Headley uses shopmade jigs and tools to shape each quarter round. The minimal turning required can be done on a mini-lathe. Here, Headley takes you through the process, from carcase construction to final shaping and adding beads and flutes.
Many aspects of period furniture design are linked to classical architecture. One of the most obvious connections is the fluted quarter columns that adorn the front corners of many pieces, from chests of drawers to tall case clocks. The design has evolved through the years; on Federal pieces, for example, the fluting was replaced with inlay and stringing.
The good news is that while the column design may vary, the case construction is fairly constant. So once you’ve built one piece with this feature, you can easily incorporate it into a wide range of pieces. and quarter columns work on contemporary pieces, too.
Unlike some methods that require turning the whole column on a lathe, mine relies mostly on shopmade jigs and tools. The limited amount of turning can be done on a mini-lathe regardless of the column’s length. If you’ve long admired quarter columns but thought they were beyond your skill level, this article will prove you wrong.
A simple notch receives the column
Carcase construction using quarter columns is similar to that of a regular chest of drawers. The case is dovetailed and the rails are attached to the case sides with sliding dovetails. You’ll notice that my sliding dovetail isn’t much more than a rabbet with an angled bottom shoulder, but this joint will last lifetimes longer than a regular rabbet that has no mechanical strength.
The front is notched at both ends to receive the quarter columns. The inset from the front is 11⁄4 in., or 1⁄16 in. to 1⁄8 in. more than the radius of the quarter column. however, the distance from the end must also allow for the depth of the dovetail and the width of a stile that will be added later. The base and sub top of the carcase are notched before being glued to the sides. Rather than figuring and measuring incorrectly, cut and dry-fit each rail into the case, and then mark the opening, allowing for the stile and the quarter column.
When all the rails have been notched and fitted, nail or screw a stile to each end of the rails. You should now have a 11⁄4-in.-square notch. add glue blocks to secure the stiles to the case sides. Bevel the corner between the two glued edges.
From Fine Woodworking #211
For the full article, download the PDF below:
Fine Woodworking Recommended Products

Estwing Dead-Blow Mallet

Bessey EKH Trigger Clamps


Comments
One more thing I gotta try! :)
Log in or create an account to post a comment.
Sign up Log in