A Quick Course in SketchUp
This powerful 3D drawing program is easy to use-and it's free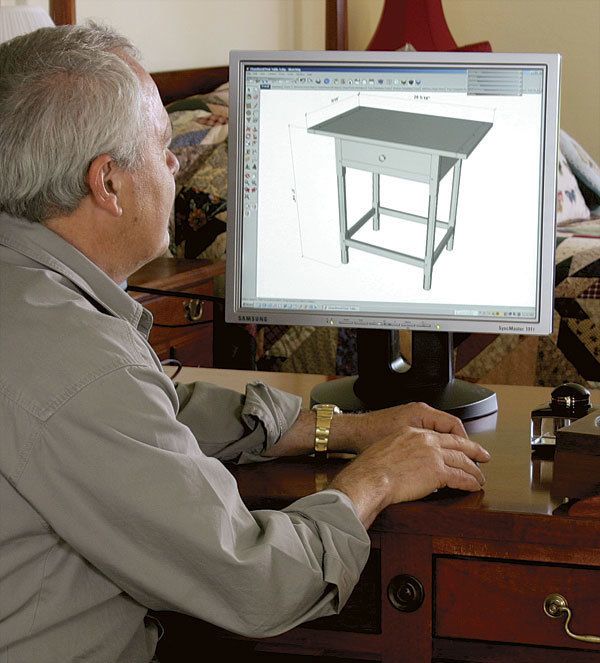
Synopsis: Two-dimensional computer design programs always left Tim Killen cold. After all, they can’t show a piece from all perspectives, the way a viewer would see it later; let you create exploded views of assemblies; or give you the option to check out complex joints. Then Killen discovered SketchUp, a 3D drawing program that allows you to produce an exploded view of all the components that go into a piece of furniture, use an X-ray view to model details of the joints, and produce detailed, dimensioned views of each component. Pretty soon, Killen was helping to lead Design.Click.Build, a tutorial blog featured on FineWoodworking.com. This article gives an overview of the program, some basics on how to use it, and offers a gallery of designs to show what’s possible.
From Fine Woodworking #194
For years I dreamed of using the computer to design furniture—being able to work out the proportions easily, preview the construction and avoid mistakes, even to see how the piece would look in the room. The 2D computer-aided drawing (CAD) systems I tried were OK but limited. For example, they didn’t let me see a piece in perspective, the way a viewer would see it later, or create exploded views of assemblies, or design complex joints.
Then, two years ago, a breakthrough—I found Google SketchUp, a 3D drawing program from the company that operates the biggest Internet search engine. Better yet, Google offers a free version that’s comprehensive enough to let you design very complex furniture. SketchUp Pro, a for-pay version that I use in my business, sells for $495 and includes features that I seldom use. Both versions run on Windows or Apple computers.
A half-day training course offered by the program’s developer convinced me that SketchUp could let me render the necessary shapes, moldings, curves, and joinery I use when I design furniture (Google still offers the training). I was especially struck by the power of SketchUp’s “component” tool, which treats the 3D shapes I draw like solid objects, not just a collection of connected lines. Each component is rendered separately, then easily moved, copied, changed, rotated, and connected to others.
SketchUp allows you to produce an exploded view of all the components that go into a piece of furniture, use an X-ray view to model details of the joints, and produce detailed, dimensioned views of each component. Once I’m satisfied with each component in a design, I print full-size templates of the joints (see photo, right) to mark out the lumber in the shop.
I’ve heard people say that SketchUp is just a conceptual tool, good for quick design sketches but limited for making detailed construction plans. Not so. I’ve used SketchUp for precise, highly detailed renderings, including a Gothic-style cornice and compound-miter joints. I’ll never go back to 2D CAD, nor will I go to the shop without first building a piece in SketchUp.
Sure, it’s daunting to learn another computer program. But this one is worth it, especially for woodworkers. You can learn the basics of SketchUp in half a day, using tutorials available free on the SketchUp Web site. You may need a couple of long weeks of practice to gain a reasonable level of confidence, but the advice I give here will help you shorten that learning curve. And SketchUp will change and improve the way you design and build furniture.
For the full article, download the PDF below:
Fine Woodworking Recommended Products
Drafting Tools

Blackwing Pencils





Log in or create an account to post a comment.
Sign up Log in