Cut Matching Curves
Router templates ensure a perfect fit between panels and solid-wood edging
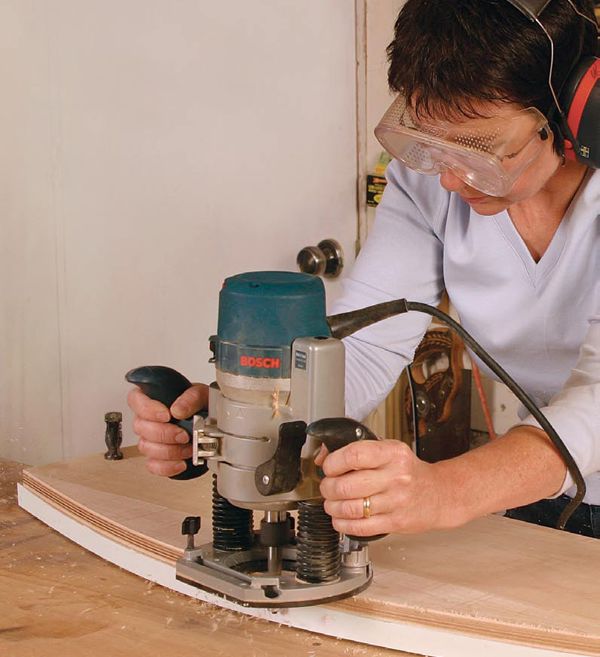
Synopsis: Cutting matching curves between panels and solid wood edging can be a problem. Even in the unlikely event that you are able to saw a perfect curve, the width of the sawkerf would prevent you from using the resulting pieces to create perfectly matching concave and convex profiles. To overcome this problem, woodworker Carol Koebbeman invented a pair of matching templates. Made of medium-density fiberboard (MDF), they will stand up to the force of a bearing-guided router bit. Koebbeman used each of them twice, first as a layout tool and then to shape the curves. Using her technique, you can cut curved profiles that match exactly from end to end.
Designing a table with a veneered plywood center and a solid-wood border, I was confronted with the dilemma of matching the curves on the plywood and the border.
Like all the best solutions, this one came to me in the early hours of the morning: In the same way a thin strip of wood can be bent to a desired arc, I realized I could use a pair of strips to make matching templates, one to shape the plywood center and the second to shape the solid-wood edge. The solution lay in how to stiffen these thin strips to withstand the force of a bearing-guided router bit.
The first template begins on the bandsaw
Begin by cutting a pair of template edge strips out of 1⁄4-in.-thick plastic-coated medium-density fiberboard (MDF) or Masonite, which gives a smooth surface for the bearing to ride against. I made them 3⁄4 in. wide, a few inches longer than the curve. For larger, shallow curves, you may need 3⁄8-in.-wide material.
Bend one of the strips to the desired curve and temporarily clamp it to a base of 1⁄4-in.-thick MDF, plywood, or Masonite. The base should be the same length as the strips and slightly wider than the depth of the curve. Mark the curve on the base, remove the clamps, and cut the curve on the bandsaw. There is no need to follow the line perfectly. You now have two bases whose curves roughly match the concave and convex curves on the tabletop.
Place one of the bases on your bench and attach a small block of wood to the center and to each end of the curve using hot-melt glue. The blocks must stand slightly proud of the edge to ensure that irregularities in the bandsawn cut don’t interfere with the final curve. Bend one of the strips and clamp it to each of the blocks with the smooth edge facing outward to produce a curved edge. Reinforce this strip by gluing more blocks at about 1⁄4-in. intervals along its length, taking care not to alter the curve. Finally, remove the clamps and glue the strip to the end blocks.
From Fine Woodworking #179
For the full article, download the PDF below:
Fine Woodworking Recommended Products

Starrett 12-in. combination square

Estwing Dead-Blow Mallet

Bessey EKH Trigger Clamps


Log in or create an account to post a comment.
Sign up Log in