Synopsis: It’s the most stressful 15 minutes of woodworking. You’ve spent weeks of careful work and preparation in building a piece of furniture, and it all comes down to the glue-up. But as Gary Rogowski advises, there are strategies to make it less stressful: having the right clamps and other gear, organizing your tools beforehand, planning for contingencies, gluing up in stages, and practicing assembly techniques. Whether for case work, miter joints, edge joints, mortise-and-tenon joints, or dovetails, if you use Rogowski’s tips, your glue-ups will go more smoothly.
No movie chase scene could provide as many heart-pounding thrills as gluing up a project in the woodshop. After weeks of effort and preparation, all of your careful work comes down to 15 minutes of heart-palpitating frenzy. Few other things in life can compare to this, except perhaps getting to the airport late for your flight.
Just as there are strategies for milling lumber and cutting joinery, there are strategies for gluing that increase your chances of success. Organizing your tools beforehand, planning for contingencies, gluing up in stages, applying glue intelligently, and practicing assembly techniques will help you to avoid most of the stress of glue-ups. Notice that I did not say all of it. Most of these important factors come under the heading “preparation.”
Preparation is the key to success
The assembly of your project may be the most important job you face during its construction. Before you squeeze out any glue, check that your assembly tools are at the ready. This will save you precious time during glue-up. It also may send you to the store to get the right tools for the job.
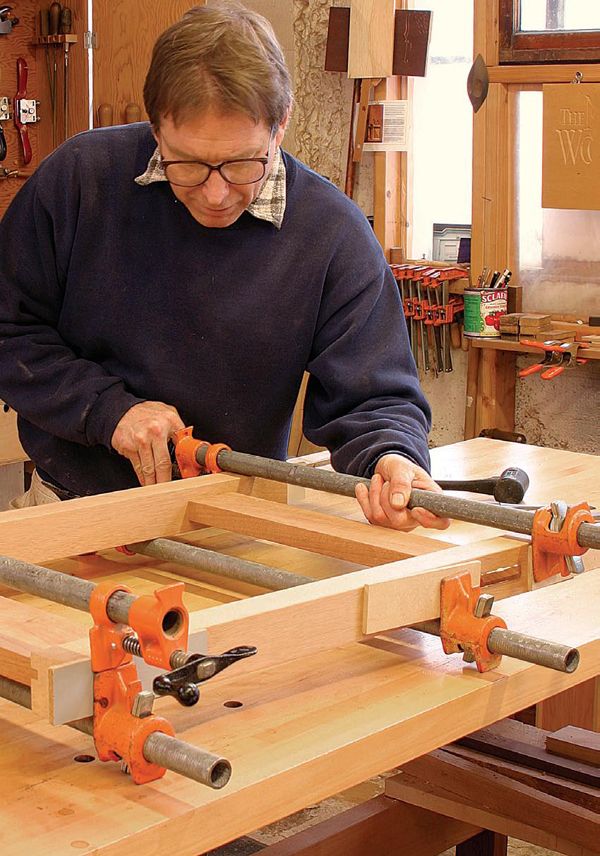
A lamentable truth is that you will never have enough clamps. Get over it; it’s true. Choose clamps appropriate for each job, and buy as many heavy-duty ones as you can afford. Before using clamps, unscrew them as much as possible so you have plenty of adjustment available, and arrange them so that the head and tail stops are at the proper distance.
Different clamps have different jaw depths. Put clamps on your project to check that you’ll get pressure where you need it. Make sure any caul or clamp pad you use is free of dried-up glue. Nothing dents wood as well as that hard old stuff.
This may seem simple, but number the parts clearly so there is no confusion when you are under the gun. There is no worse feeling than finishing your clamping only to discover that tenon A is in mortise C. Use big, bold letters or numbers. You won’t have time in the midst of your gluing frenzy to look for neat little script.
In every case, do a dry run to make sure everything is in order beforehand. Check the parts to see that they are not twisted or bowed by the clamping pressure. Adjust the pressure to keep frames flat while still pulling them tight at the joints. This may mean changing the position of the clamp heads.
From Fine Woodworking #177
For the full article, download the PDF below:
Fine Woodworking Recommended Products

Bessey EKH Trigger Clamps

Starrett 12-in. combination square

Veritas Micro-Adjust Wheel Marking Gauge


Log in or create an account to post a comment.
Sign up Log in