Keep Track of Your Progress with Squiggles and Lines
A simple marking system can show you your progress at a glance
Synopsis: If you don’t mark your parts as you progress through a job, you’ll waste time trying to remember what goes where and what you have already done, says author Philip C. Lowe. Cut and mill your stock, labeling parts as you go, and match panels before jointing the final edge. He shares his shorthand for how to mark various pieces of joinery and marking for reassembly.
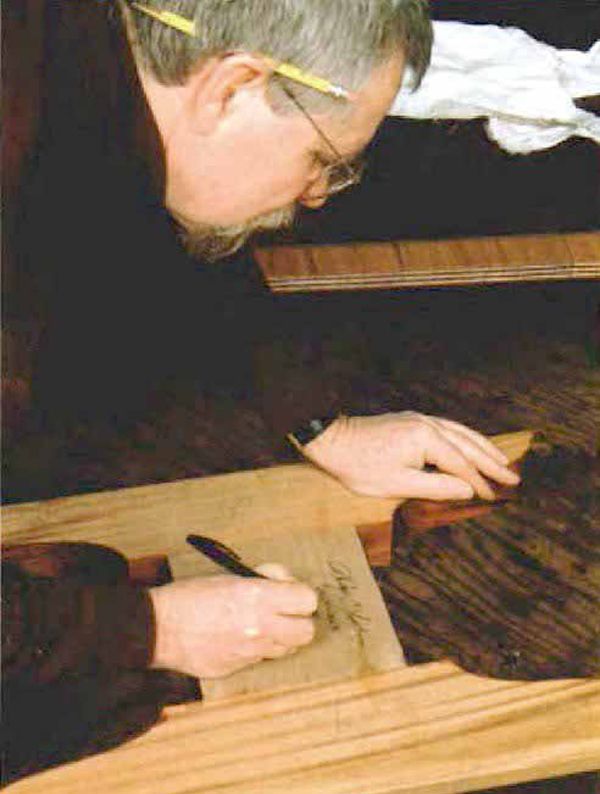
One of my clients came into the shop one day very excited about an 18th-century desk with bookcase that he had just purchased and the fact that the desk had a signature beautifully written in faint chalk on the underside of its bottom panel. Curious to see who the maker was, we laid the desk on padded sawhorses and took a close look. Lo and behold, the famous maker turned out to be “BOTTOM.” What the client thought was a signature simply was a cabinetmaker’s notation used to keep track of the many parts and mating joints. Upon further snooping, we turned up markings that indicated the top and bottom of the bookcase, again artfully written in chalk in inconspicuous places.
That early American furniture maker knew something that every woodworker today eventually learns: If you don’t mark your parts as you progress through a job, you’ll waste time trying to remember what goes where and what you have already done to which parts. You also wil make costly mistakes, such as ripping a board with a roughsawn edge against the fence or placing the out-of-square end against a stop when crosscutting a board to length. The accumulation of mistakes like these builds larger inaccuracies into your project, creating problems that become too big to correct later on. Keeping track of reference surfaces is a big step toward elevating the quality of your work. The time you spend up front making a few marks and squiggles will pay for itself many times over.
The exact way that you keep track of parts and processes is up to you. The trick is to have a marking system that is easy to understand and that can be recognized at a glance. I label parts as I work through the milling, joinery and assembly of a piece.
Cut and mill stock, labeling parts as you go
Following a stock list, I cut all of the parts to rough width and length. As I go I label each part—rail, stile, top, bottom or panelon the end grain (this way it will not be planed off during milling).
Once the rough cutting is complete, I step to the jointer and flatten one surface. I put a squiggle on this surface so that I can keep track of it as I mill. On the planer, once the other rough side has been planed flat, I alternate the surfaces as I thickness the board, to try and remove an equal amount of material from both (boards tend to move if all of the material is planed from one side). The squiggle mark is removed, but I don’t need it anymore.
From Fine Woodworking #149
For the full article, download the PDF below:
Fine Woodworking Recommended Products

Drafting Tools

Bessey K-Body Parallel-Jaw Clamp

Bessey Band Clamp


Log in or create an account to post a comment.
Sign up Log in