Bowl-Turning Basics
You don't have to be a master on the lathe to turn a useful, handsome bowl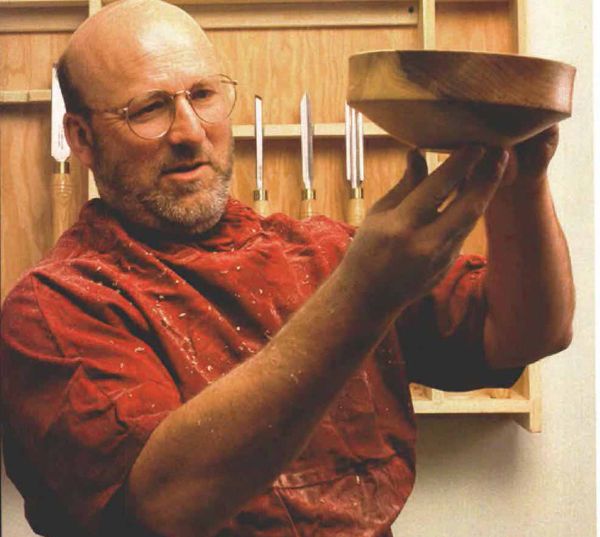
Synopsis: The beauty of a well-balanced bowl lies in subtle details, writes Richard Raffan. He explains here how to make a bowl on the lathe in an hour or two. Among the techniques shared in this article are how to use a center-screw faceplate and a step-jaw faceplate to fix wood to the lathe, how to use a firm grip and light touch to guide the tool, and what to do if you get a tricky situation. Follow his steps on roughing out the profile, shaping the base and foot, finishing the profile, remounting the bowl to hollow it, and sanding and finishing the inside with a food-safe finish.
The beauty of a well-balanced bowl lies in subtle details. A bowl that’s meant to be used should invite human touch. Making one isn’t beyond the means of even a beginner, as long as he’s armed with a nice piece of wood and a few design concepts. And unlike other woodworking projects that require joinery and glue-ups, you can turn a small bowl in an hour or two.
Taken in profile, the upper half of the bowl is turned with a gentle concave curve. The lower half is shaped with a reversed curve. Under typical overhead lighting, the reversed curve creates a shadow that emphasizes the bowl’s form. The angle where the two concave curves intersect has a practical function, too: It provides a wide lifting surface. A shallow foot lifts the bowl, both physically and visually. And on the inside, the rim is undercut slightly, emphasizing the form and a sense of containment.
A center-screw faceplate is a quick way to fix wood to the lathe for shaping the outside profile. When the bowl is remounted by its foot and is hollowed, I use a set of step jaws, which accepts three different foot diameters. I use a -in. spindle gouge for shaping the profile and a deep-fluted -in. bowl gouge for hollowing. A -in. spindle gouge comes in handy for detailing the foot. I use scrapers to clean up tool marks and tearout. For this bowl, a pair of -in. or -in. scrapers is used, one skewed for the outside curve and the other radiused for the interior. For sanding, I use handheld sandpaper and a portable drill fitted with sanding discs.
First, rough out the profile
Mount a bandsawn disc on a screw-center chuck. Set the lathe’s tool rest about center height at an angle across the bottom corner of the blank. Spin the blank by hand to make sure it clears the tool rest. You may be tempted to true the outside of the disc first. Don’t bother. Instead, begin by removing waste at the corner just above the foot, using the -in. spindle gouge (see the left photo above).
Place the gouge on the tool rest and roll it over to about 45° with the bevel facing the wood and the handle dropped about 15° to 20° below horizontal. Plant your left hand firmly on the rest over the tool, using it as a fulcrum against which the tool can pivot as you start the cut.
From Fine Woodworking #136
For the full article, download the PDF below:
Fine Woodworking Recommended Products
Makita LS1219L Miter Saw
Ridgid R4331 Planer

Veritas Wheel Marking Gauge




Log in or create an account to post a comment.
Sign up Log in