Synopsis: “Scraper” seems a poor term for such a fine tool, a tool capable of the finest of cuts and the heights of accuracy, writes Stephen Proctor. He outlines the various sizes, thicknesses and methods of use for all. He starts with instructions on sharpening a scraper, polishing it, burnishing it, and raising and turning a burr. He explains what scrapers are commonly used for, three techniques on using them, and how to avoid making ridges in your stock.
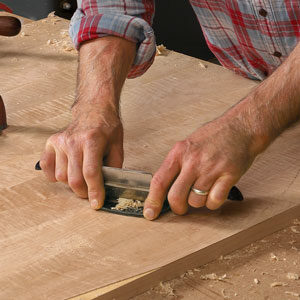
The term scraper brings to mind a tool for cleaning blistered paint from the sides of a house, or for chipping rust from the deck of a ship. It seems a poor term for such a fine tool, a tool capable of the finest of cuts and the heights of accuracy, an almost indispensable tool around a furniture shop. The term is something of a misnomer, for when sharpened to a burr edge, a scraper cuts rather than scrapes, much like a very low angle plane blade or chisel, slicing off paper-thin shavings of wood. As useful as the scraper is, it’s surprising how few people understand how to sharpen and how to use it.
Scrapers come in various sizes and thicknesses and the methods I will describe for sharpening and use are the same for all. A standard scraper, good for most work, is a in. by 5-in. piece of steel, about in. thick. Scraper hardness varies; I have had little luck using my methods on scrapers advertised as having hardened edges. For curved surfaces, a thin flexible steel that will conform to the curve is better. A gooseneck scraper (the whale-shaped one in the photo at right) contains a variety of curves that can be used on tight curves or moldings. I have four or five scrapers around so I don’t have to stop and sharpen so frequently.
A rectangular scraper consists of four narrow edges and two broad faces. The cutting is done by a small burr formed at the juncture of a face and an edge (such a juncture is called an arris, as indicated in the drawing on the next page). The quality of the burr, and of the cut it makes, is entirely dependent on the quality of the intersecting surfaces. Two smooth, blemish-free surfaces produce a stronger burr with fewer of the microscopic serrations that produce a rough surface on the wood.
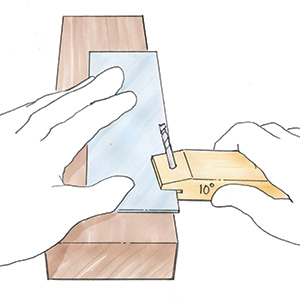
To sharpen the scraper, first dress the two long edges with a single-cut mill file. Clamp the scraper vertically in a vise and draw the file along the edge, trying to achieve a straight edge, perfectly square in cross section. All four arrises should feel sharp to the touch, if not, refile until they do.
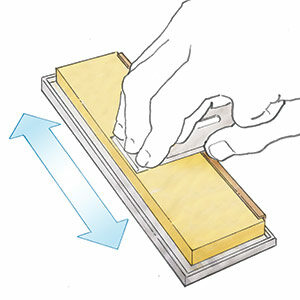
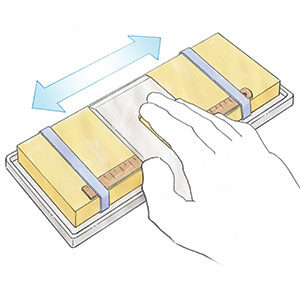
Next, polish the faces of the scraper with a medium India stone followed by a fine, hard finishing stone—I use a hard black Arkansas stone. Be careful to keep the scraper flat on the stones, or you’ll round the arris. Then, holding the scraper vertically between both hands, polish each long edge, rubbing the scraper to and fro along each stone in turn. Hold it diagonally across the stone to prevent uneven wear to the stone. Don’t be tempted to polish on the edge of the stone, using the box holding the stone as a 90° guide—repeated polishings will wear a groove in the stone and round the edge of the scraper. After this operation, all four edges should again feel sharp to the touch.
From Fine Woodworking #58
For the full article, download the PDF below:









Log in or create an account to post a comment.
Sign up Log in