
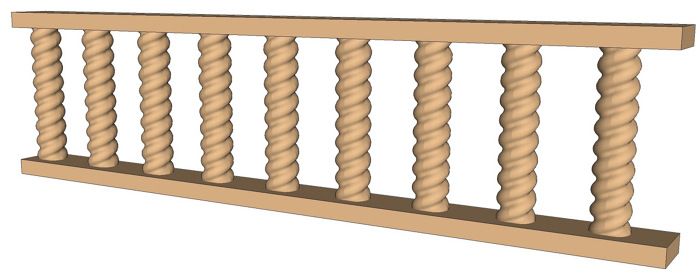
A friend of mine asked me if I could draw a two-start barley twist. With a couple of plugins, this turns out to be a fairly easy proposition. I used the Draw Helix, Weld and and Extrude Edges by Rails for this.
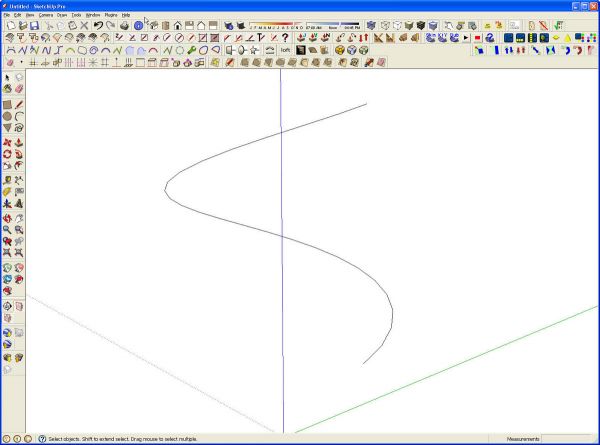
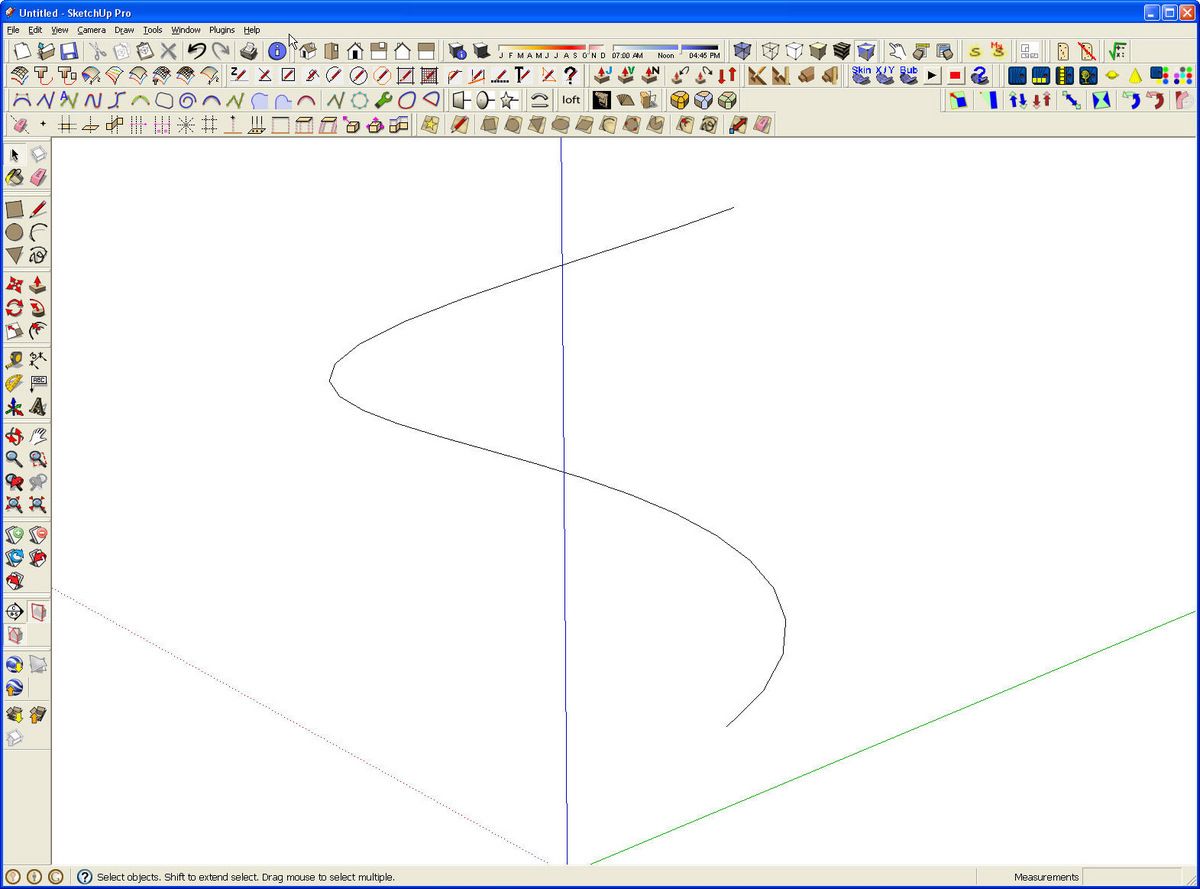
I started with a single turn helix. For this example I set the radius to 20 and the pitch to 40. Later it’ll get scaled down to make a 2 inch diameter twist but for now we’ll work at a larger scale to avoid potential problems with small faces that don’t fill. The helix is created as a group which I exploded.
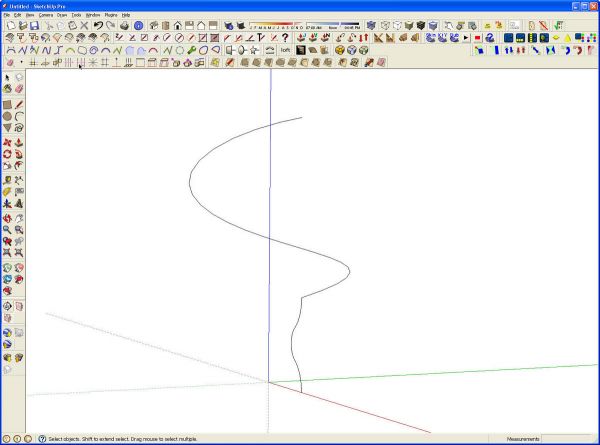
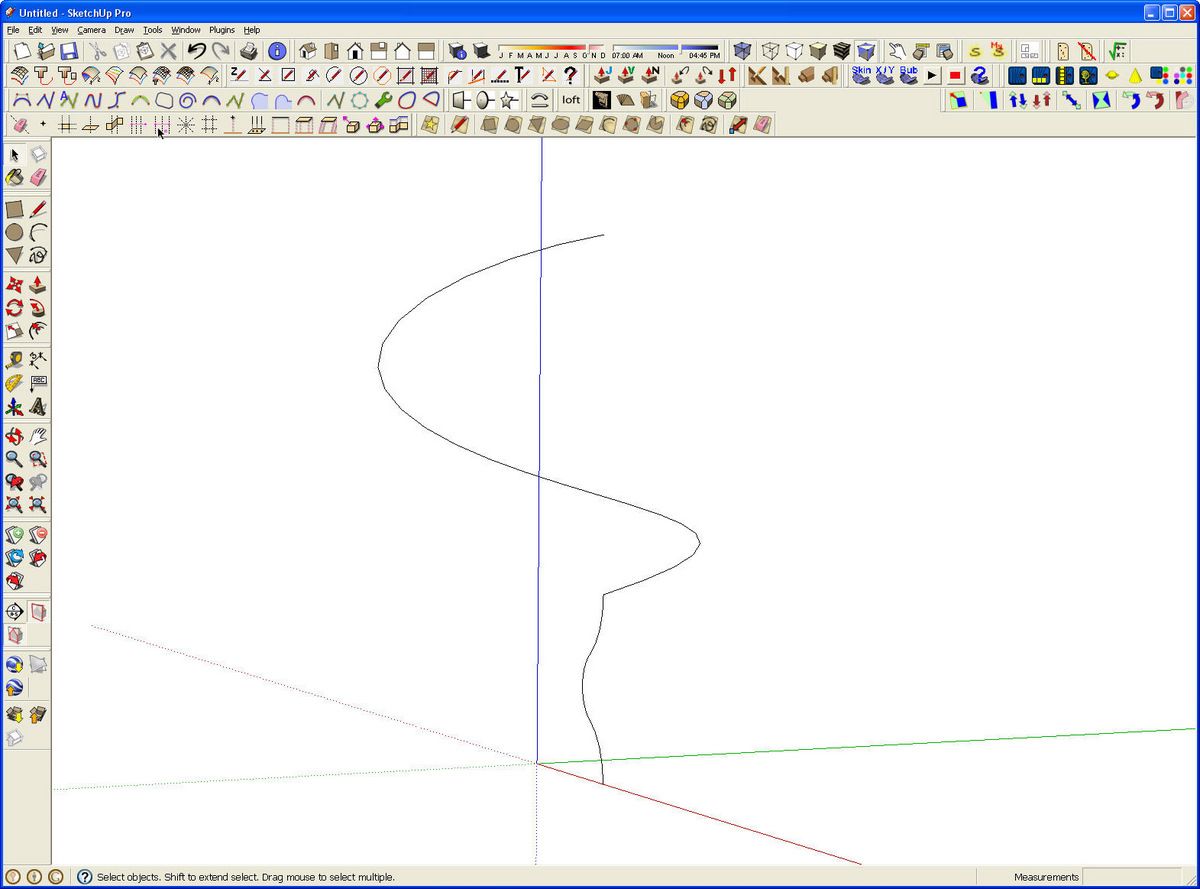
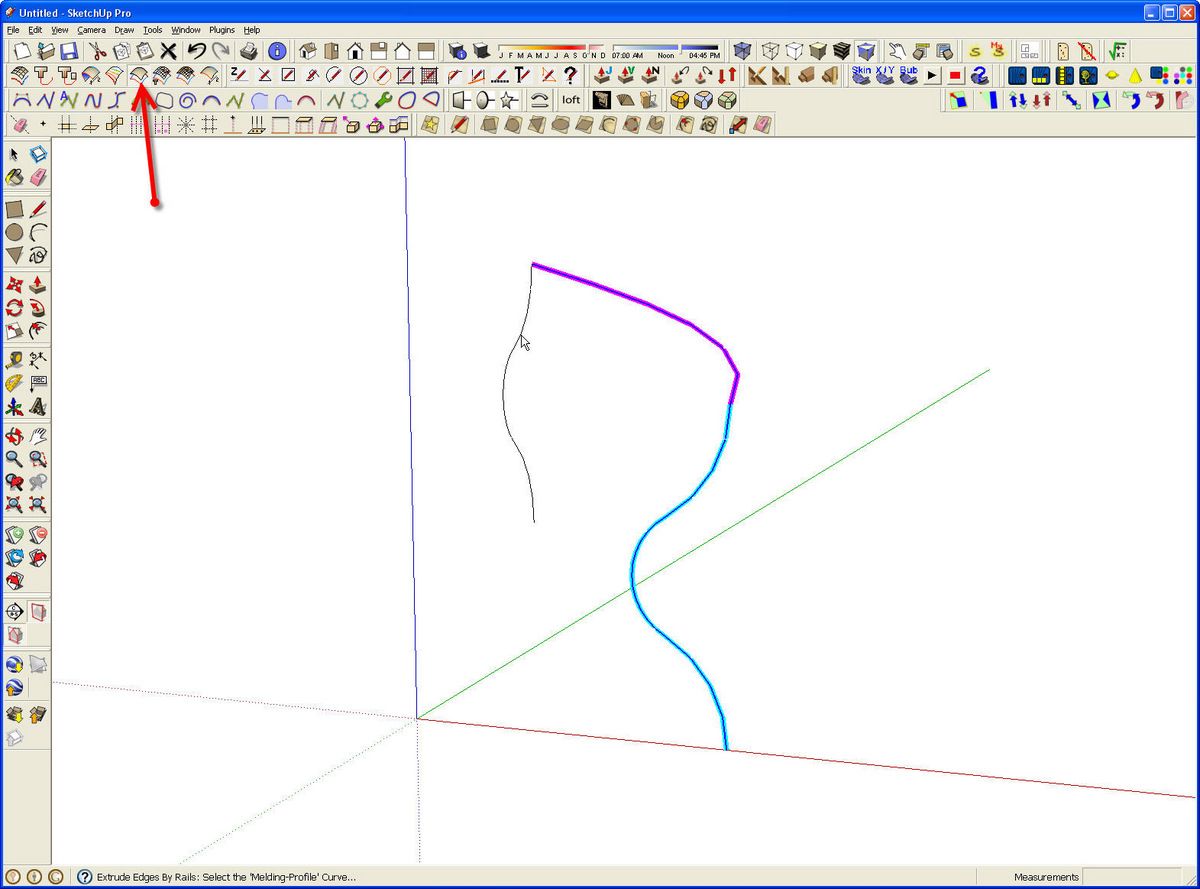
Next I drew the profile for the barley twist at one end of the helix. In this example I used three arcs for the profile. If you’re trying this, you might find it helpful to start on a rectangle placed vertically so that you can keep the arcs coplanar to each other. This isn’t required, though. I used the Weld plugin to weld the three arcs of the profile together.
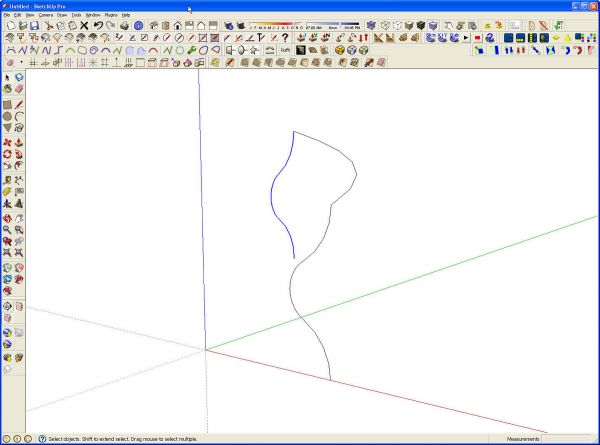
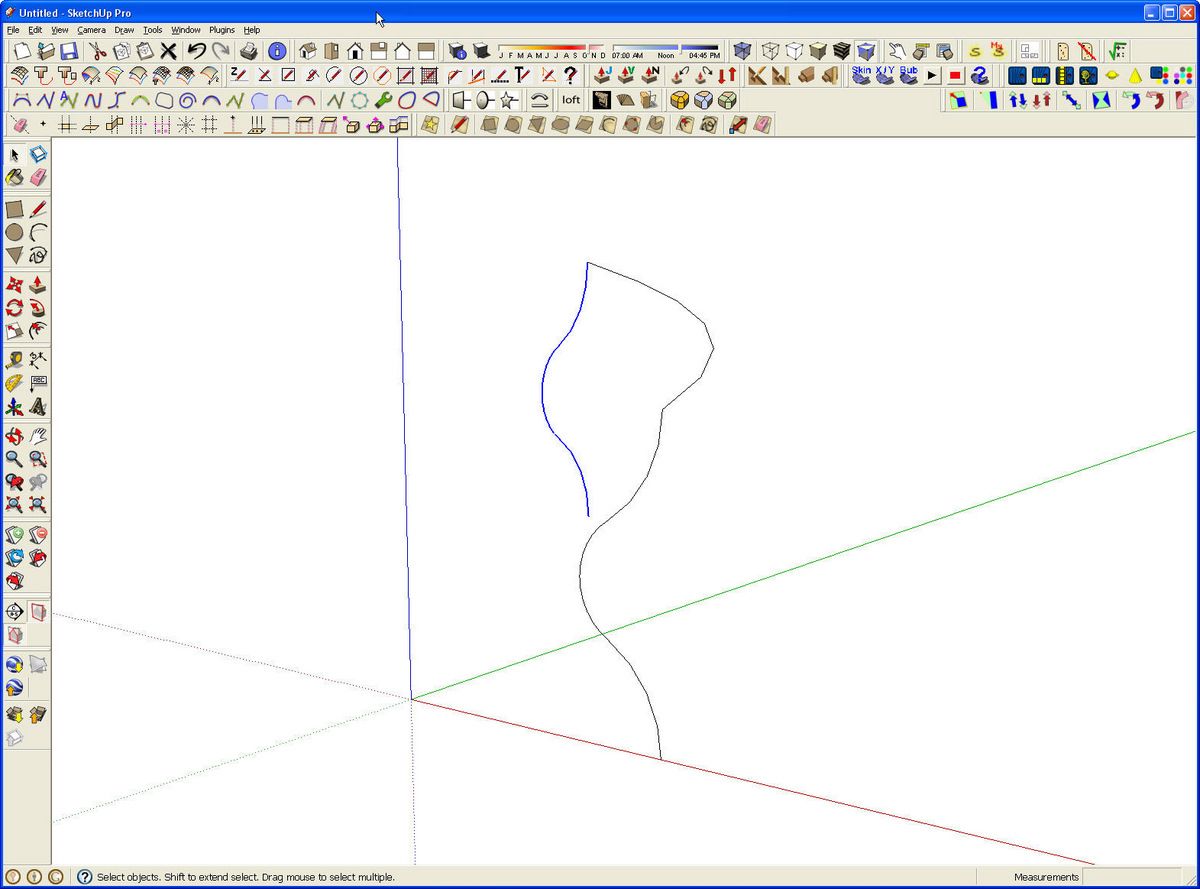
To keep the file size down, I decided to make a component of a quarter of the turn and copy that. So I deleted all but one quarter of the helix. Then I selected the profile and Rotate/Copied it 90° and then moved it up so the top end met the helix.

Next I selected the Extrude Edges by Rails plugin from the toolbar. I followed the directions at the bottom of the screen. The plugin asks you to select two profiles and two rails. The rails are the path for extrusion. I just selected the helix twice.
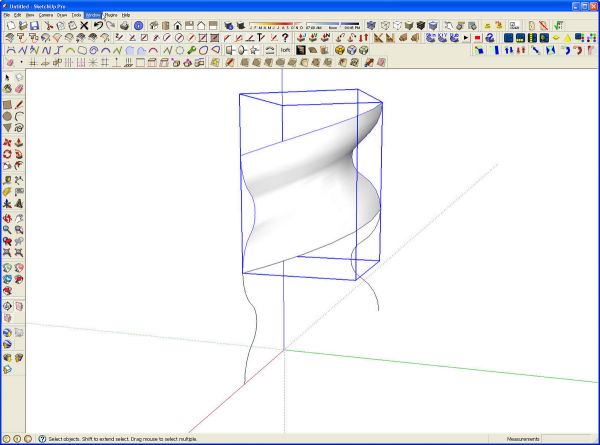
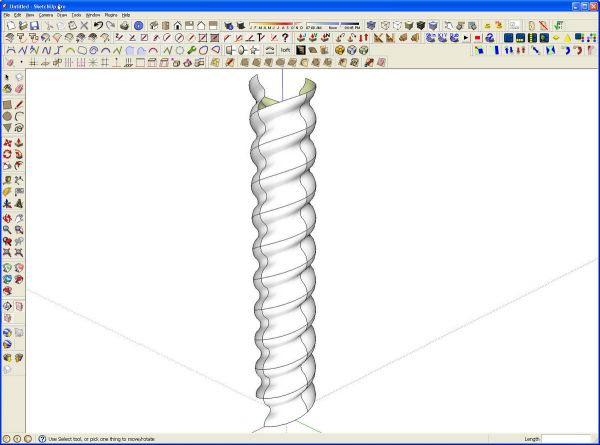
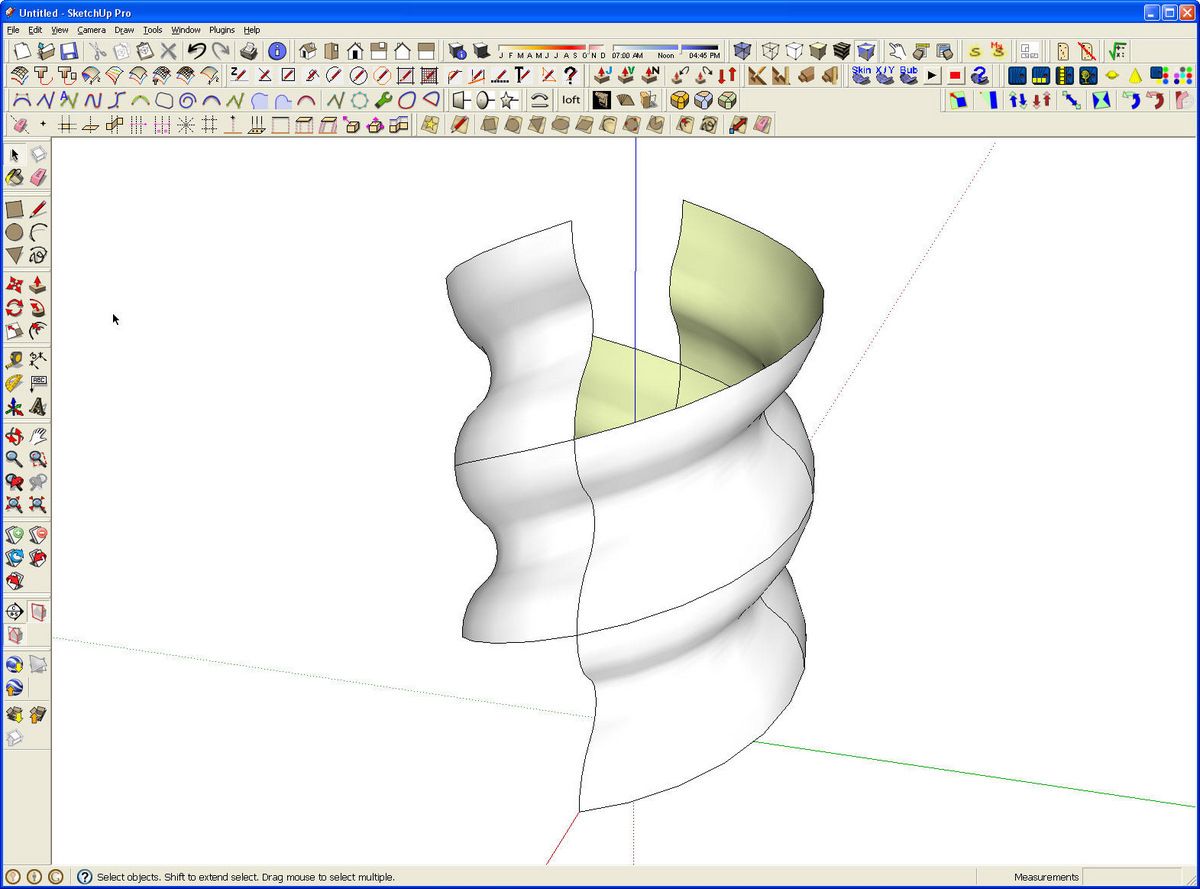
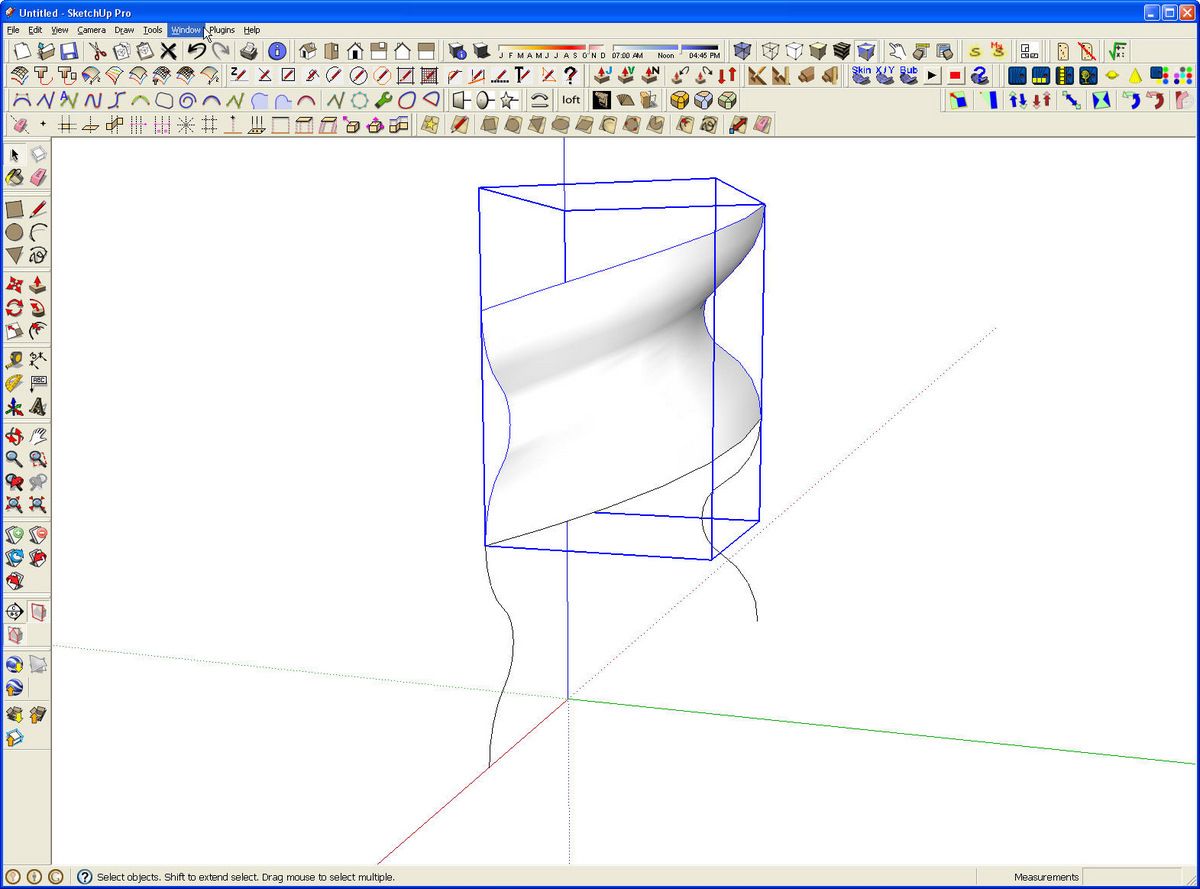
After choosing the second profile, called the Melding Profile, The plugin makes the extrusion and then opens a series of dialog boxes asking if you want to reverse faces, delete coplanar edges and smooth surfaces as well as a few other questions. After answering them, you end up with a group of the extruded face. In this example, it was drawn above the helical path. I think this location has to do with the direction in which the helix and the profiles were drawn. Since I got what I was after, I just left it. At this point the helix and profiles can be deleted. I scaled the model down by a factor of .1 to make the barley twist the desired diameter. I made the group into a component and moved it down to the ground plane.
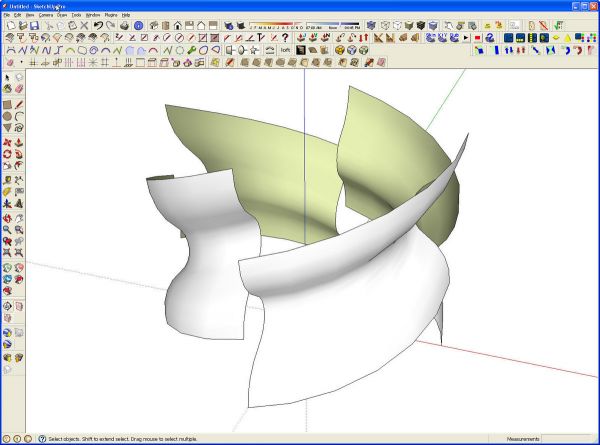
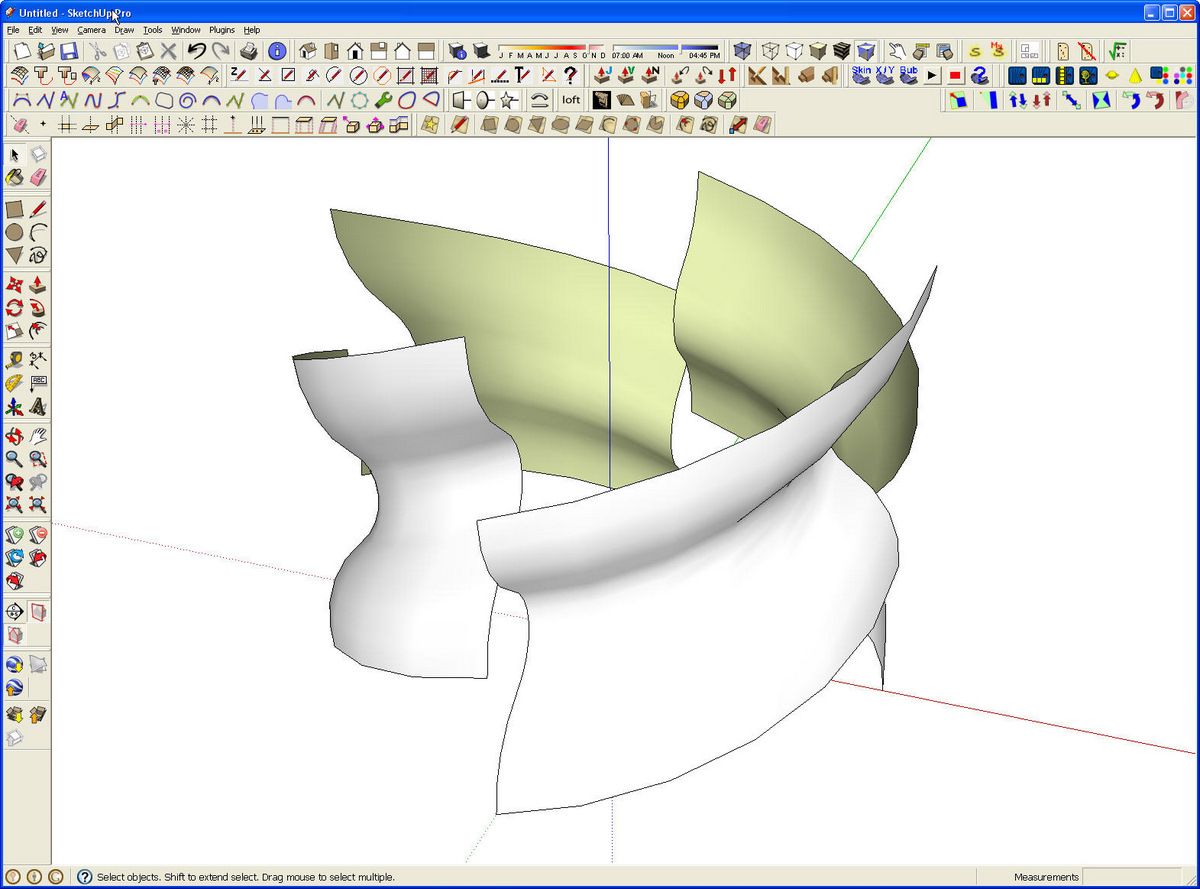
Next I Rotate/Copied the component 90° and made three new copies.
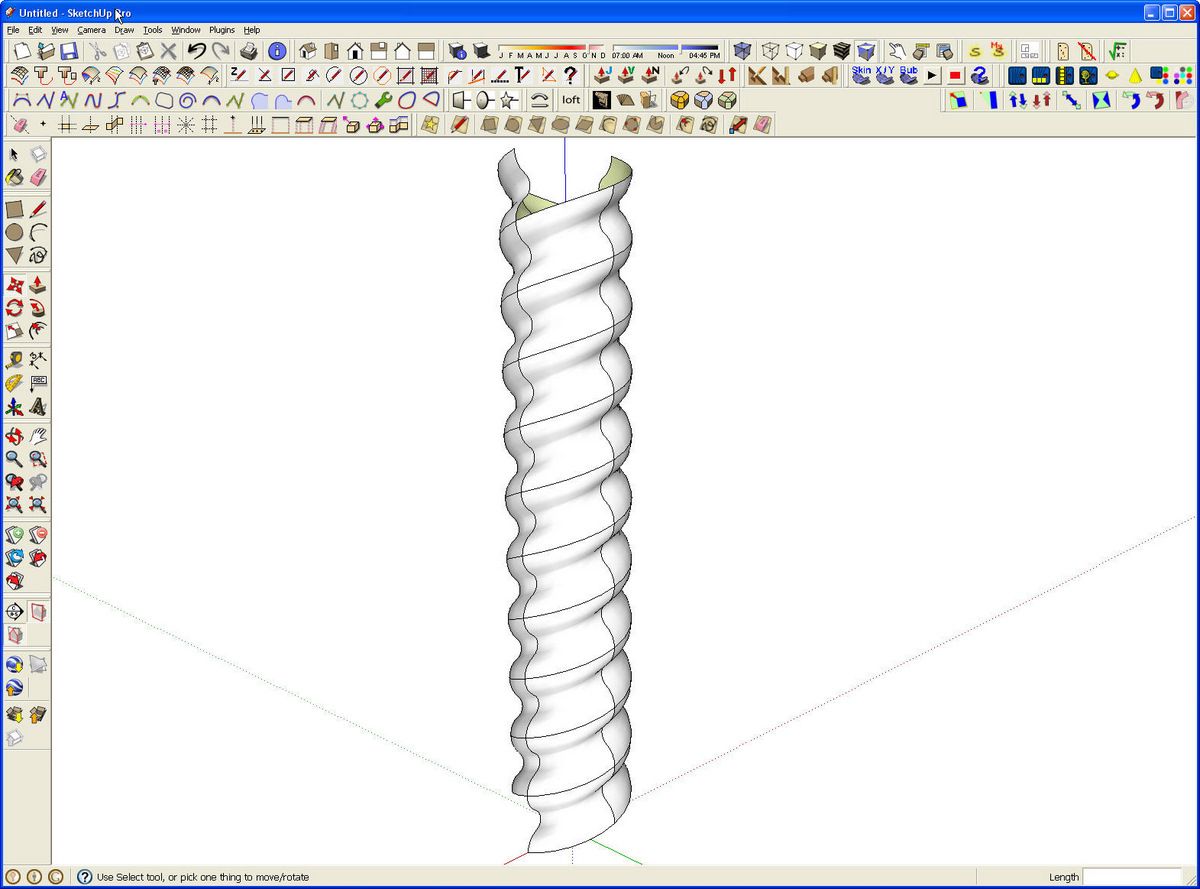
These copies were moved up to make the continuous shape. This is the first start.
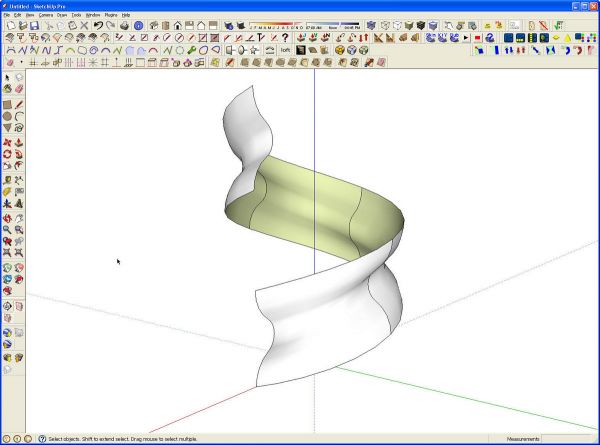
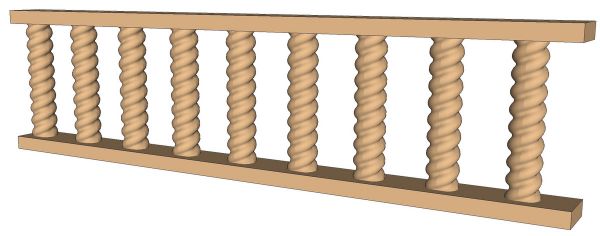
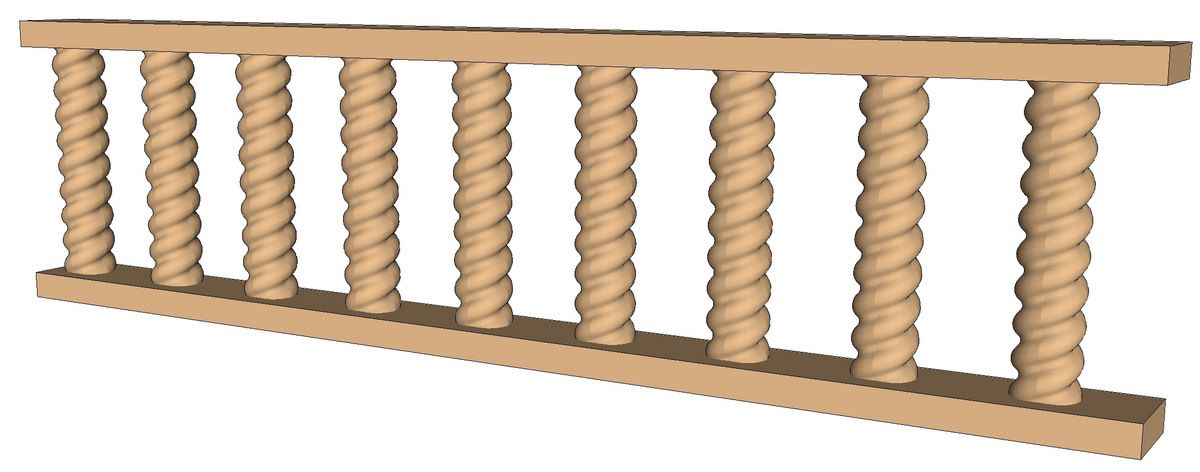
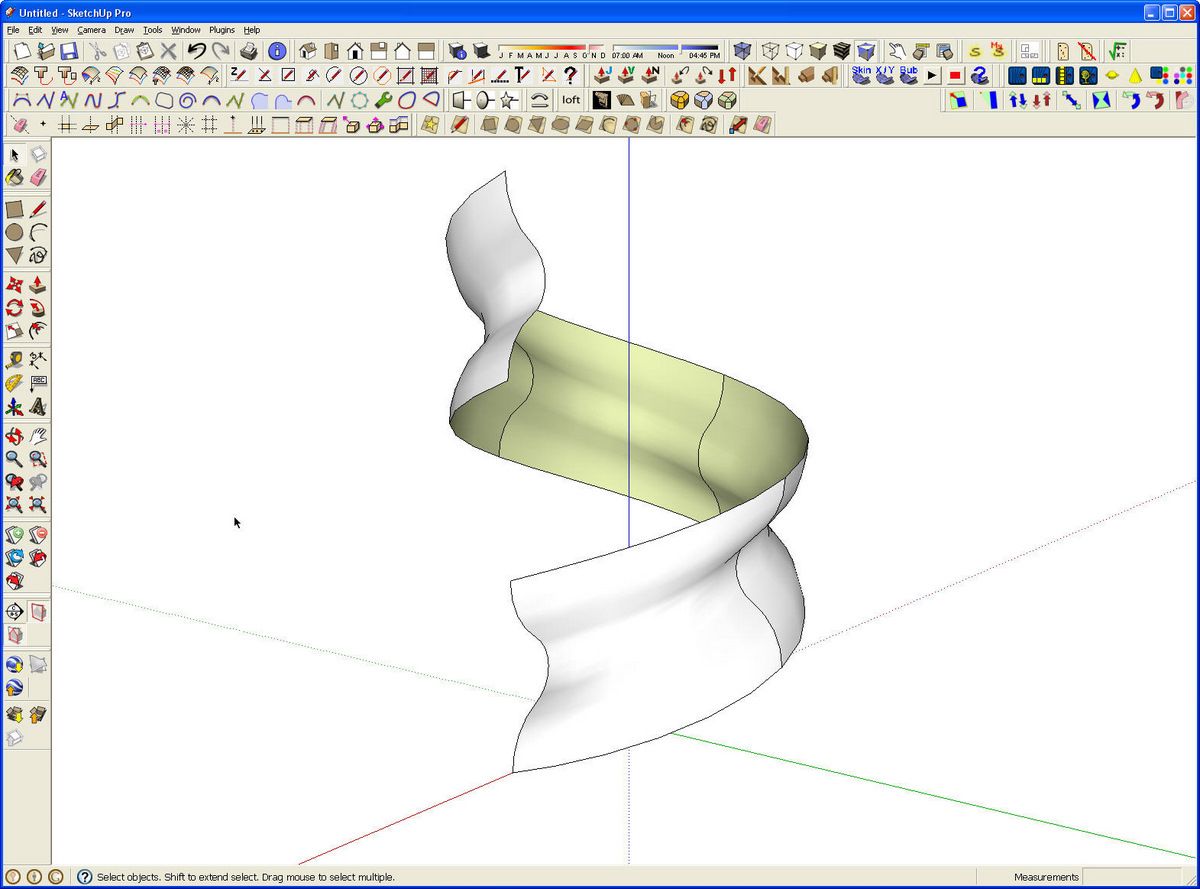
I selected all four instances and Rotate/Copied then 180° to create the second start. All eight of these components can now be copied upward as many times as needed to make the entire length.
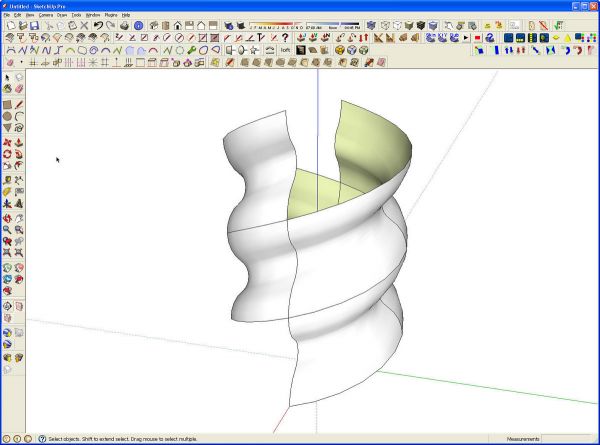
Now, to get rid of the seam lines between the components, open one of them and hide the edges. For this hold Shift while running the Eraser tool over the edges. If you missed the Make Component step, you’ll have to repeat this hiding step for each group.
The whole twist can now be selected and made into a nested component if desired. If you want to cut the ends of the barley twist off flat, you can make a face that can be intersected with the components. Just remember to use Make Unique on components at the ends so that you don’t end up cutting all of the instances the same way.


Comments
great tutorial! and a good set of plugins to help out with this, otherwise this is a daunting process.
This has to be one of the most creative ideas I have seen so far. It never ceases to amaze me what sketch up is capable of
Dave, is there a way that you could update this technique for the latest version of Sketchup? I can't find the plugins and I'm not sure they even still work? Thanks for the help!
Tony-Memphis
@maplwood, all of those plugins are still available and they all work even in the current version of SketchUp. The link for Draw Helix is dead but Jim has it available elsewhere. You could substitute the Helix tool in Curvemaker which is available through the Extension Warehouse. Weld is still available through Smustard--the link I provided or you could use TIG-Weld which is available from Sketchucation as is Extrude Tools.
-Dave
Thanks! I was able to find and install some things from an archived version I had on an old drive. I also found the Curve plugin you mentioned. I had followed this post and created a twist long ago. Still had that model. I'm not looking to create what I need to make exactly. Mainly just need to draw a representation.
I need to make a ~2.5" D ~2ft long twist.....that is a LOT of wood to remove! Its a fern/plant stand.
Thanks again,
Tony
Log in or create an account to post a comment.
Sign up Log in