Table saw blade till

I built a table saw blade holder to get at the saw blades and dado stack easily.
The bottom shelf ended up being a convenient place to put the wrenches, too.
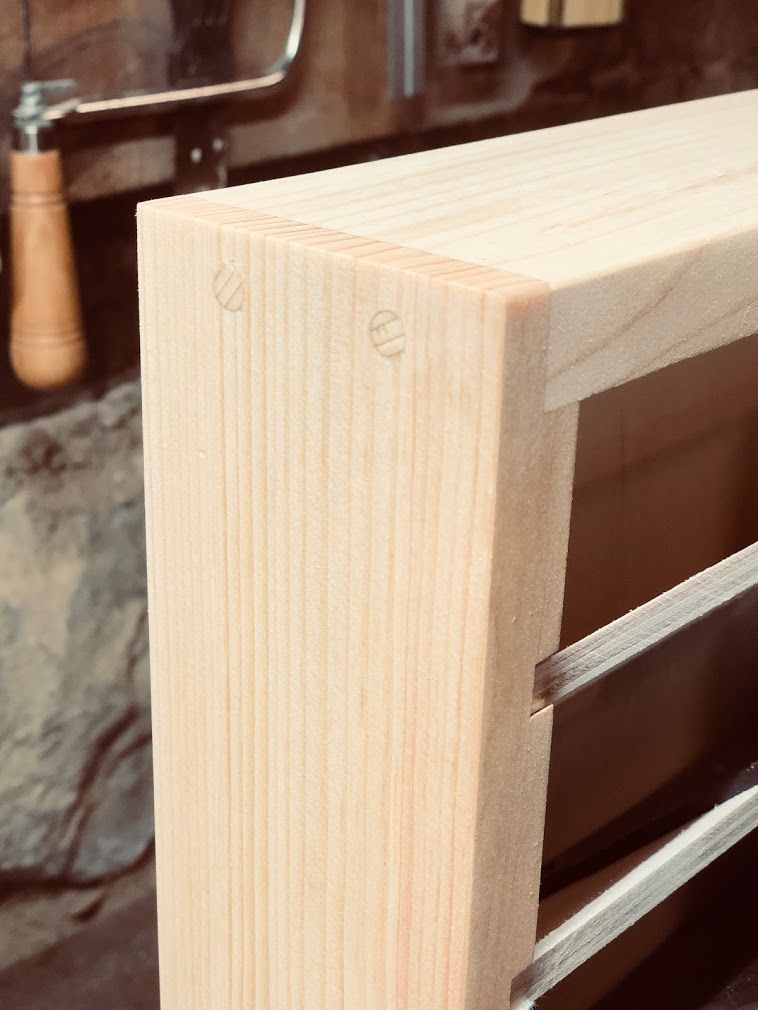
This was a quick build with some pine and 1/4″ plywood that I already had. I marked out some 45-degree lines about 2″ apart on the sides. Then cut these with the dado set and miter fence on the table saw. I ripped the 1/4″ plywood into strips and inserted them into the slots. The cabinet sides are rabbeted together, and the back is set into grooves. For a finishing touch, I drove pegs through the rabbeted sides.
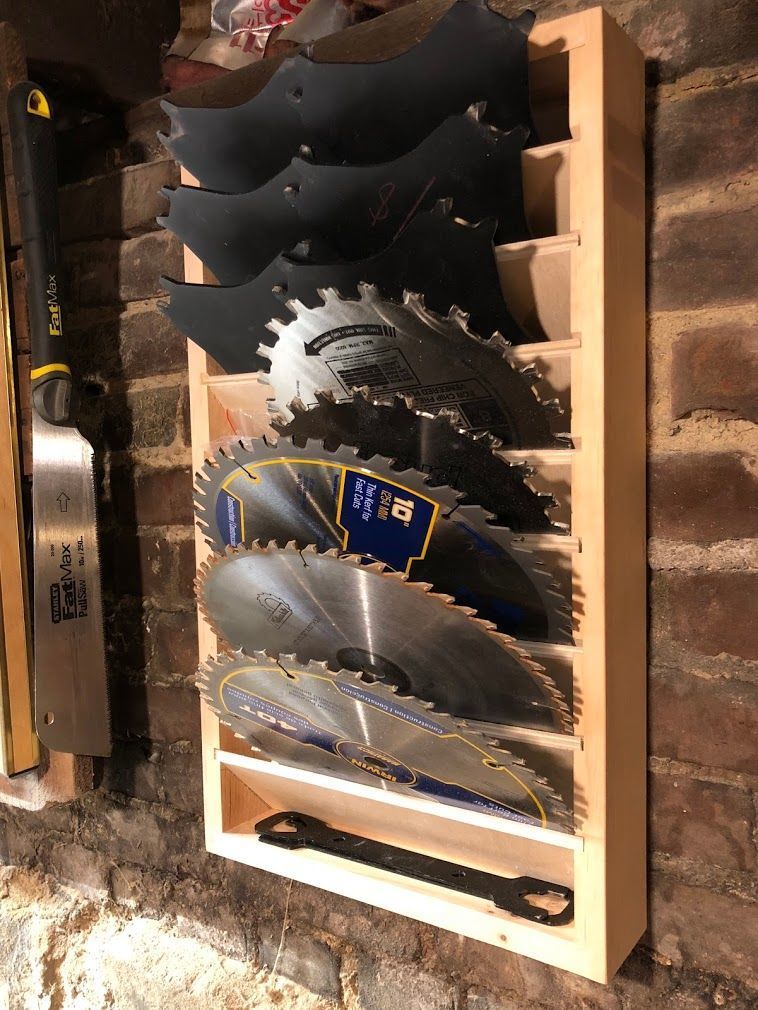
I mounted it to the wall with a french cleat.
If I were to do it again, I’d make the cabinet a little bit deeper so the blades don’t stick out quite so much, but it’s not as dangerous as it looks. 🙂
Fine Woodworking Recommended Products

Sketchup Class
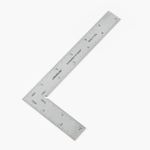
Veritas Precision Square

Odie's Oil
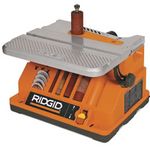
Ridgid EB4424 Oscillating Spindle/Belt Sander

Mullet High-Speed Cyclone Dust Collector
-
Blade holder mounted to the wall on a french cleat.
-
Laying out the lines for the 45-degree dado cuts.
-
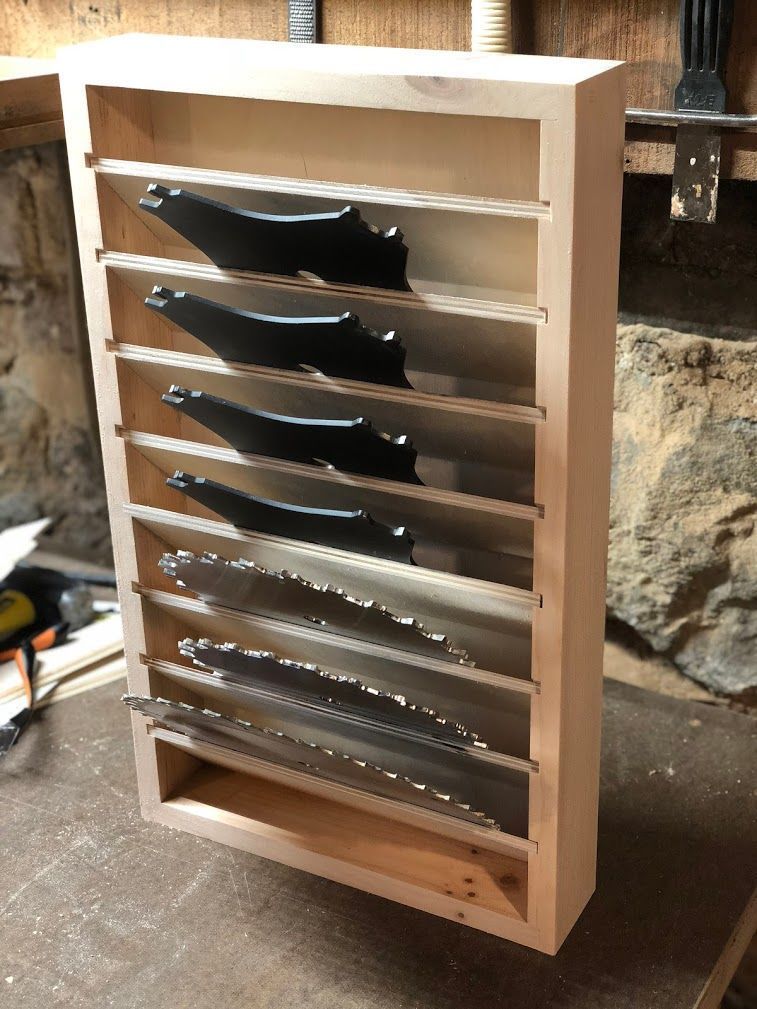
Blade holder sitting on the bench.
-
Detail of some pegs.


Comments
Great idea. Perfect idea for the scrap wood I have laying around. Thanks for posting.
Log in or create an account to post a comment.
Sign up Log in