Emboldened by my friend Mel, I am offering up some of my thoughts on a joint that I have not seen much discussed. Indeed, I dont even know its proper name, so I call it a mitered egg crate joint.
The Mitered Egg-Crate Joint
<!—-><!—-> <!—->
This is a joint used to connect the dividers in a case such as a spice box, or could be used to separate areas in a drawer for things such as silverware.
see mitered eggcrate.jpg and flat eggcrate.jpg
<!—-> <!—->
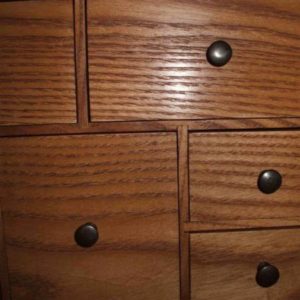
The common egg-crate joint is a half-lap, which leaves a squared up face.
see eggcrate001.jpg
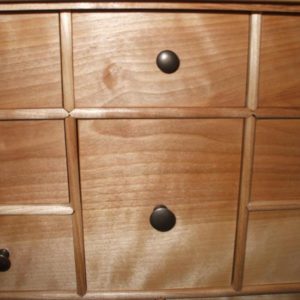
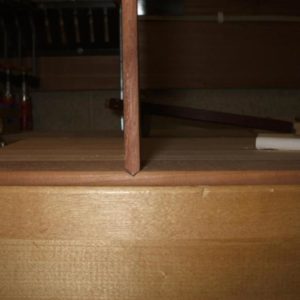
However, the mitered egg-crate leaves a face which can be rounded or faceted.
see eggcrate002.jpg
This leaves a more elegant or finished look without much more effort.
How to achieve this? Well, follow along and I will show you how I approached and chose to create this joint.
<!—-> <!—->
If you look at period pieces, in my case Chester County Spice Boxes, these joints at first appear to be simply mitered edges glued together. But, that would not seem to be very strong, and difficult to assemble. So, on looking closer, one can see that the miters do not go through the joint, that is, they are less than half-depth. This is the key to the joint. It is in one sense, a fraud. It looks like a full miter but is not. But wait, the fraud gets greater! The miter is also not the full length of the divider! So what we really have, is make-up on the half-lap joint.
<!—-> <!—->
So, now we can see the design, a half-lap joint from an inch or so back of the front edge, and a bevel edge forwards. Now, how to create the joint.
<!—-> <!—->
It begins with a design for dividers. I examine the design and determine which boards should be continuous and which are not. In a spice chest, I choose the horizontal elements to be continuous both for looks and ease of assembly. In case it has not yet occurred to you, the pieces must be assembled from the back as the bevel will fit through the dado, but the butt end of the panel will not go through the bevel! (It follows that drawer dividers must be assembled before the bottom is put in.)
<!—-> <!—->
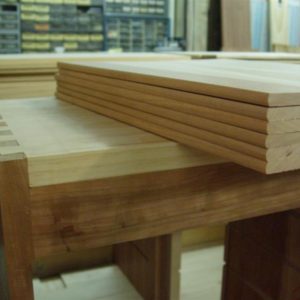
Begin by preparing your boards. In my case they are a thin ¼ inch, with a front edge of the primary wood, the rest of pine. Cut them to length and round the front edges. The continuous boards are easy to measure; they simply go from the bottom of the dado on one side of the case to the bottom of the dado on the other. The dividers however are the rub, now you must make a decision as to how deep the dadoes that they will fit into will be. Since in several cases the design calls for dividers above and below, going half the depth from each side will cut the “continuous” board in two – oops! So, the depth must be less than half. I suggest that cutting in one third (approximately) from each side will work well. It will be deep enough to fool the eye, and still be reasonably strong. Remember that once the boards are in place and glued, they will reinforce each other and be quite strong, it is just that you don’t want to break them before you get to the glue-up. And if your experience is anything like mine, you will install and remove these boards many times before final glue-up.
So, cut your dadoes your chosen thickness in the continuous boards and then cut the other dividers to fit.
You can now do a fit up and check that all the joints are square and lengths cut correctly. Note that the dadoes are NOT cut completely across the boards!! They stop short of the front edge by about an inch!! So your fit up will have the boards working their way backwards as the joints back up.
Once everything is square and correct we can cut the bevels.
see eggcrate003.jpg
Cutting the bevels is the place for your hand craftsmanship to shine. It really is easy, but it looks impressive when done.
<!—-> <!—->
You have two sets of bevels to produce, the set on the “continuous” boards and the set on the “divider” boards.
<!—-> <!—->
The “continuous” bevels are the female portion of the joint; the “divider” bevels are the male portion.
<!—-> <!—->
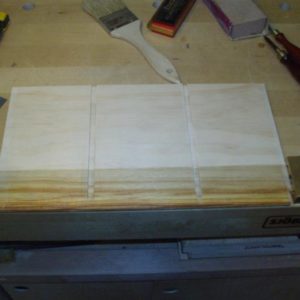
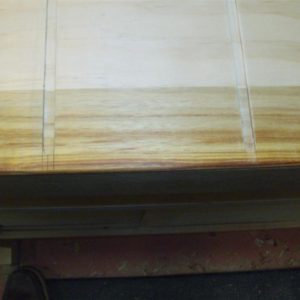
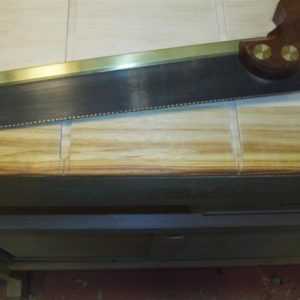
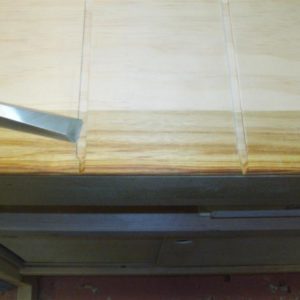
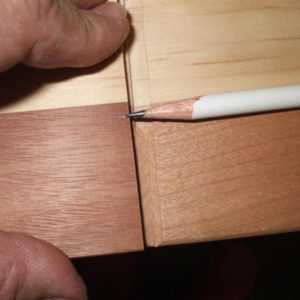
The female bevels are created by carrying forward the edges of the dado to the front of the board using a marking knife. Then make a third line in the middle of the two. Take your dovetail saw and cut down the middle line to just above the dado depth. The dado will help you judge this, as the resistance will increase abruptly as you hit bottom. Then taking a chisel, make a series of light cuts with the goal of connecting the remaining layout lines with the bottom of the saw cut.
see eggcrate 004,005,006,007.jpg
At this point I would like to make a comment about layout lines. The goal is a line you can see, and a line that you can register a chisel in, BUT one that is not so deep as to throw your cuts off. In the female joint, if the cuts are too deep, your chisel will start a bit below the surface so that the bevel created will be flatter than the bevel on the male side leaving a gap. The reverse is true for the male side. If the bevel is off on both sides – well, I would start over on both pieces. But don’t obsess over this, small mismatches are not noticeable, and anyone who takes a measuring tool to my work will get beaten about the head and shoulders with it! (grin) If it looks good, it is good!
<!—-> <!—->
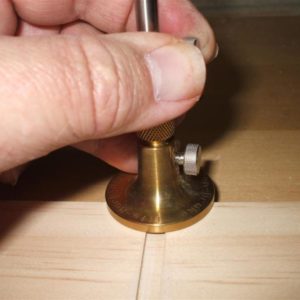
Now for the male side. Use a marking gage set to the depth of the dado and mark that height up both sides of the divider at the front inch plus, you want the bevels longer than the females but not by much.
see eggcrate 008, 009.jpg
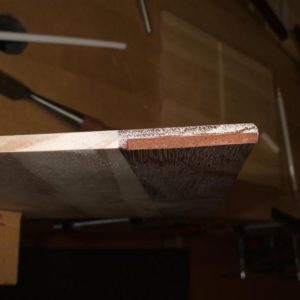
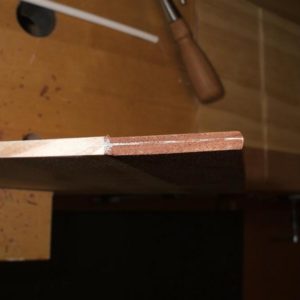
Then using a second marking gage, mark the center of the thickness of your board. This mark should be as light as possible while still visible to you. Now using a chisel, connect the two marking lines on the sides to the centerline, the goal if the centerline to just remain.
see eggcrate 010,011,012.jpg
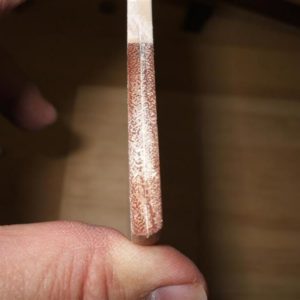
Now you can place the two boards together and admire your handiwork. A quick wipe with mineral spirits will show you how it will look with a finish on it! Okay, back to work – you still have more joints to finish.
see eggcrate 013.jpg


Replies
Thanks for sharing that! What a great coincidence as I'm working on a side project right now where the egg crate joint will be just the ticket - a small shop cabinet for some precious hand tools.
I appreciate all the small details you pointed out in your explanation. Well done!!
Wow, thanks for taking the time to construct such an informative post.
This forum post is now archived. Commenting has been disabled