Using a dowel plate to peg a Shaker cat table
One chonk of a cat, one bedside table, and a great lesson in reinforcement and dowels.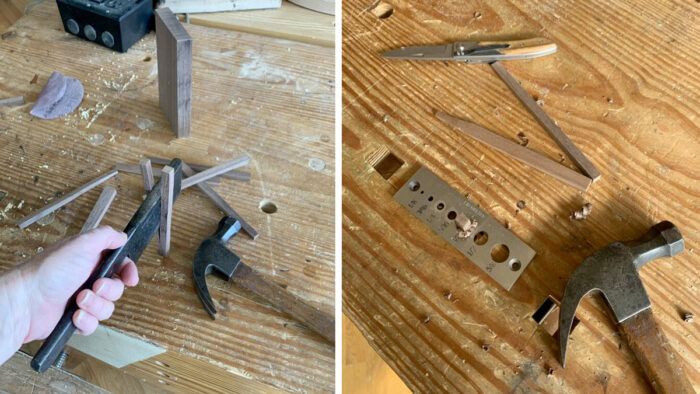
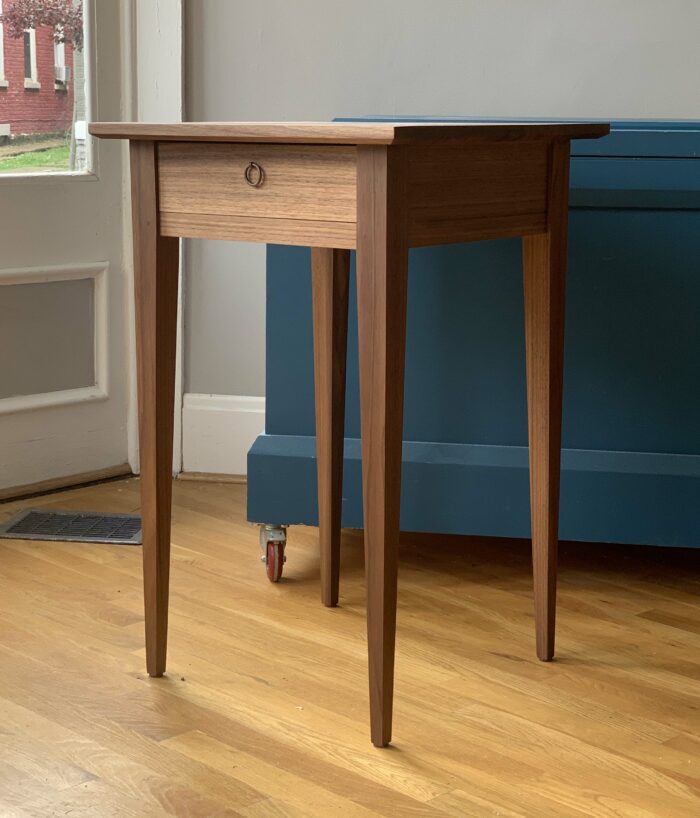
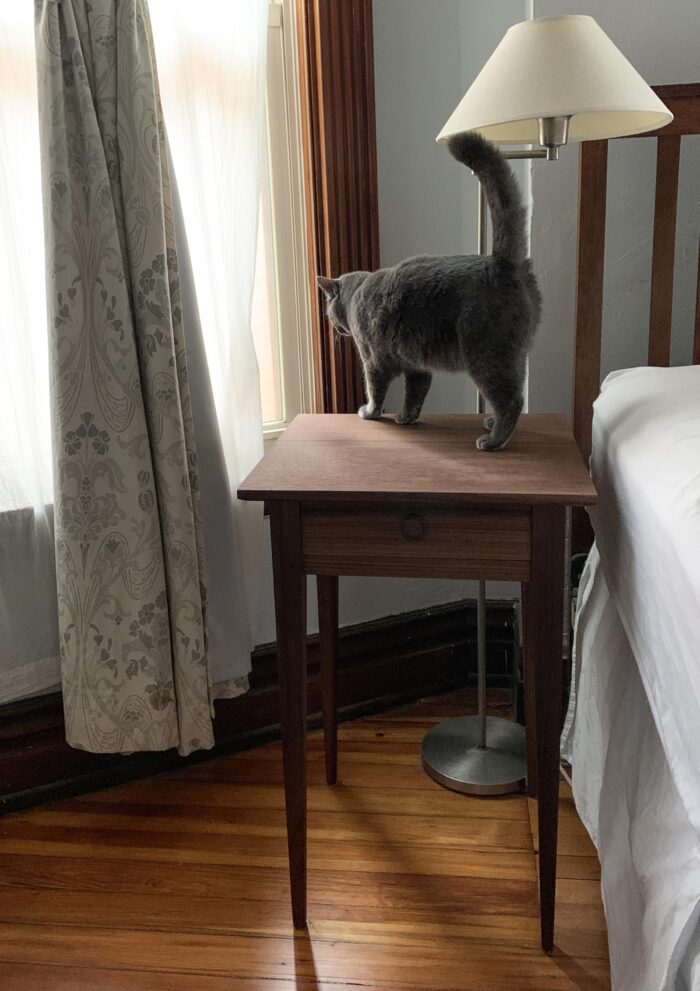
Once in a while, I like to build something other than tool chests. So a few months ago, I made my cat, Olivia, a table out of some nice walnut. Because she lands like a two-ton hippopotamus, she needed something sturdy; my wobbly old antique bedside table didn’t suffice. Plus, I wanted a table a little taller than typical: window height so Olivia can comfortably lounge while watching the squirrels while I’m away at the shop (my bed is pretty tall, so it works out on both counts). I also needed a drawer in which to store my glasses at night, because someone thinks they’re a toy.
My inspiration was a side table from Shaker Village at Pleasant Hill, in central Kentucky, as shown by Kerry Pierce in Pleasant Hill Shaker Furniture (2007, Popular Woodworking Books) – but with chonky legs (for my pile driver of a cat) and a slight underbevel on the tabletop. (I guess in the end mine looks more modern than Shaker…or like a well-fed Shaker.)
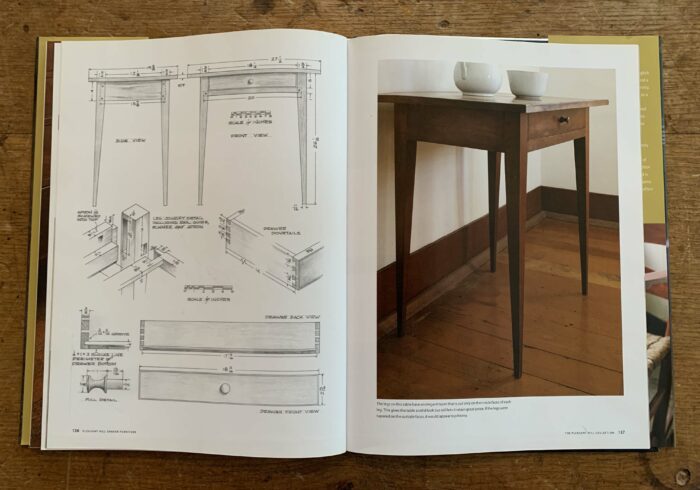
The key thing to notice about the table is that there is no rail above the drawer; the underside of the top acts as its kicker. Therefore, the piece that primarily serves to keep the table together and square across the front is the narrow rail that runs underneath the drawer. (Yes, the top helps, too, but it’s attached with wiggle room for expansion and contraction.) So I used a belt (tenons) and suspenders (pegs) for the joint at either end to make sure the thing would outlast Olivia.
But you can’t just walk into the home center and buy straight-grained walnut dowels with no runout that perfectly match the walnut for the rest of the table (if you can, I wish I lived near your home center), so I always find it best to make my own peg stock. It’s fast and easy.
Look through your offcuts and grab the straightest-grained stuff you can find. In my case, that was a 3/4-in.-thick piece from the table aprons.
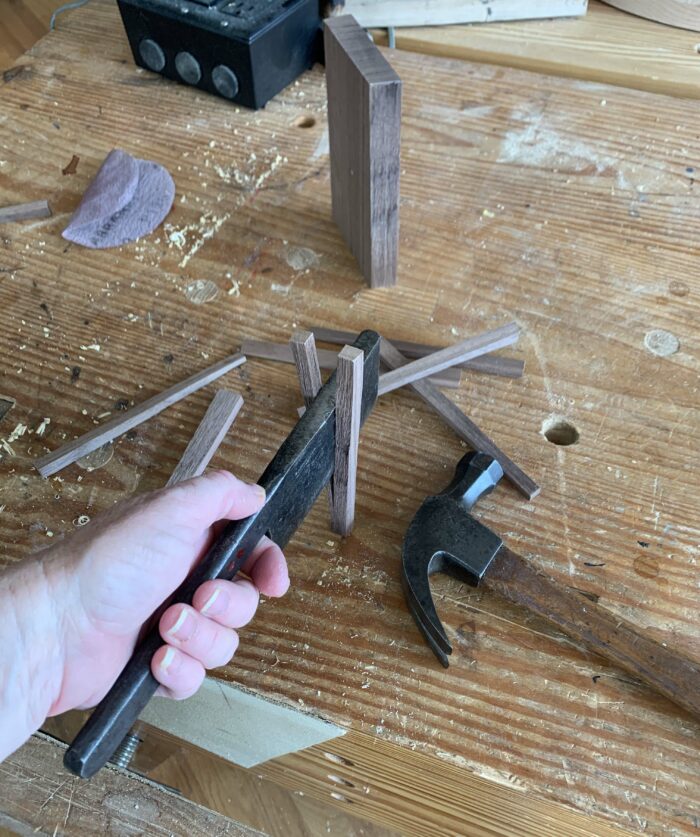
It’s best to split the pieces off if possible, because wood will break along the grain lines, thereby ensuring you have a straight piece with no runout. I first split a piece off the 3/4-in.-wide piece, then split that piece in two. You can see in the picture above that I started the split with the hacking knife in the center of the stock, but at the bottom, the split ran off to the left, following the grain. That’s exactly what you want, because the straighter the grain, the stronger the peg (also known as a trenail or trunnel).
I try to split the pieces small enough so that they fit into the hole no more than two or three sizes larger than what will be my finished peg size. (As fun as it is to bash sticks through the dowel-plate holes, I shoot for efficient use of time.) Then I point the end of each before moving on to the dowel plate.
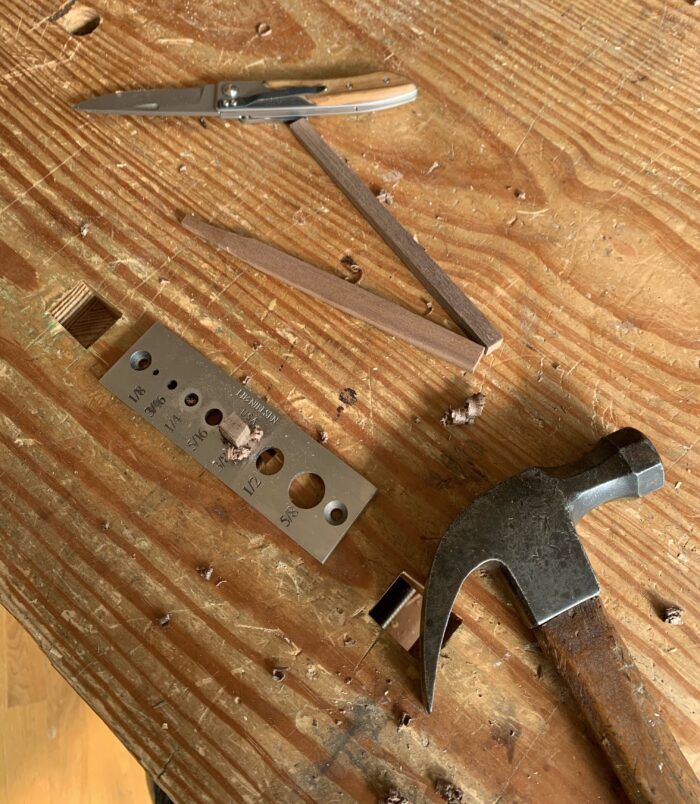
My first pass through the plate in this case was in the 3/8-in. hole, which basically created an octagon as it peeled off the square edges. The 5/16-in. hole added four more facets. The final pass, through the 1/4-in. hole, rounded things up. I needed only two 2-in.-long pegs; I could have easily gotten those from one of my approximately 5-in.-long blanks. But you never know what’s going to happen when you hit things with a hammer, so I always make a few extra. Plus you need some for tests.
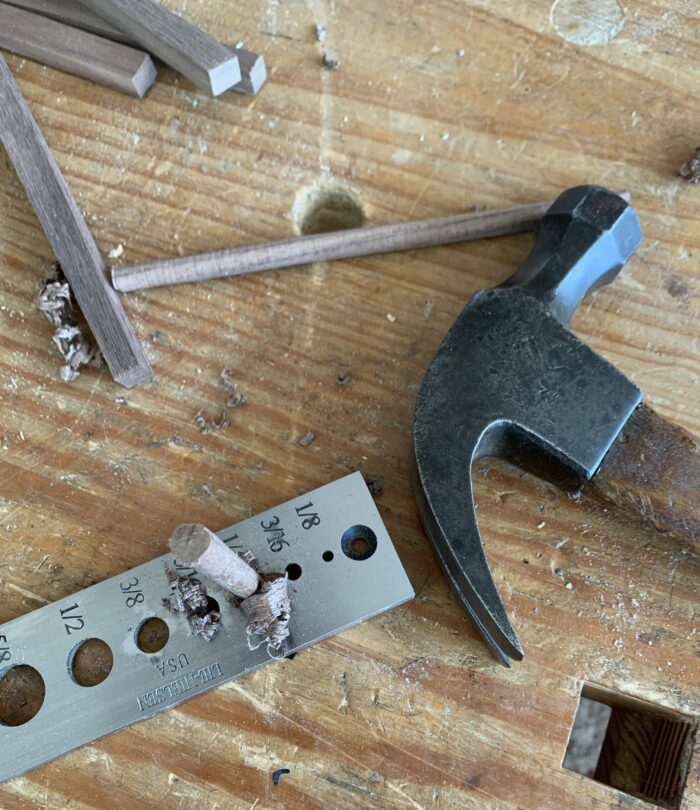
It’s also imperative to try the fit of your pegs in a test hole – drilled in the same material and in the same orientation as the workpiece – before getting out the glue and going to town on the actual work. If the hole is too small, you can split the work. And if the hole is too big, enough glue might keep the peg in place, but it will look kinda crappy (you don’t want your cat to be ashamed of you, do you?). I like to drill a hole 1/64 in. smaller than the peg (this is one of the few times in my work that I find calipers a must) and try that out. I whittle the edges off the peg, them drive it home with a hammer. If I can whack it into the hole without splitting the work, great. If it splits the work, drill a bigger hole; repeat. If the hole is too large, drill a smaller hole; repeat.
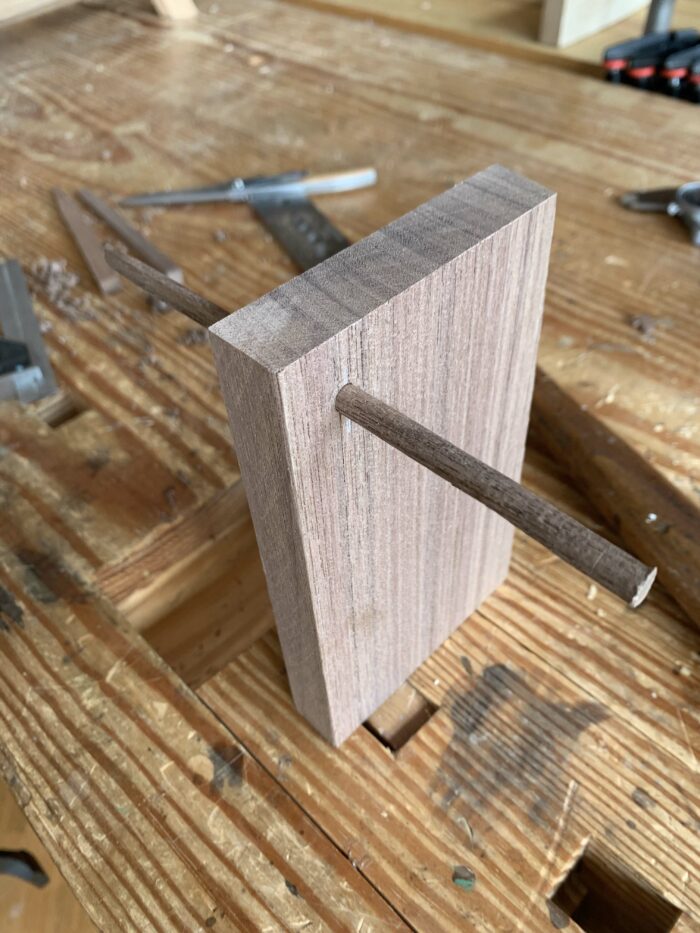
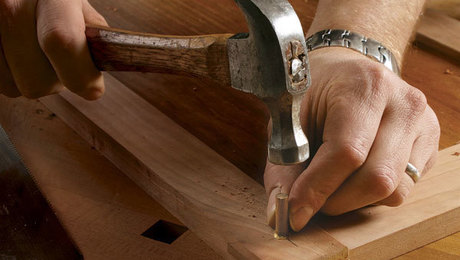
When you’re sure everything will fit nicely, drill your holes in the work, point the pegs (or just take off the sharp edges with a knife) so they’re easy to get started, put a little glue on them, then drive them home with a hammer. Stop hitting one whack before it breaks. (You’ll hear the sound change when it’s all the way home.) After the glue dries, flush the pegs to the work surface, then sand as needed before finishing.
 |
All About Dowels and Biscuits |
 |
The Pegged Joint, Exposed |
 |
11 Mortise and Tenon Variations |
Fine Woodworking Recommended Products
Veritas Standard Wheel Marking Gauge
Olfa Knife
Pfiel Chip Carving Knife




Comments
Really nice article. So helpful to hear the details of how Megan goes about fitting the pegs. Rare to read so clearly what to do to arrive at exactly the right tolerances. Especially helpful is the idea that this is the one place she uses calipers. Puts this measurement in context. Pro tip. Thank you.
Great article, I have a dowel plate now I know how to use it correctly, one trick I have used if the dowel is slightly over size, is to put it in the microwave and give it a few short bursts which dries it out and shrinks it slightly allowing it to be put into a slightly under sized hole with ease. Once the dowel absorbs the moisture from the glue it fits the hole perfectly. Hopefully after reading this article my dowels will be in better shape and shrinking won't be necessary. Thanks again.
Helpful and hilarious article. Love the details on the dowels. I’ve been working on making some replacement mahogany dowels as masts for a small sailboat model that my grandfather gave me decades ago. It’s more finicky than I’d have thought.
Love Olivia. Reminds me of some of the cats we’ve been owned by over the years.
Log in or create an account to post a comment.
Sign up Log in