7 Things I Learned While Doing Youth Turning Workshops
 Sep 09, 2019
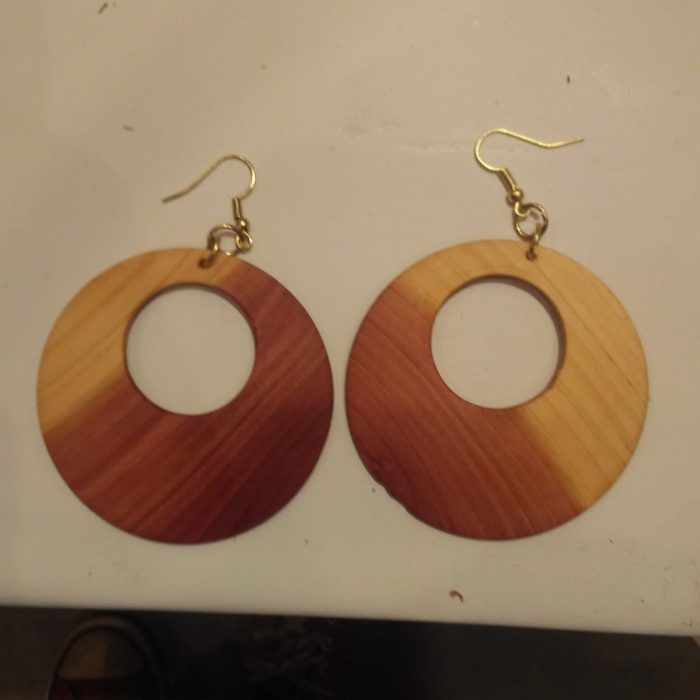
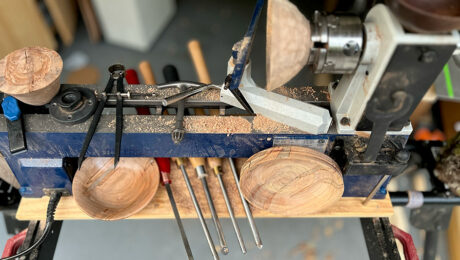
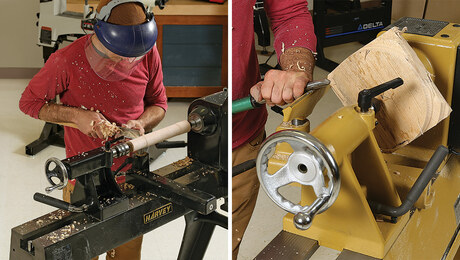
At the 2019 American Association of Woodturners (AAW) Symposium in Raleigh, N.C., I got to participate as an instructor in the Youth turning workshops area. My first demonstration was a team effort with Kip Christensen, where I did the decorating on Kip’s ball-and-cup games. The second demonstration was a pair of earrings, following the instructions in this blog post I wrote for Fine Woodworking last year (just the earring part; I made the chucks in advance). This was my first time doing a Youth turning class. Here are a few things I learned from this experience.
1. Give yourself and your students more time than you think you’ll need.
As a rule, everything in woodworking takes longer than you think it does. Preparing materials for classes and workshops is no exception, so start working on special jigs, chucks, or blanks well in advance of when you’ll need them. When picking a project and scheduling, remember that you’ll need enough time to demonstrate how to make a piece (in slow motion, explaining as you go) and enough time for students to make it too, even more slowly than you did, and maybe more than once if they make a mistake. I can make a pair of earrings like the ones in the article in about 20 minutes. 90 minutes was barely enough time for some students to finish a single pendant.
2. Prep blanks as far into the process as you can
Especially when doing Youth or novice classes, I think it’s important to set students up for a really high chance of success. Classes are more fun if you have something to show for it at the end, and one of the most important things you can give a new maker is confidence in their abilities. If there are any parts of your project that need to be dead-on for the finished product to be successful, think about doing that part in advance or setting up a jig that will allow students to execute it perfectly every time. Prepping blanks in advance also lets you focus on just one or two important techniques during the workshop itself, instead of overwhelming students with a 20-step process.
3. Make extra blanks
Especially if you’re going to be teaching novices, and even if you’re not, students are likely to mess up a blank (or two) as they get the hang of new tools and techniques. How many extras are enough? It depends on the complexity and precision required for your project.
In Kip’s ball-and-cup game class, 25 students used about 27 blanks. In my earring class, I had 20 students and I brought about 25 sets of earring blanks. It wasn’t enough. Although the earrings look pretty simple, they’re quite thin and I had many students accidentally break pieces, make them too small, or mess up when trying to get two perfectly matching earrings. 30-35 blanks probably would have been more appropriate for my class.
4. Bring plenty of tools
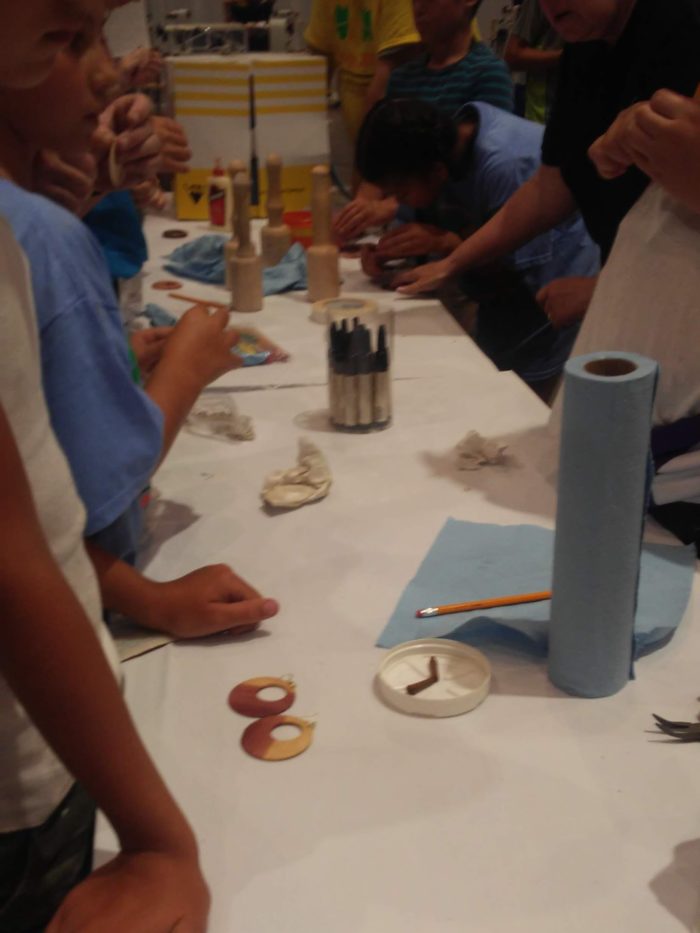 We had a lathe and set of gouges for every student, but there were a few specialty tools like drills, pliers, rolls of tape, and so forth that had to be shared between students. Because of the way our workshops were formatted, lots of students needed to use these tools at the same time. If I was going to do this workshop again, I’d be sure to bring plenty of extras to reduce bottlenecking and help students feel less rushed.
5. Have assistants if you possibly can
The AAW did a really great job of drumming up volunteers to assist students during these workshops, and I don’t know what we would have done without them. Most of the Youth workshops had a 2:1 student:assistant ratio, meaning every one of those kids had some experienced eyes nearby at all times to make sure they were being safe and to help them be successful on their projects.
6. Choose projects with room for creativity
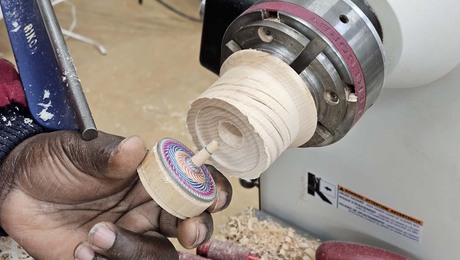
For the ball-and-cup game project, half the fun was decorating the piece with dyes, knurling, and burn lines. On my earrings, I hadn’t prepared any ways of decorating them, but there were still plenty of students who asked me about ways to make their project unique, and I wish I’d prepared more options for them. I think it’s worth your time to spend ways thinking about or building in ways for students to add a personal touch to their project. It makes the whole workshop more fun, and gives students a sense of ownership over the work they’ve done. Plus, you might be surprised and inspired (like I was!) with the ideas students come up with.
7. Be prepared for creativity
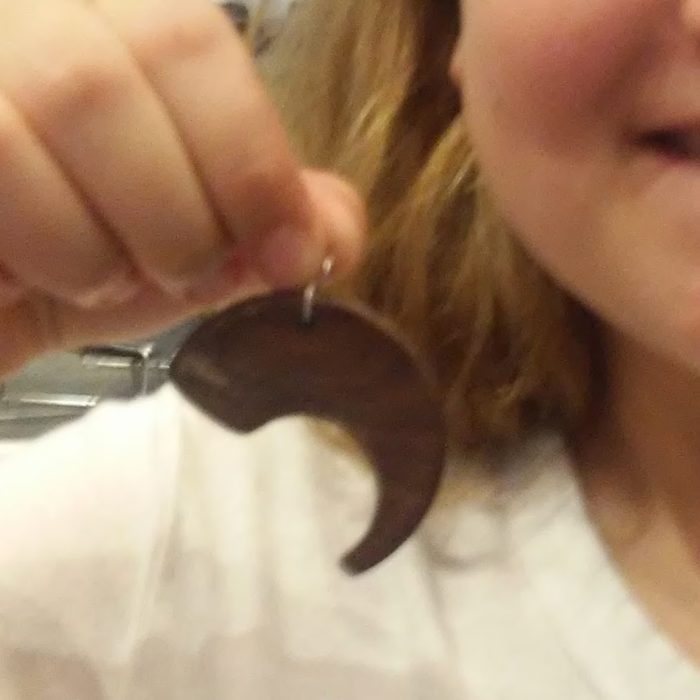
Whether you’re prepared or not, students are likely to make a mistake here or there that will require some creative solutions. It didn’t occur to me until halfway through my workshop that some students were going to be leaving with necklaces instead of earrings. Especially if you’re going to be teaching novices, I think it’s worthwhile to think through possible mistakes and ways you might solve them, whether that’s by bringing plenty of extra blanks, having a bottle of CA glue on hand, or even having supplies for a simplified project if students need it. I wish I’d had some nice necklace cord with me for the few students who needed some.
At the same time, since you can’t prepare for everything, face unexpected challenges and setbacks with a laugh and an open mind. I had a few students come up with some really creative ways to turn broken earring parts into beautiful necklaces and pendants (some of them I wish I’d thought of myself!). Just remember that the finished product isn’t the point of the workshop–helping students have fun making something is. Give them a good time, and they’ll be back for more.


Comments
Thank you for your insights Amy. I actually remember woodshop in eighth grade and many of your bullet points made me laugh.
Fortunate to run a hand tool woodworking program in my school district for 20 years with students ranging in age from 3 years to adult I learned one very significant lesson. It was that no matter the age of the students all of the beginners passed through the very same steps of skill development as they experienced the making process. These seven steps are worth considering for any group of novicess--regardless of age.
My favorite though is Number 6...closely followed by No. 7.
The more degrees of creative freedom one can build into beginner projects the richer the experience will be for both the teacher and the students. In my programs I took to calling it The Autonomy Continuum. On one end are the strictly "cookie cutter" kinds of projects where the learner simply copies the pattern the instructor provides. This may be useful if the goal is teaching a specific tool or technique but limits thinking to a narrow band. At the opposite end of the Continuum is free choice--students are free to make whatever they choose. There is also a time and place for this approach after students have acquired some familiarity with the materials, a few tools and some basic techniques.
But short duration workshop work must fall somewhere along the Continuum well short of that extreme. By building in as many options--degrees of freedom--in the students' work as possible one gets the benefits of both learning some new skills in a semi-controlled way while at the same time being encouraged to improvise. The ideal result is completed projects each with a personal stamp.
Log in or create an account to post a comment.
Sign up Log in