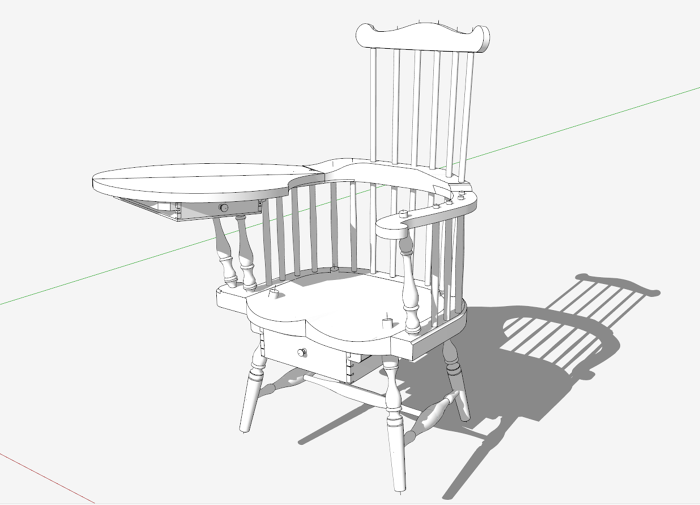
Several weeks ago I showed the making of this Windsor Writing Arm Chair. A reader asked how I did the “Sculptured Seat” – not the one in pine with a travisher, but the one shown in the SketchUp model. Actually, I could have done the seat in pine in the time that it took me to sculpture the seat in SketchUp. I don’t typically do the sculpturing in SketchUp as I don’t need that level of detail to do the work in the shop. But on this piece, I did take the time in SketchUp as I wanted the model to look more realistic.
In the following video, I show the steps I used to get that shaped surface into the seat in SketchUp. I used a plug-in called Curviloft by Fredo6. This is available in the Warehouse or in the Sketchucation store.
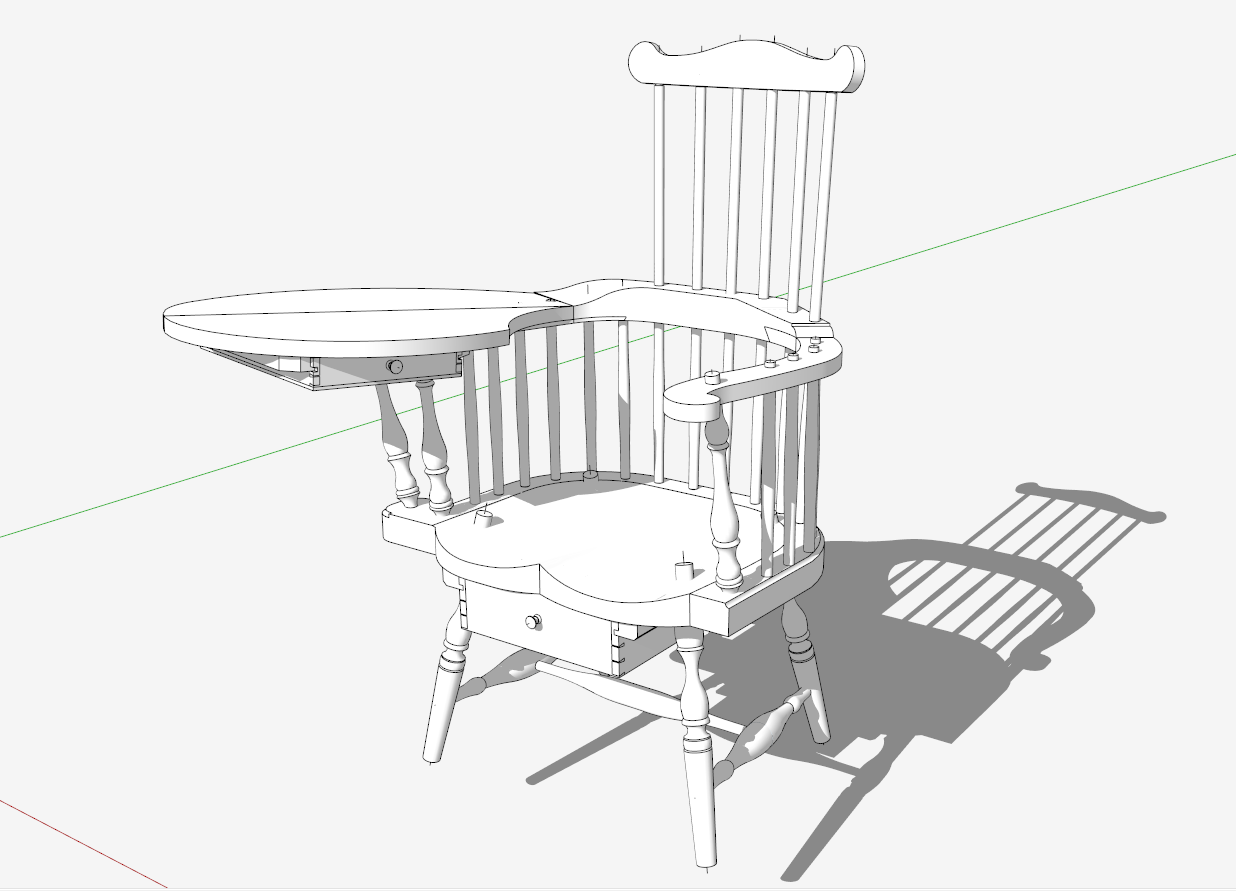
Here is the Writing Arm Chair with the final sculptured seat.

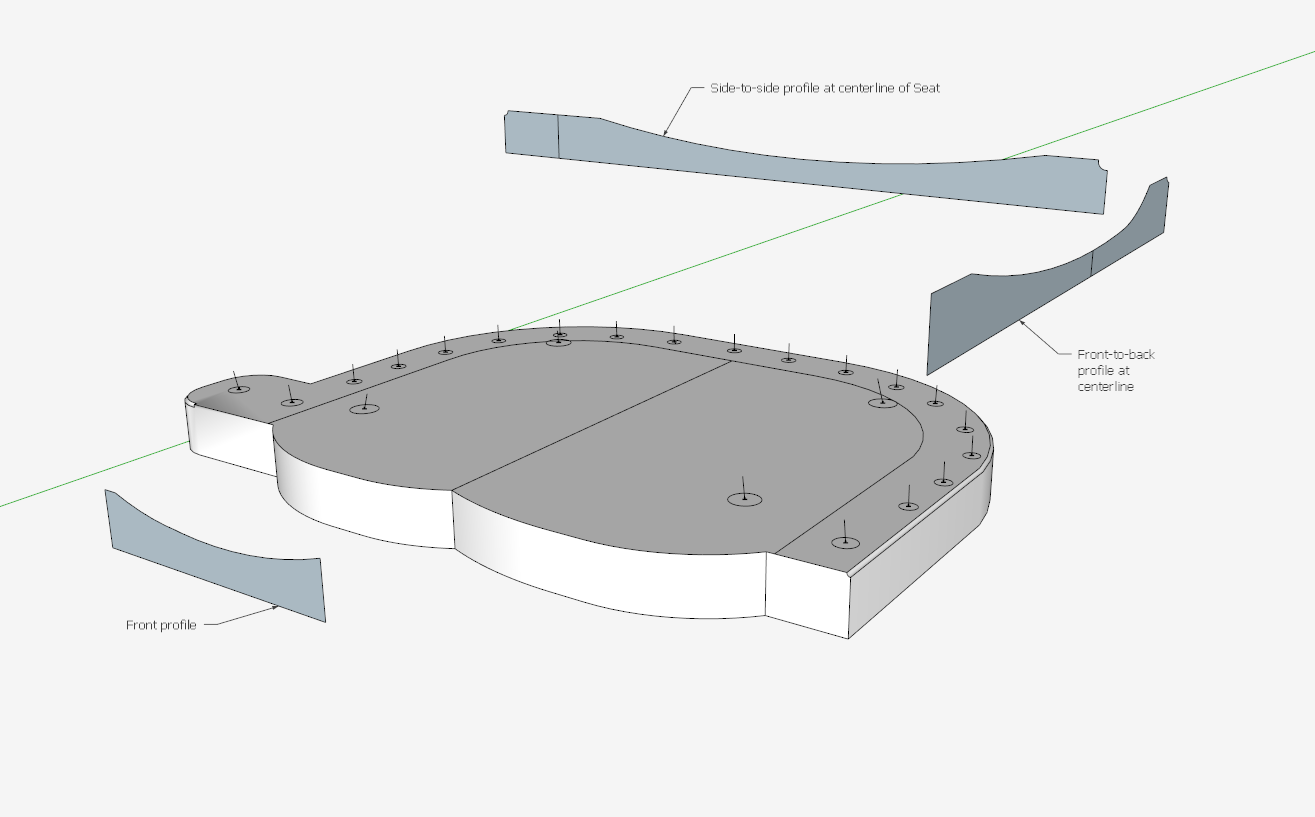
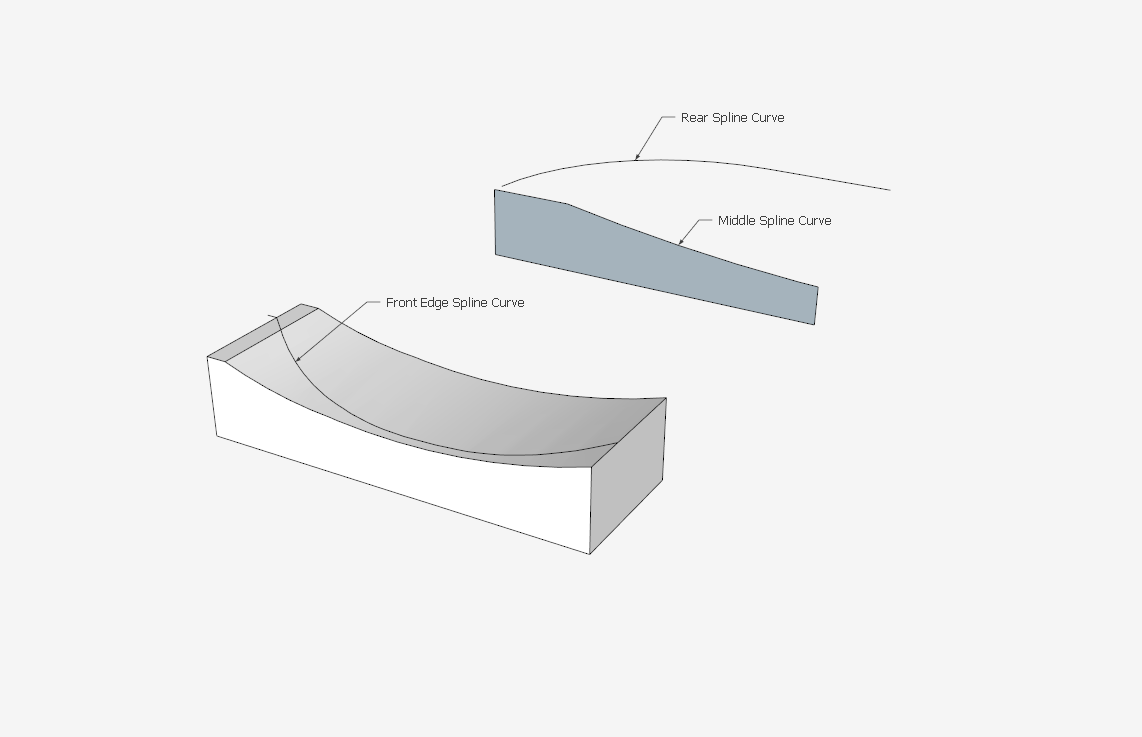
I start the process using the “flat” seat, along with profile curves and faces that indicate a rough shape of the seat from front-to-back, side-to-side, and at the front and back edges.

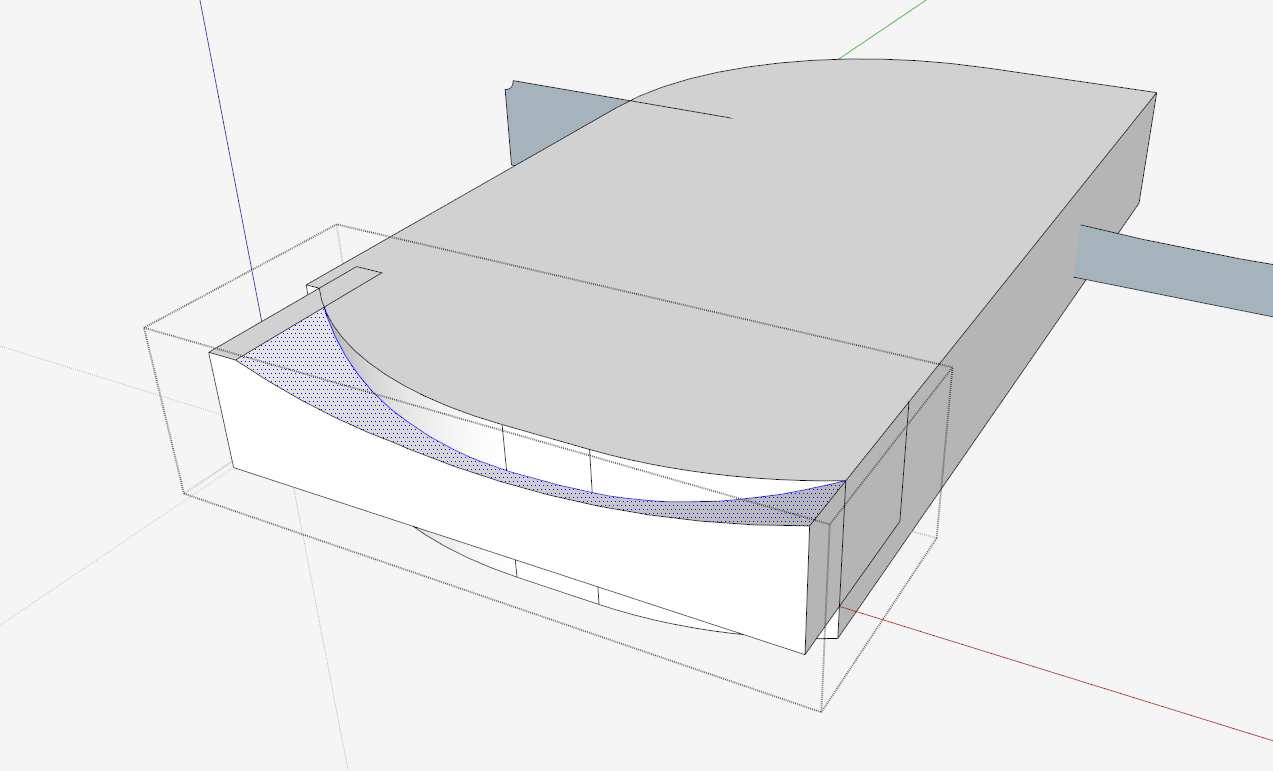
For the plug-in to work, I need at least three spline curves within which Curviloft creates a smooth surface. For the Front Spline Curve, I needed to do an intersection of two shapes as shown below. The blue curved edge is the one I need for Curvaloft.

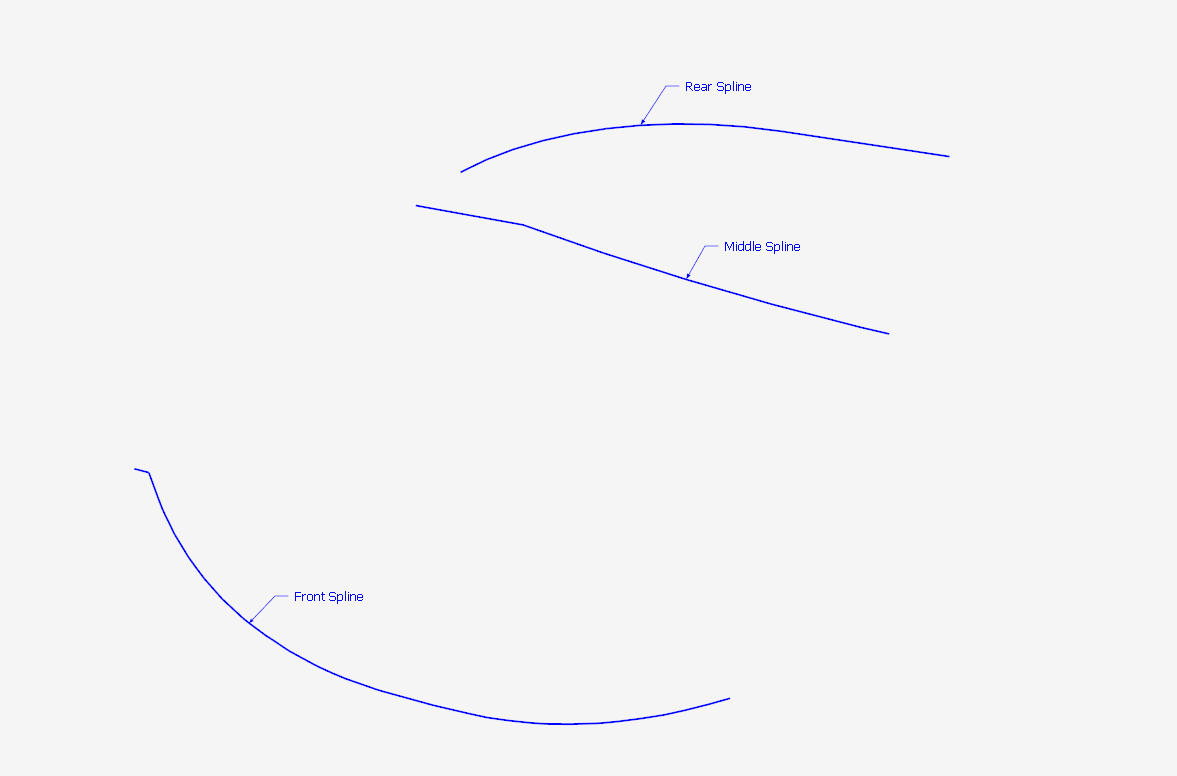
This shows another step in creating the three spline curves.

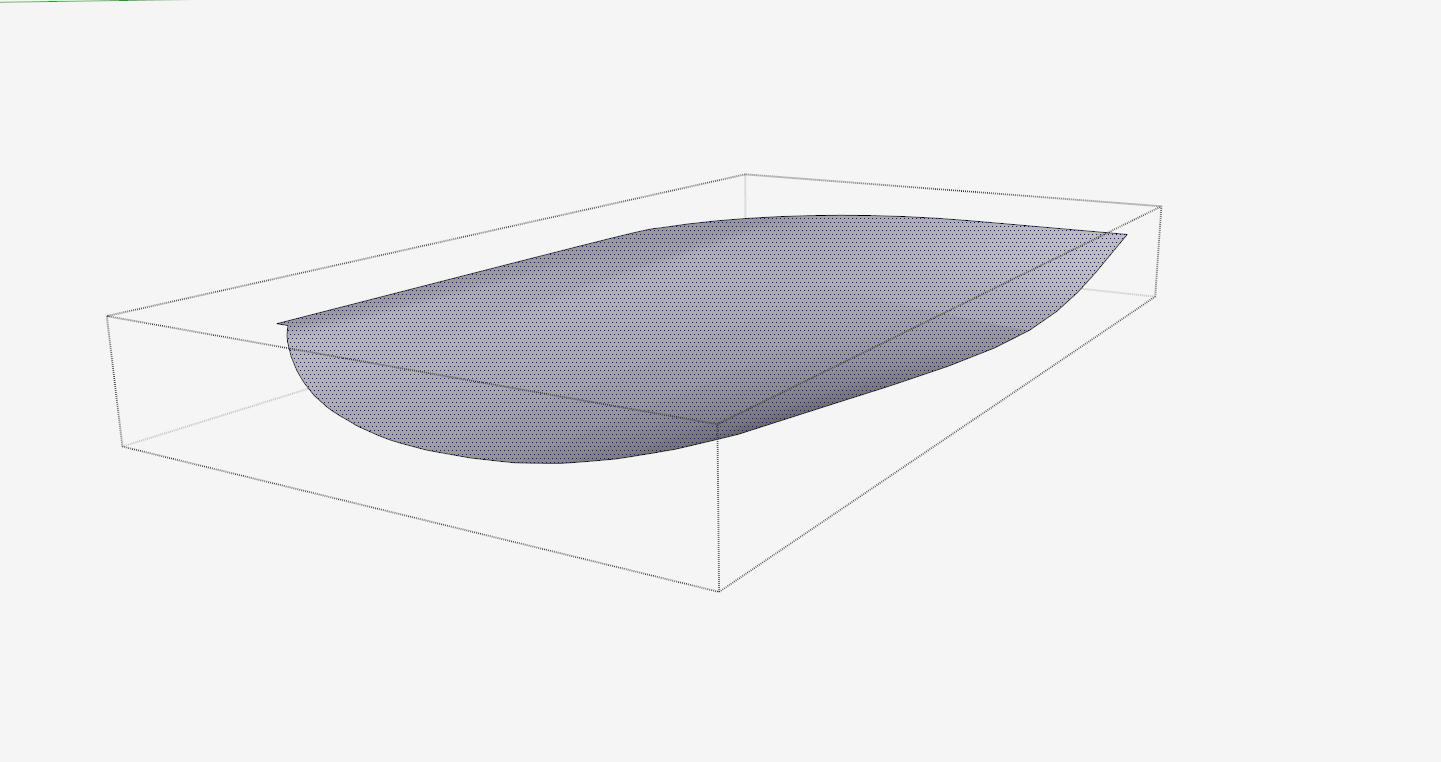
Here are the resulting three spline curves used with Curviloft. After selecting the three curves, a click on Curviloft then creates the smoothing surface as shown below.


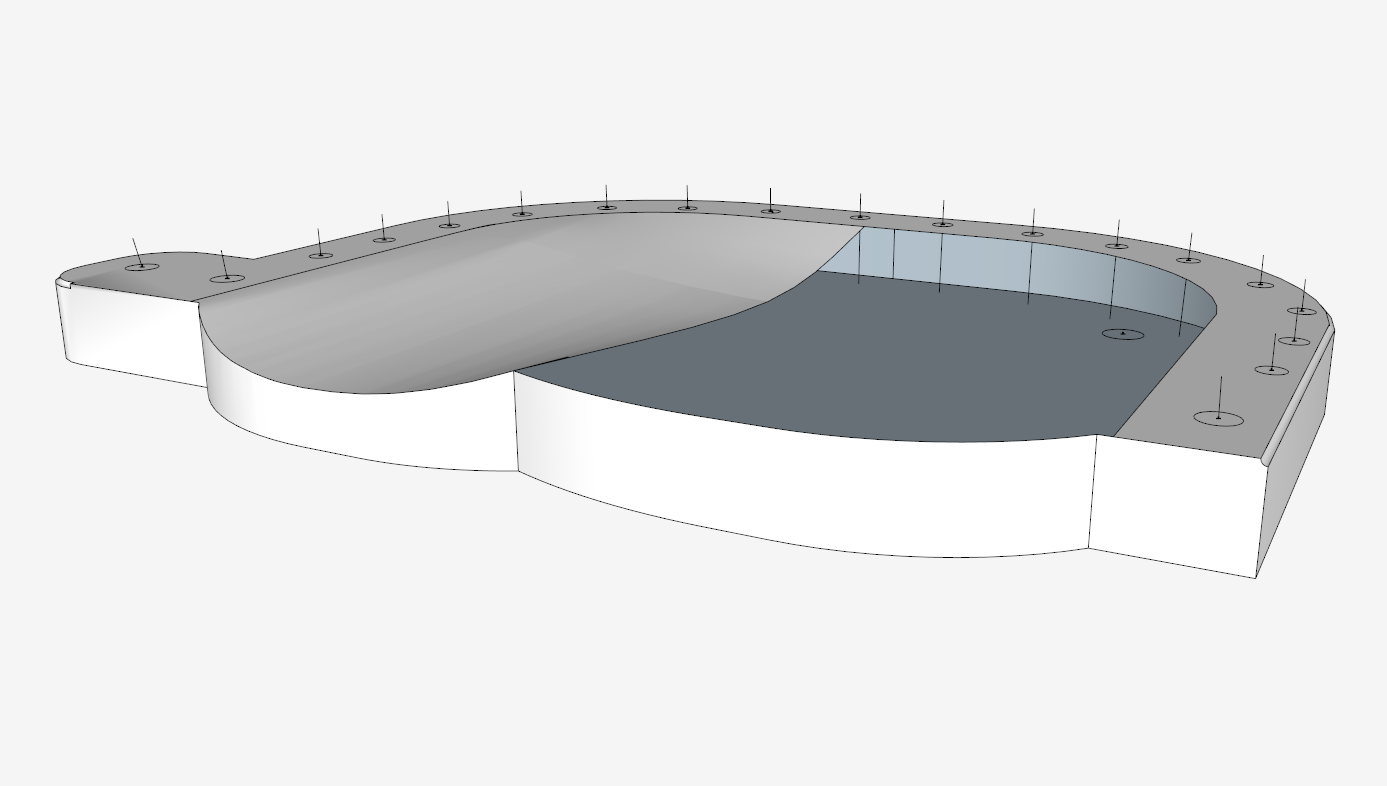
Copy the sculptured surface and place accurately within the top of the flat seat. There may be a little bit of clean-up required to have a perfect fit.

Usually on Windsors, a flipped copy of the sculptured surface is placed in the other half opening in the flat seat. But since the seat in this particular case of the Writing Arm Chair is not symmetrical, the above procedure is done separately with a set of new splines for the other half of the seat.
Here is the video…..
Tim
http://killenwood.com


Comments
It's quite amazing to see the unit by unit drawing of the chair! I can't wait to see how the rendering solution turns out in real life!
I have to be honest that my skills and abilities with technology have never been that impressive to date. Hence, I prefer to sketch my upcoming projects by hand instead. They usually consist of my all-time favourite, storage cabinets, or a working desk with various storage solutions for tools and such. Each unit is planned carefully on draft paper before building the real deal.
Log in or create an account to post a comment.
Sign up Log in