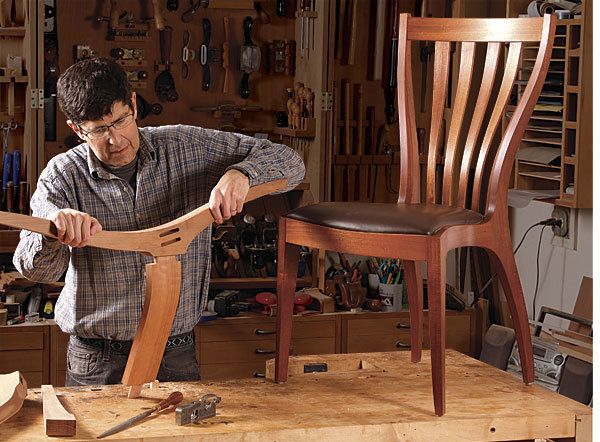
Straightforward Joinery for Curved Work
Three basic techniques are the bridge to more beautiful furniture
Synopsis: Incorporate curves into your furniture and open up a world of design possibilities. Jeff Miller outlines three techniques that make joinery on curved furniture easy: create a flat spot for joining straight rails to curved posts on a chair or bed, or straight aprons to curved legs on a table; add a raised pad for flowing mortise-and-tenon joints; and scribing a curved shoulder on a tenon to match the adjoining piece exactly. Once you learn these three techniques, curved furniture will not seem intimidating at all.
from Fine Woodworking #221
My first saw was a bandsaw, so from the very beginning of my woodworking career, I found myself working with curves. If you’ve only been a straight-shooter until now, you’ll find that curves not only open up a world of design possibilities, but they also offer plenty of chances to expand your repertoire of woodworking skills: from laying out eye-pleasing shapes to cutting and smoothing those shapes, or even bending them (with steam or by lamination).
What stops most people, however, is the prospect of cutting and fitting joinery on these curved parts. I’ll show you three techniques that I’ve used over the years with great success. There’s nothing exotic or difficult about them, and once you see them in action, you’ll soon be adding graceful curves to your own work.
Creating a flat spot on the curve: The simplest way to join two pieces when one of them is curved is by leaving or creating a flat area on the curved work where the mortise is to be cut.
If you are cutting the curved piece out of square stock, it’s easiest to locate and cut the mortise while the workpiece is still square. Then you can leave the area around the joint flat when cutting the curve. The tenon on the mating rail can then be cut and fitted just as for any other mortiseand-tenon joint. When creating the flat, be sure to extend it 1⁄8 in. or so beyond the rail both above and below the joint to accommodate any expansion across the width of the rail. When the piece is glued up, you can sand lightly to ease the transition from flat to curve, leaving about 1⁄16 in. flat.
Things get more challenging if you’re cutting several identical parts from square stock. If you want to minimize waste, you’ll need to “nest” the layout of the parts and cut them all out before doing anything else. This means you’ll then have to create the flat—and cut the mortise—in an already curved part. To do this, I make a simple jig that holds the work while I create the flat spot and then cut the mortise.
Clamp the curved piece into the jig so that the area to be flattened projects above the jig’s fence. Now you can create the flat spot, using a handplane to remove the projecting material and bring the part flush with the top of the fence. To use the jig with a router, screw on a top plate to support the router. Use a spiral upcut bit or a straight bit, set to cut flush with the top of the jig’s fence. The first cut should be a clockwise pass around the area to be flattened; this is a climb cut to avoid tearout.
For the full article, download the PDF below:
Fine Woodworking Recommended Products

Marking knife: Hock Double-Bevel Violin Knife, 3/4 in.

Freud Super Dado Saw Blade Set 8" x 5/8" Bore

Leigh D4R Pro


Log in or create an account to post a comment.
Sign up Log in