An Antique Finish for Tiger Maple
Four hand-applied steps give your piece a period look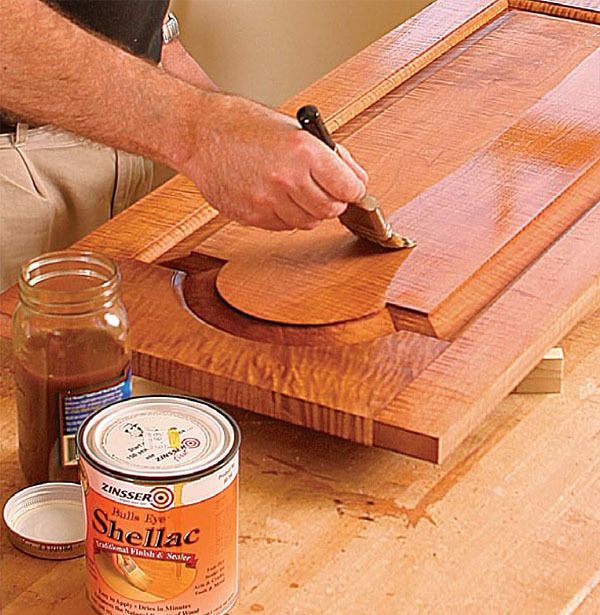
Synopsis: Lonnie Bird shares the secret for re-creating the distinctive stripes, three-dimensional depth, and rich amber color of an antique tiger maple finish. Bird’s method pops the figure with water-based dye, then adds luster with a coat of oil. Several coats of shellac protect the wood, and a glaze helps bring out the details and give the piece an aged appearance. A final coat of shellac and wax complete the finish, which gives the appearance of an oil finish with the protection of shellac.
I’ve always admired the distinctive stripes, three-dimensional depth, and rich amber color of antiques made from tiger maple. The challenge is to replicate this century-old appearance on creamy-white, fresh-cut maple. The steps I take to transform tiger maple aren’t difficult and can be done by hand, but the process will stretch over days as you wait for each step to dry. Of course, that’s a lot quicker than waiting for the piece to become an antique.
The finish rewards good surface preparation
It’s important to remove all marks left by saws, planers, and jointers because this finish will display them prominently. A bench plane is the fastest way to get rid of these marks and beats the tedium, dust, and noise of machine sanding. However, be cautious when hand-planing tiger maple as the dramatically figured grain tears out easily. I avoid this problem by using a razor-sharp plane equipped with a high-angle frog to give a cutting angle of 50º, sometimes referred to as a York pitch. You can achieve the same angle by grinding a 38º edge on a bevel-up low-angle plane.
Sometimes, despite your best efforts, you still will get minor tearout. I use a sharp card scraper to smooth it away and blend the area with the surrounding surface. Of course, some surfaces, such as curved legs and moldings, can’t be planed. I scrape these areas and then lightly hand-sand with P220-grit sandpaper to smooth the surface further and remove any facets left by the scraper. I use the same paper to lightly sand the flat areas that were planed; otherwise they’ll accept the dye differently than the sanded areas.
Dye and then oil the wood to develop the figure
The widest selection of dye colors comes in powder form in formulas that can be mixed with water, alcohol, or oil. I use waterbased dyes because they make it easier to control lap marks and streaking than faster-drying, alcohol-based dyes, and they are reportedly more lightfast than oil-based dyes.
From Fine Woodworking #180
For the full article, download the PDF below:
Fine Woodworking Recommended Products
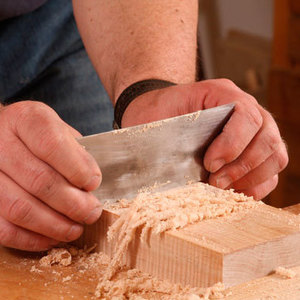
Bahco 6-Inch Card Scraper
Odie's Oil




Log in or create an account to post a comment.
Sign up Log in