All About Milling Lumber

Square and straight stock is essential to woodworking. If you lay a foundation of accuracy when milling lumber, then your joinery and assembly have a much better chance of going together smoothly and sweetly.
The Basics:
• Select quality lumber: A badly twisted board at the lumber yard should never make it into your shop. Be picky when choosing rough lumber.
• Choose a cut: Flatsawn or quartersawn, you decide.
• Let it acclimate: Wood moves based on its environment. Letting lumber acclimate to your shop will prevent unwanted movement down the road.
• Follow the “FEE” system: Work the faces, then edges, then ends.
Select quality lumber
When sorting lumber at a yard (yes, you can pick through that pile) read the boards to steer clear of major defects or badly warped, bowed, or twisted boards. Avoid using presurfaced lumber from a home center. Not only does it cost more, but you’re bound by the thicknesses that are commonly available in surfaced stock. And there is no guarantee that surfaced material is truly flat or straight. In rough form, lumber is available in 1/4-in. increments, and referred to as fractions of an inch. For example 1-1/2-in. thick lumber is called 6/4 (pronounced “six-quarter”).
Choose a cut
Terms such as “flatsawn” and “quartersawn” lumber refer to how a piece of lumber was oriented in the rough log. A flatsawn board reveals long ring sections that are parallel to the pith of the log. Flatsawn boards are subject to the most seasonal movement. Quartersawn boards are cut parallel to the pith, with the annual growth rings running perpendicular to the surface. These boards will experience far less seasonal movement and will be less likely to cup.
Rough mill and acclimate
It’s a good idea to let your newly acquired rough lumber acclimate in your shop for at least a few days before you start cutting. Keep in mind that due to the internal stresses in rough lumber, when you cut the board into pieces or remove material from the outside, the balance of forces can be disrupted, causing the board to crook, twist, bow, or cup. Cut the boards roughly oversize and wait for the stresses to work themselves out.
Start by crosscutting the stock by 1/2 in. to 1 in. over in length. Next get the material roughed out to width. Finally, use a bandsaw to rough the board to thickness. (A bandsaw is much safer than using a tablesaw for this ripcut.) Finally, stack the rough-cut pieces between 3/4-in. thick strips of scrapwood and wait. This process, known as “stickering,” allows air to circulate around all sides of the lumber freely.
Follow the “FEE” system
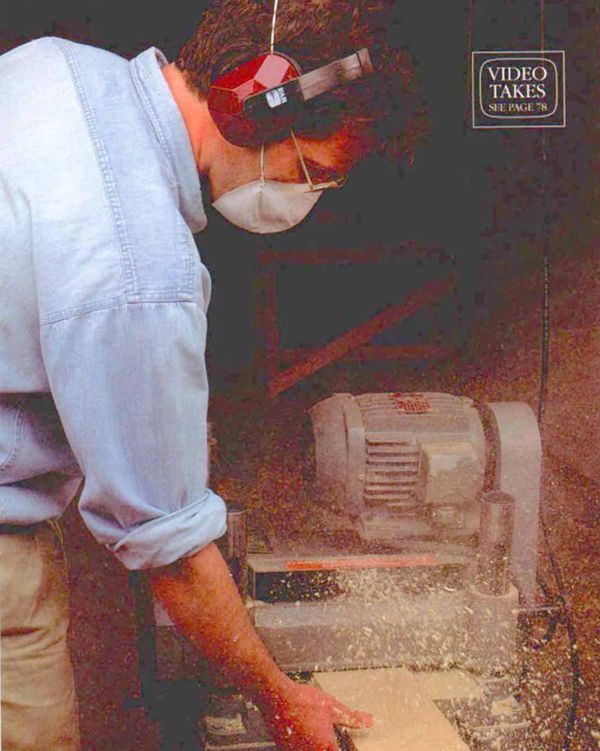
Work the faces, then the edges, and finally the ends (“FEE”). This order is exactly the opposite of the rough milling process. Start at the jointer and flatten one face of the board. Then run the board through the planer with the jointed face down to create a parallel, flat opposing face. After the faces are flat and parallel, work on the edges. Back at the jointer, run the board on edge until it is square to the face. The last edge is cut parallel to the jointed edge on the tablesaw. Finally, crosscut the ends to length. If the board won’t get put to use immediately, keep it stickered so it retains its four-square shape.
Fine Woodworking Recommended Products

Bessey K-Body Parallel-Jaw Clamp

Estwing Dead-Blow Mallet

Stanley Powerlock 16-ft. tape measure


Log in or create an account to post a comment.
Sign up Log in