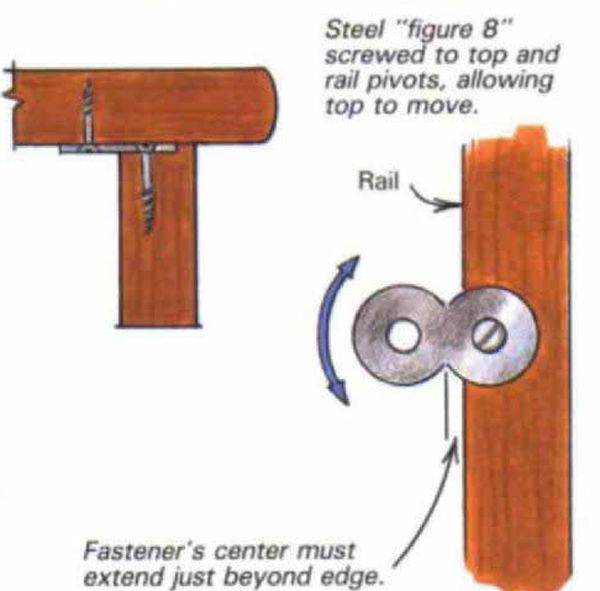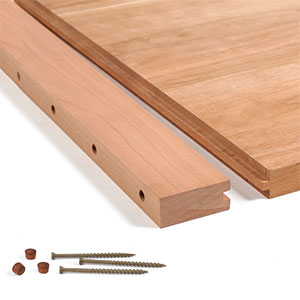
Synopsis: Christian Becksvoort describes construction of his first table and how poorly it weathered its first winter, describing it as round one in a battle between wood movement and his efforts to cope with it. When designing a table, there are ways to minimize or accommodate wood movement, and he offers general tips and four methods of construction that help: slotted screw holes in the table rails; grooves and fingers, or buttons; a figure 8 or desktop fastener; and sliding dovetails
I remember the first table I built in the junior high school wood shop: Philippine mahogany, carefully mortised and tenoned. When it came time to attach the top, I went whole hog; glue all around and black, round-head screws. I took the table home, put some plants on it and parked it directly over a hot-air outlet. Needless to say, the top did not survive the winter. It bowed and cracked. Thus ended round one in a continuing battle of wits between wood movement and my efforts to cope with it.
What it comes down to is this: when relative humidity goes up or down, so does the moisture content of wood, and it expands and contracts in width, across the grain. It doesn’t change in length (actually it does, but so little that it can safely be ignored). The problem is how to attach a solid-wood tabletop that shrinks and expands across the grain to rails that don’t change in length.
When designing a table, there are ways to minimize wood movement. In general, let the grain on top run in the longest dimension. For example, a 3-ft. by 7-ft. tabletop should be glued up from 7-ft. boards, so there’s only the movement of the 3-ft. width to contend with, On a round or square top, glue up the top from quartersawn stock.
From Fine Woodworking #62
For the full article, download the PDF below:
Fine Woodworking Recommended Products

Stanley Powerlock 16-ft. tape measure

Dubuque Clamp Works Bar Clamps - 4 pack


Log in or create an account to post a comment.
Sign up Log in