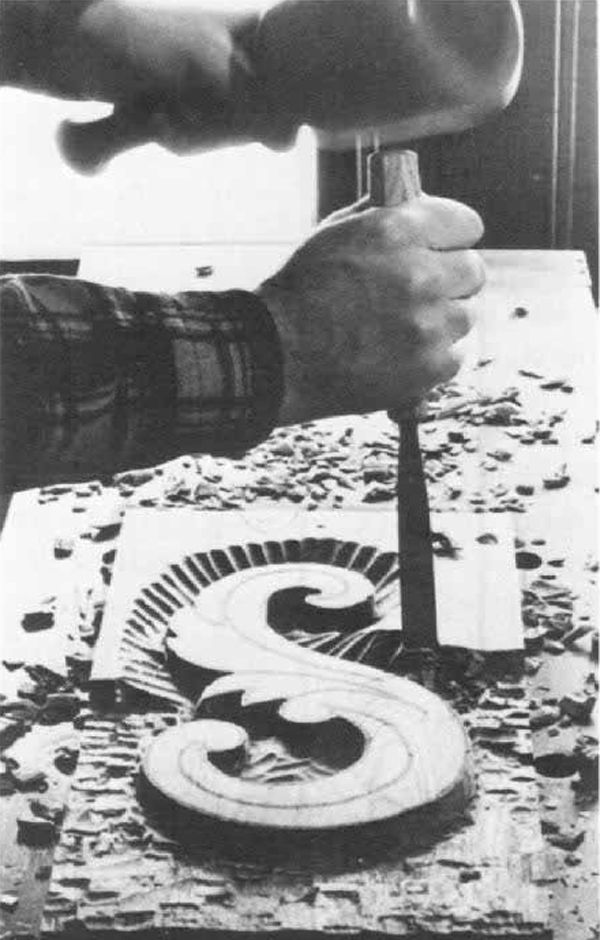
Synopsis: Many woodworkers might wish to incorporate carving into a furniture design, but they shy away, fearing it would involve far too much time. Rick Bütz writes that if a relief carving is approached with a sense of purpose and organization, the work can be done by hand with surprising speed and efficiency, and be fun, too. He defines relief carving and explains basic carving steps. He discusses sharpening, taking the finish off a handle to prevent blisters, and how to carve a traditional design that offers practice in all areas of carving. Many photos show the tools necessary, the grip, and each stage of carving — outlining, the background, and modeling.
From Fine Woodworking #13
Relief carving has been around for a very long time. Exactly how long nobody is really certain, although archeologists agree that it predates written history. However, it was not until the 17th and 18th centuries that relief carving reached its peak of technical skill in the West. During this period, woodcarvers created works of such beauty and grace that few can equal today. And yet, despite this technical brilliance, it was only a few generations until the age of machine industry brought this period to an end. Looking back, we can see that the effect of changing priorities was a decline in certain types of knowledge. Skills and methods that were once common knowledge have become, at best, uncommon.
The result is that today many woodworkers might wish to incorporate carving into a furniture design, but they shy away on grounds that it would involve far too much time to be practical. This should not be the case. If a relief carving is approached with a sense of purpose and organization, all the work can be done by hand with surprising speed and efficiency—and considerable pleasure too. Whether the design is contemporary or traditional, a tasteful carving can add richness and depth to any woodworking project.
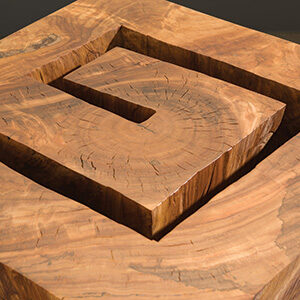
Loosely defined, relief carving is a method of creating a raised design that appears to stand free of the background. The distance that separates the raised portion from the background determines whether the carving is high relief or shallow relief. In either case, the basic carving steps are always the same. First, the background is carved away and smoothed. This leaves a raised design and a level background. Second, the design is shaped and smoothed. It is important to complete all background carving before doing any work on the free-standing parts of the design. This is not an arbitrary rule, but rather a method that greatly simplifies the work.
For the full article, download the PDF below:
Fine Woodworking Recommended Products

Veritas Wheel Marking Gauge

Veritas Micro-Adjust Wheel Marking Gauge

Stanley Powerlock 16-ft. tape measure


Log in or create an account to post a comment.
Sign up Log in