

Based on a request from one of our readers, I’ve put together a short demonstration of creating an animation from a SketchUp model. This is actually a fairly simple thing to do as long as you keep all your ducks in a row. The video shows the process and at the end I’ve included a low resolution animation export right from SketchUp. The animation export is available in the Pro version but according to the SketchUp website, not for the free version. Both versions will play the animation right in sketchUp. An option for getting the animation out of the free version would be to run a video screen capture application while the animation is running in the drawing window.

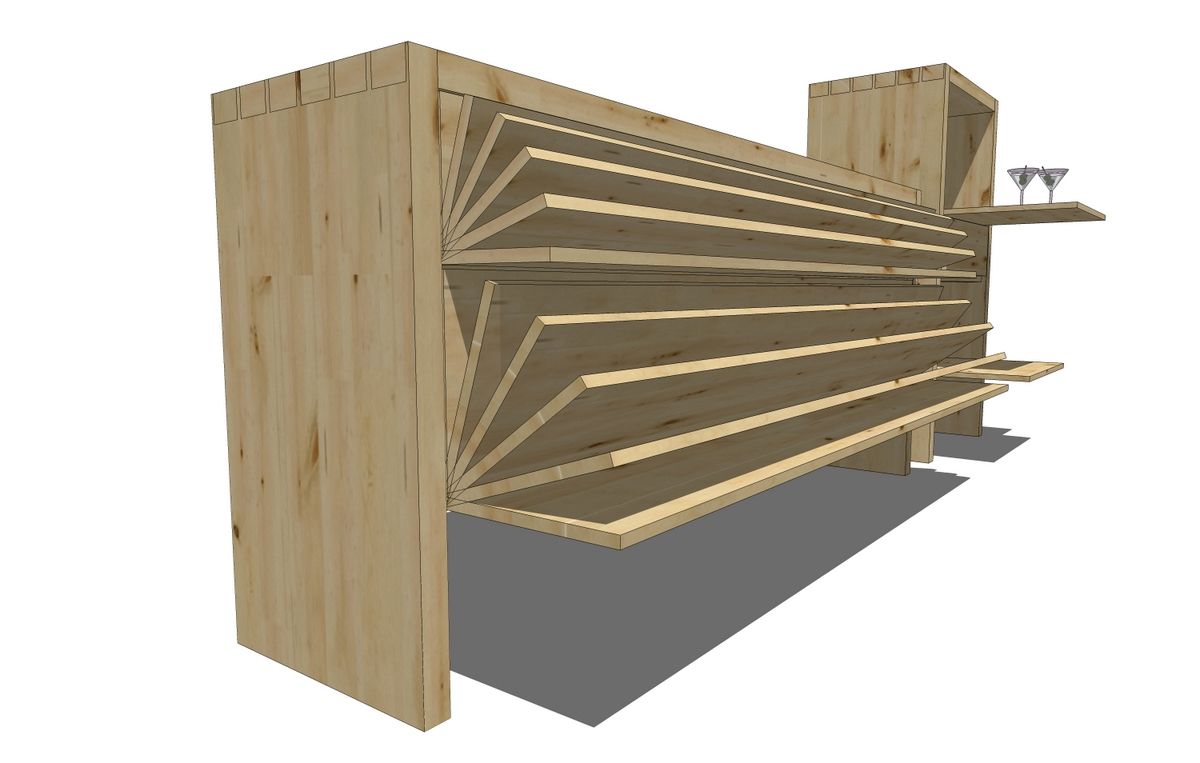
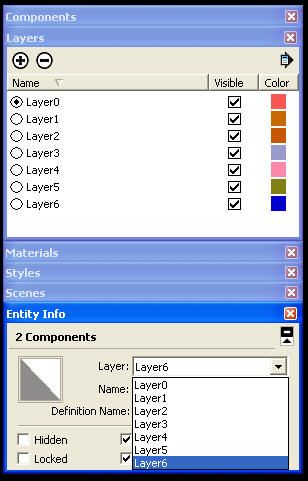
The first step is to make copy arrays of the components that will be moving. In the video I make radial arrays using the copy function of the Rotate tool. You can use linear arrays created with Ctrl+Move as well. After the component copies are made, create as many layers as you have copies. Then associate a different layer with each copy of the component. Make sure you only associate the component with the layer and not the geometry inside. The geometry inside remains associated to Layer 0. This is just normal and proper use of Layers in SketchUp.

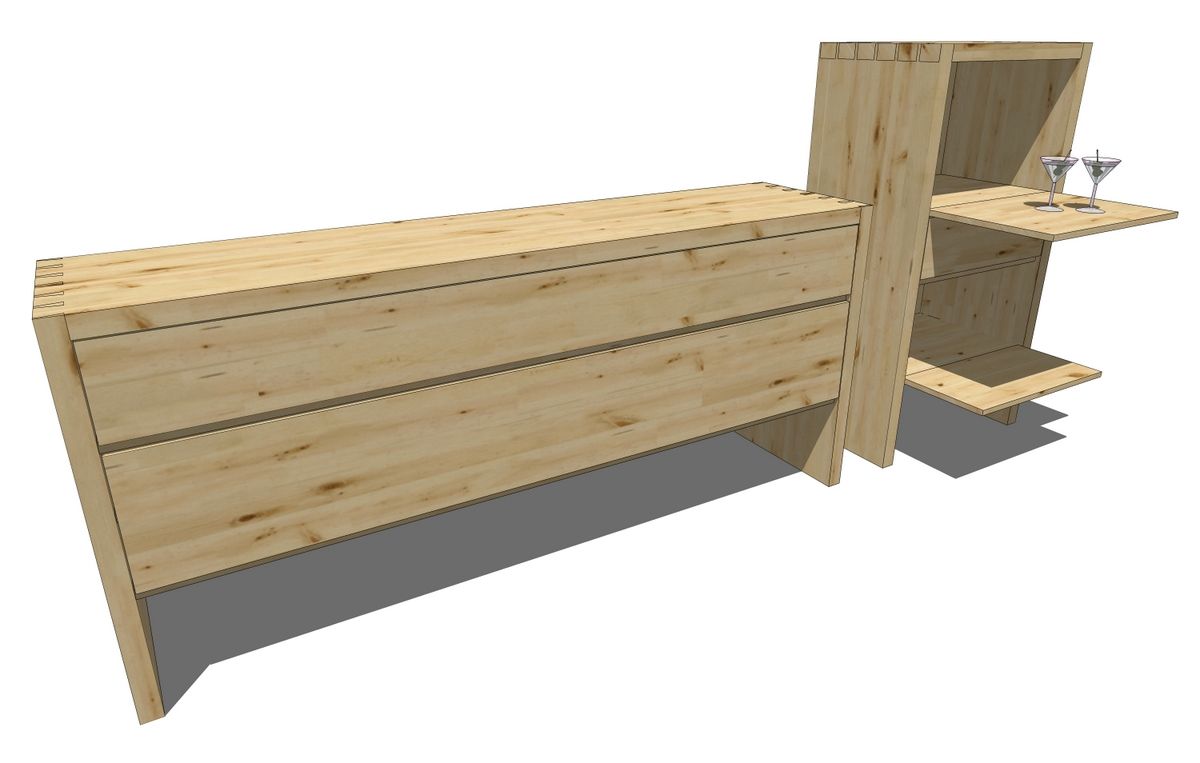
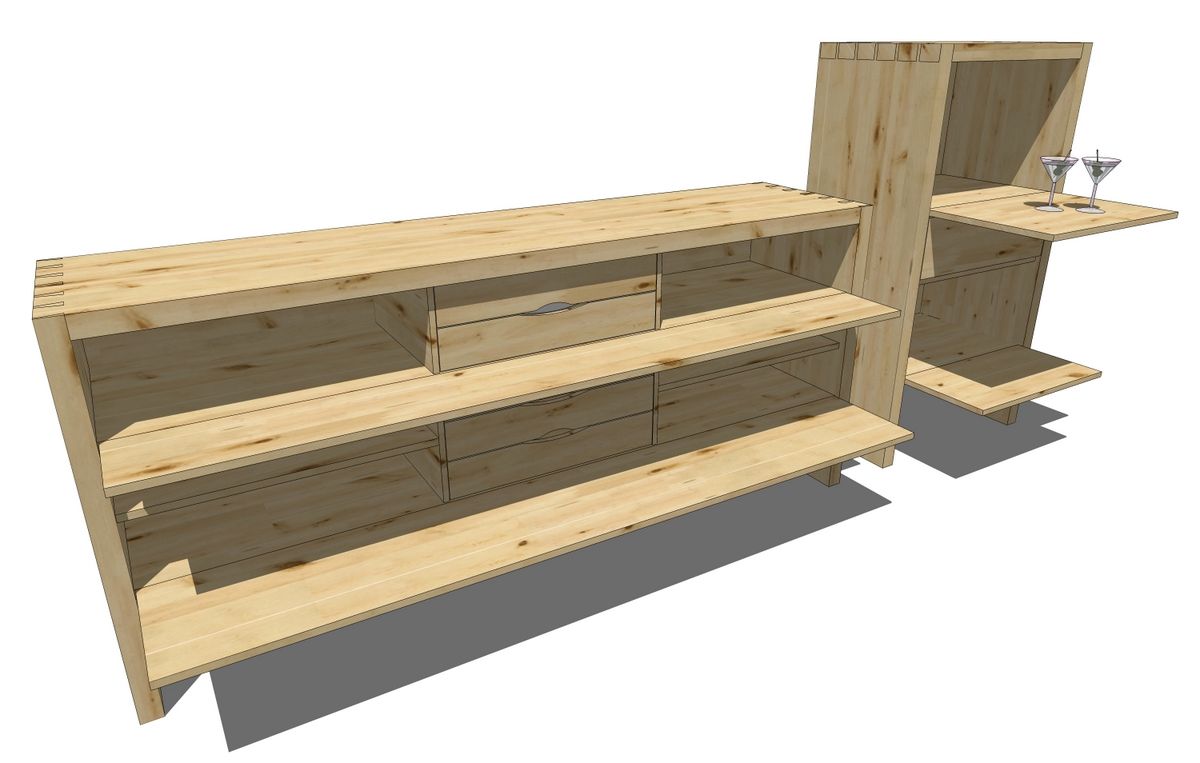
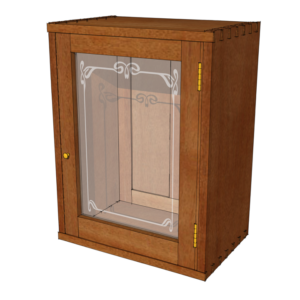
After the layers are created and the components are associated with them, begin making scenes. In the example the doors of the sideboard start in the closed position and the door components in the closed position are associated with Layer 1 so Layers 2 through 6 are turned off for Scene 1. Then for Scene 2, Layer 1 is turned off, Layer 2 is turned on. For Scene 3, Layer 3 is switched on and Layer 2 is switched off. this process continues until the animation sequence is completed.
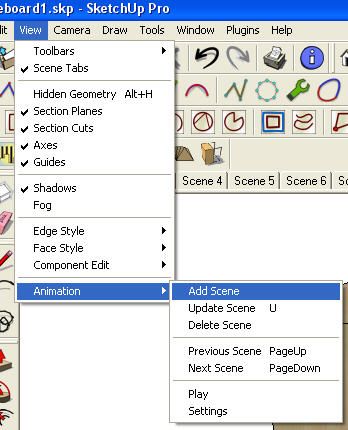
Note that adding scenes is done via the View menu.
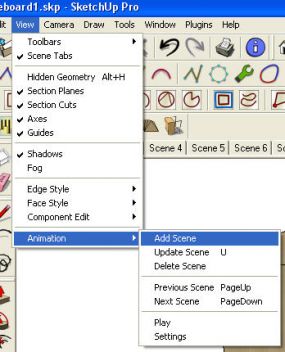
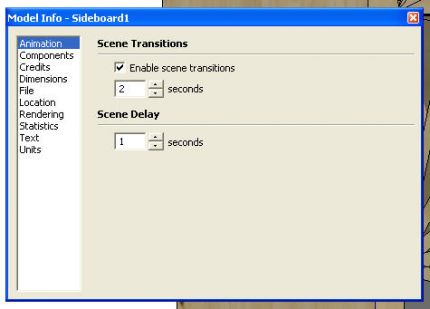
To watch the animation in SketchUp Click on Play in the Animation flyout menu. If you want to adjust the scene transition time or the delay,the time the animation stops at each scene, click on Settings or go to window>Model Info>Animation to make the adjustments. Note that in this same box you can disable transitions which is handy when you are working back and forth between scenes. It makes the change from scene to scene instantaneous.


Comments
Dave, when I watched the video I couldn't help but notice all the plugins you have for SU. Do you have alist somewhere showing all your plugins? I am looking for a dovetail plugin do you know of any good ones?
Yes, I have a lot of plugins. I haven't made a current list of them but I will say there are very few that actually get used. I have them because of the instructing I do. Don't install plugins or at least don't keep them installed unless they are useful to you. They slow down start up and clutter menus.
As far a dovetail plugin, I've not seen any let alone a "good one." Dovetails are simple to draw manually--you only need to lay out and draw a single socket. The rest is all copying (Ctrl+Move) and Push/Pull. I've heard of a couple of people saying they were working on plugins to do this but I've never seen any results.
Dave: That was exactly what I was looking for. Thanks Bruce
Very good tip!
Thanks
A gif or a video from the program would really be helpful as an instructional for people. Especially when it involves removal or installation of something that you've rendered.
Log in or create an account to post a comment.
Sign up Log in