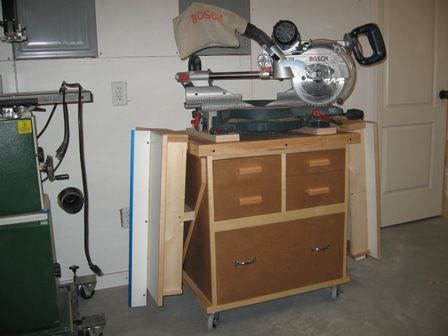
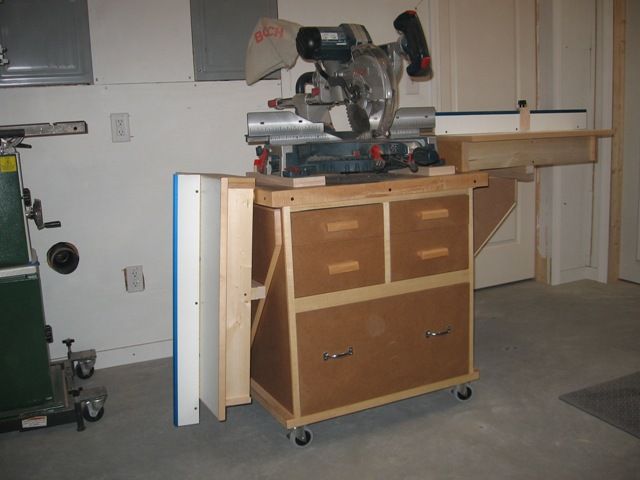
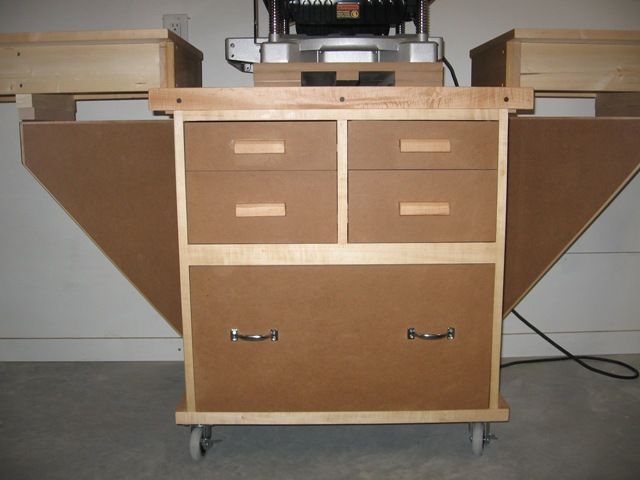
Fully folded, the saw station takes up fairly small footprint.
I was thrilled when I opend up Fine Woodworking Issue 209. I’ve been doodling plans for my own convertable miter saw/planer staion, and John White had exactly what I was hoping to do. He even had the same miter saw I owned!. It’s pretty faithfully reproduced with some exceptions. I used scrap MDF and Maple for the case and edging and scrap melamine coated particle board for the wings. I cheaped out and just made my own stop system from T-Track on hand. I don’t have a shop vac to dedicate for this, and I can always use storage space, so I built drawers underneath. Finally, I made it 34″ tall rather thathe recomended 32 1/2″.
Thanks John and Fine Woodworking for the article. It was a perfect match for my needs and what I had on hand.
Fine Woodworking Recommended Products
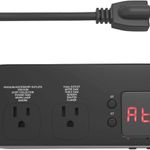
Automatic Vacuum Switch
New Generation LED digital tube display. 3 vacuum run modes. Adjustable vacuum startup and shutdown time in vacuum auto mode. Controller, tool and vacuum run LED indicator. All controller designs make your work more intelligent, convenient and safe.
Compared to other products, the SandNet 80 grit cuts slower. However, if you're working inside someone's home and need to start at this grit, you might want to trade speed for improved dust collection.
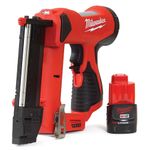
This tool is designed for convenience. The battery and pins are easy to load, and the safety lock operates with the same finger you use to pull the trigger. The depth of set is adjustable, there’s a work light, and there’s a hook for hanging the tool on your toolbelt. A gauge lets you keep track of when you’ll need to recharge.
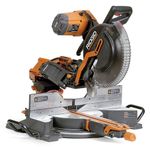
The Ridgid R4251 was a pleasant surprise. It uses two articulating arms to let it sit against a wall. The mechanism had me skeptical, but it performed excellently. The controls are conveniently placed and easy to use. The bevel and tilt locks for working off of the stops were my favorite of the field. Its LED results in a nice, accurate shadow.
A digital readout on the AccuMarking gauge measures to the nearest 0.0005 in. It can also be set to fractions or millimeters. Lacking a micro-adjust, however, it took a steady hand to dial in exact dimensions on the sensitive readout. The cutting disk needed considerable work to correct a rounded-over edge, but once sharpened, it cut well.
Very nice. I loved the original plan, but for me, your improvements are closer to what I hope to build. Which leads to a question.
I too would like to use the stand for more than just my miter saw. I haven't worked out yet how to secure tools to the stand without making a lot of fuss when swapping them. Care to comment on how you handle that?
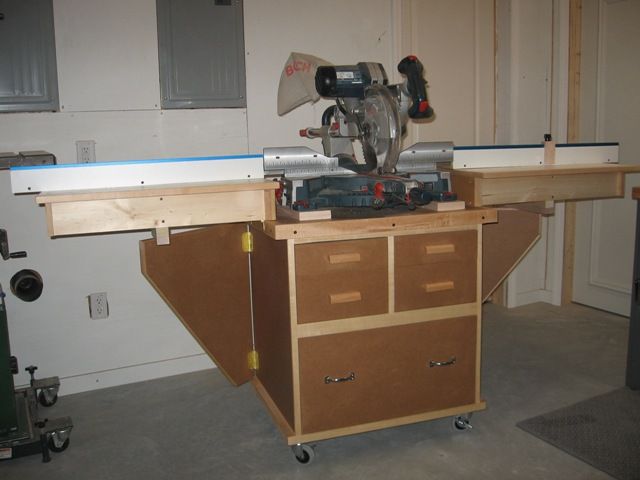
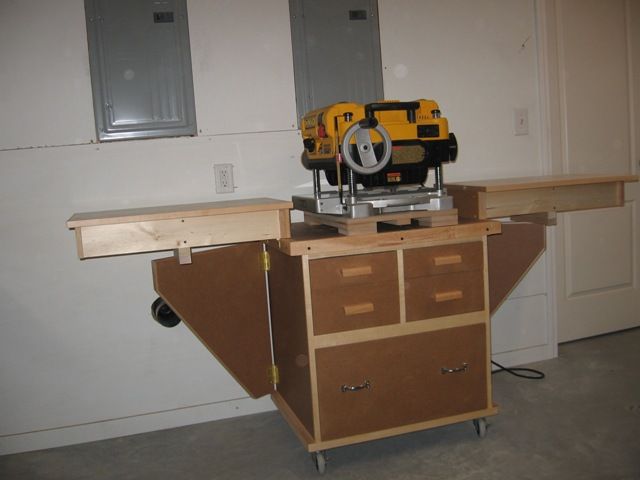
I made separate bases for both the miter saw and my planer (each is of a different height). You can probably just make out the bases in the photos. These bases are fixed to the tools. I have positioning dowels that get both tools in the right spot. These also align tee bolts in the top that fix them to the stands.
Not much fuss to change over. First unscrew 2 knobs, pull the pins. Move the first tool out, and the second in. Position with the dowels and then screw in the knobs.
i joined the on line membership today just to get the plans for building the miter saw table in issue 209. once in, i see the issue is out of stock. do you have any other way for me to get to the plans for this miter saw table.
With its graceful curves, cabriole legs, and ornamental back splat, a Queen Anne side chair is a bucket list build for many woodworkers. Dan Faia had a very specific Queen…
Become an UNLIMITED member and get it all: searchable online archive of every issue, how-to videos, Complete Illustrated Guide to Woodworking digital series, print magazine, e-newsletter, and more.


Comments
Very nice. I loved the original plan, but for me, your improvements are closer to what I hope to build. Which leads to a question.
I too would like to use the stand for more than just my miter saw. I haven't worked out yet how to secure tools to the stand without making a lot of fuss when swapping them. Care to comment on how you handle that?
M57,
I made separate bases for both the miter saw and my planer (each is of a different height). You can probably just make out the bases in the photos. These bases are fixed to the tools. I have positioning dowels that get both tools in the right spot. These also align tee bolts in the top that fix them to the stands.
Not much fuss to change over. First unscrew 2 knobs, pull the pins. Move the first tool out, and the second in. Position with the dowels and then screw in the knobs.
Fast and secure.
Good luck.
I'm just about to finish this project, but I have a question. How long should the hanger bolts be? Thanks!
where can I get the plans?
i joined the on line membership today just to get the plans for building the miter saw table in issue 209. once in, i see the issue is out of stock. do you have any other way for me to get to the plans for this miter saw table.
Log in or create an account to post a comment.
Sign up Log in