

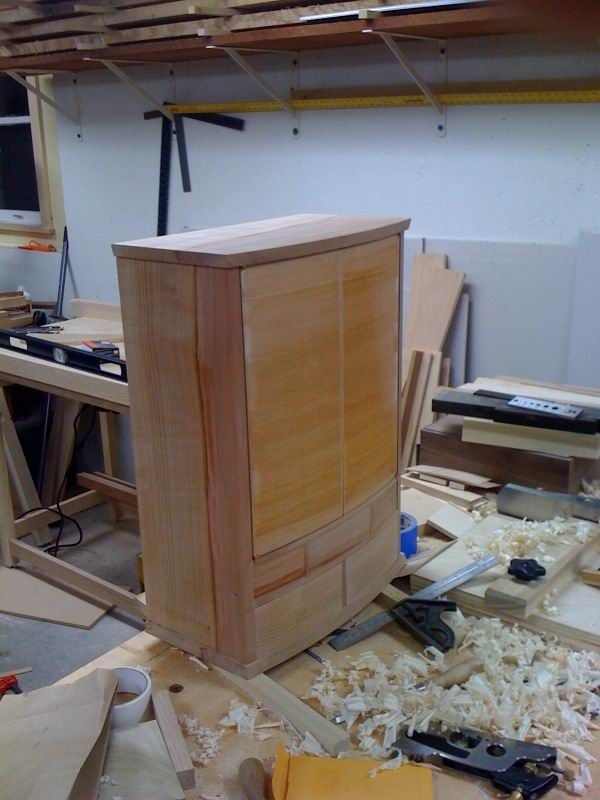
Under construction. I'm in the process of making this cabinet for my wife. Cutting the grooves in the back of the drawer fronts was tricky. (The drawers and doors still need to be veneered.)
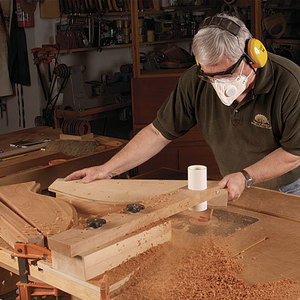
I currently making a bow front jewelry cabinet for me wife. I have always wanted to make a bow front cabinet and everything started to fall into place for this to be the one. Great wood (Madrone), a great shop (here at FWW) to use, and some great woodworkers (fellow editors) to help if I got stuck anywhere. As it turned out, things haven’t been to tough so far, but I was stumped a bit about how to groove the curved backs of the drawer fronts. Normally, I groove drawer parts either with a dado blade at the tablesaw or a straight bit in the router table. Neither method works with a concave drawer back. I ran through many possible ways to do it, and checked with some of other editors. No matter what I or they came up with, I kept coming back to my initial thought. So I made a fence for my router table that is curved to match the radius of the inside of the drawer fronts. Then I put a slot cutting bit in my router and went to town. It worked great for the drawer fronts.
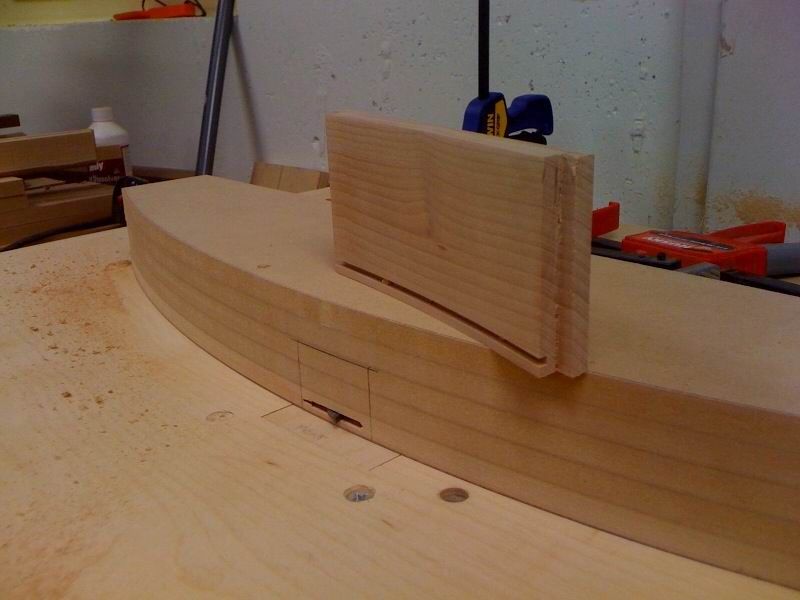
One tricky part was cutting the grooves in the drawer sides. They’re straight and I was hesitant to use the curved fence to cut the grooves, because only a small part of the side would be against the fence at any time. But it’s always best to cut the groove in the front and the sides with the same machine and the same setup. So I simple clamped a narrow board with a rounded end opposite the slot cutting bit. The rounding end forced the sides against the fence at just the right place. And all the grooves came out perfect.
-
Under construction. I'm in the process of making this cabinet for my wife. Cutting the grooves in the back of the drawer fronts was tricky. (The drawers and doors still need to be veneered.)
-
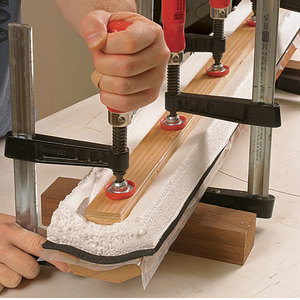
Simple solution. This fence is curved to match the inside curve of the drawer fronts. The slotting bit sticks out 1/8 in. and cuts a 1/8 in. deep groove as the fronts slide over the curve.


Comments
A bearing on the slot cutting bit would have eliminated the need for a fence and would have made it easier to do the sides.
knoxmtn,
I looked for a bearing that would give me a 1/8 in. deep groove but was unable to find one. I'm sure they sell them online, but making the fence was less aggravation than hunting down, ordering, and waiting for the bearing to arrive. The bearing that came with the bit ends up cutting a very deep groove. Also, I don't fancy using the bit with the entire diameter exposed, so I still would have buried it in a fence.
Hi All,
I recently had the same issue on the back of a serpentine drawer for a dressing mirror.
I wanted a groove in the heavy 1/8, light 3/16 range, but did not have a bearing for my slot cutter to allow for less than 1/4. I had cut the grooves for the sides on the table saw.
What I ended up using was a 'pipe jig.' It has an arm that reaches out with a section of pipe (1 1/2" diameter or thereabouts) through it that can be raised or lowered as needed. It has a back section perpendicular to the arm that allows it to be clamped to the router table.
So you have your slot cutter in the router table as normal. You set the proper bit height, and then position your pipe jig so that it comes down over the bit.
You adjust the jig until the rotation of the bit extends beyond the pipe to the desired depth of the groove. It's helpful to draw a vertical line on the pipe to pick as your apex point and reference your setting off there.
Then you make sure to ride that point with the workpiece after you come off the starting pin when you cut the slot. If you wander on the circumference of the pipe as you feed the piece, the depth of the cut will vary.
It's a bit fussy in setting up, and requires building the jig, but it's useful to have and works well.
Dan
Forgot one thought. As to having to cut the sides and front on the same machine and setting.
It can be the most efficient way to do it, but I don't think it's necessary for accuracy. I cut the sides on the saw first.
Then used the cut groove to set the height of the slot cutter bit, which makes it spot on. The depth needs to be 'close,' but not identical by machinists standards in my opinion. If it looks the same visually to me, I'm happy.
Ah, yes, that's a shallow groove and I see your point about hunting down the right bearing.
Dan,
You're right that one machine and one setup isn't necessary for accuracy, but it sure is efficient and easy to do it that way. That's why I referred to it as the best way. There are, of course, other very good ways to do it.
Hi
I ran into a similar problem when I was building an arched top interior door. my solution was to use UHMW plastic and I used my wood lathe to turn a bushing for the existing bearing to make it the diameter I needed. This worked great and I have used it many times after as well.
Log in or create an account to post a comment.
Sign up Log in