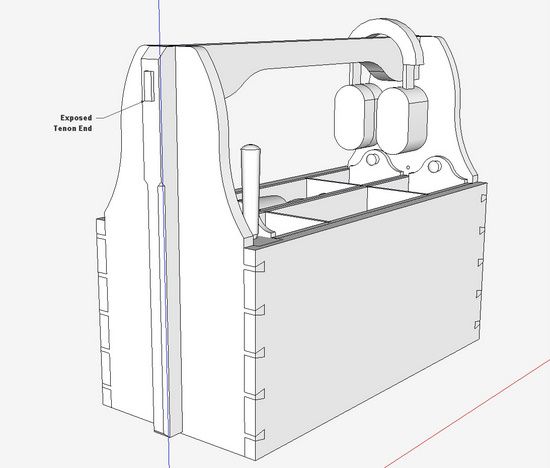
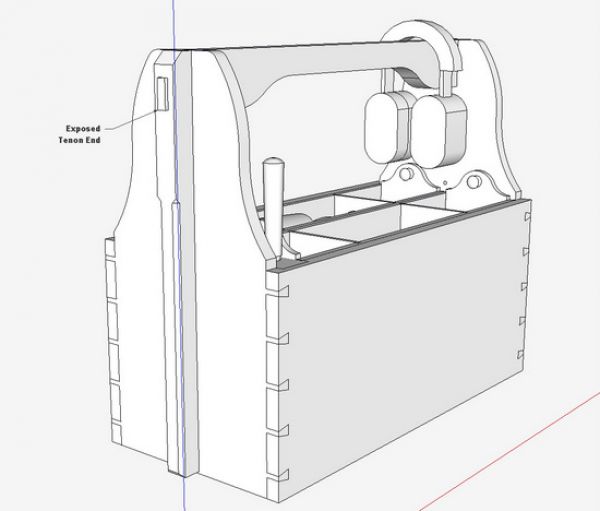
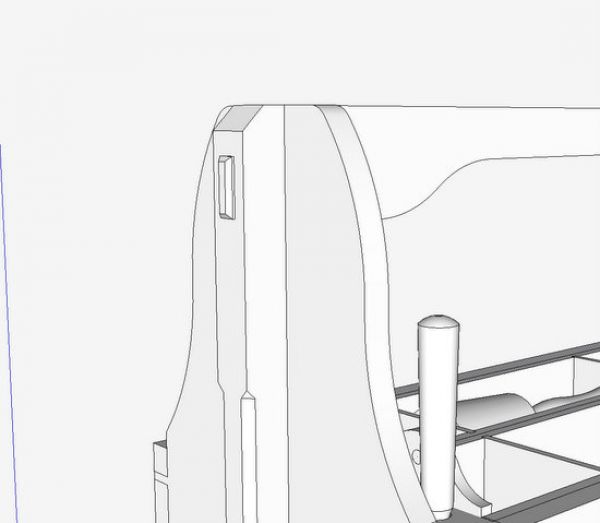
Some furniture styles (especially Arts & Crafts) like to show through tenons – not only are they “through” but often protruding slightly. Then they are chamfered around the outer edge.
Below is an example using my Tool Case. The handle tenon protrudes right through the side and also the buttress. The exposed length is 3/16-in. This tenon needs to be trimmed with a 1/8-in. chamfer.
There are many ways to do the chamfering in SketchUp, including use of a plug-in. Within the standard SketchUp Tools, you could use Follow Me or even the Scale Tool. I’ll show a way using Push/Pull, Line, and Move/Copy.
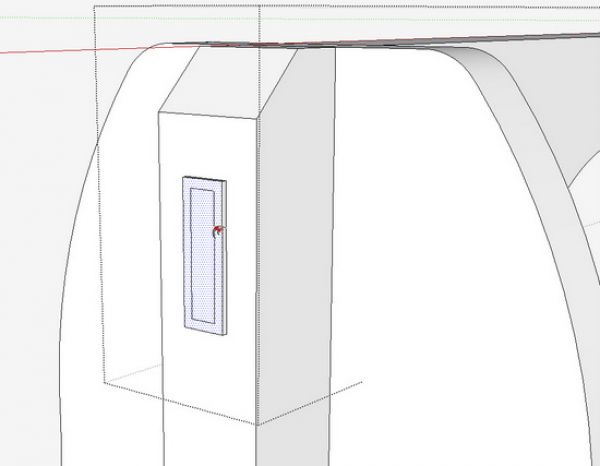
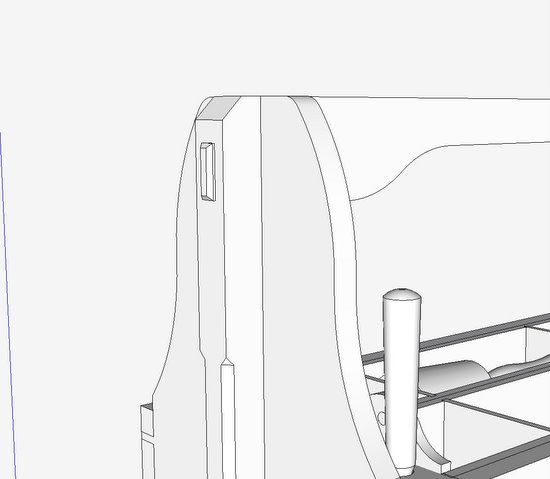
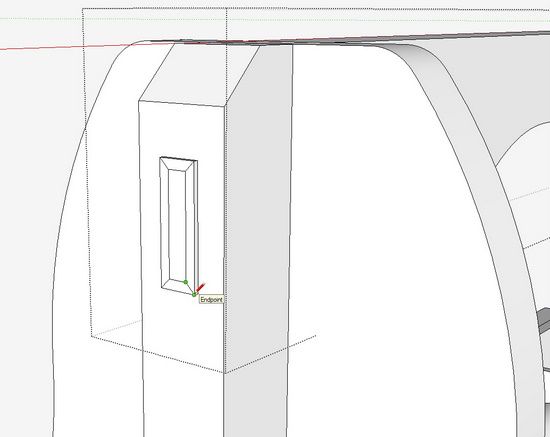
Step 1: Use the Push/Pull Tool to push the end of the tenon back 1/8-in. The tenon protruded 3/16-in. and I want to end up with a 1/8-in. chamfer.

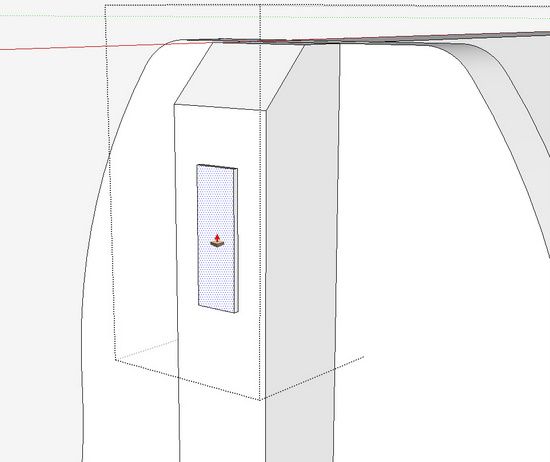
Step 2: Select the Offset Tool, one that I don’t use very often. Click on the outer edge of the tenon and move the mouse toward the center. Type 1/8 for an offset exactly at 1/8-in.
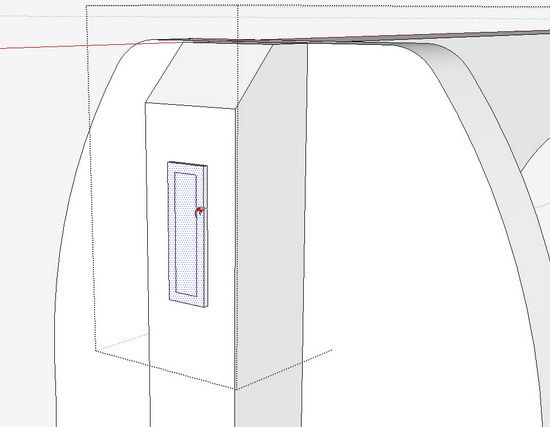
Step 3: Select the Line Tool and draw four lines to connect the corners. This will allow the auto-fold feature in SketchUp to get us a chamfer.
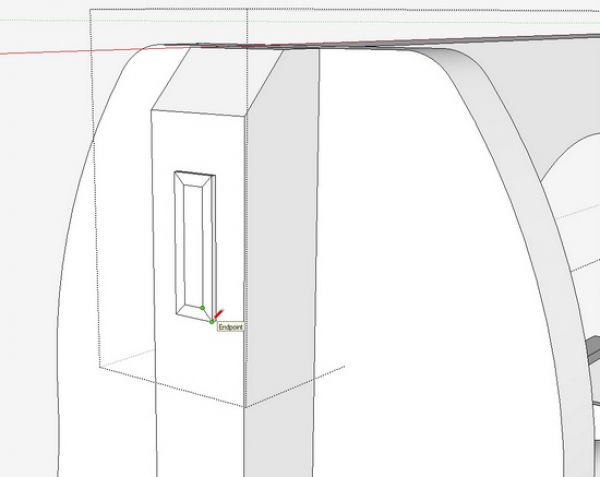
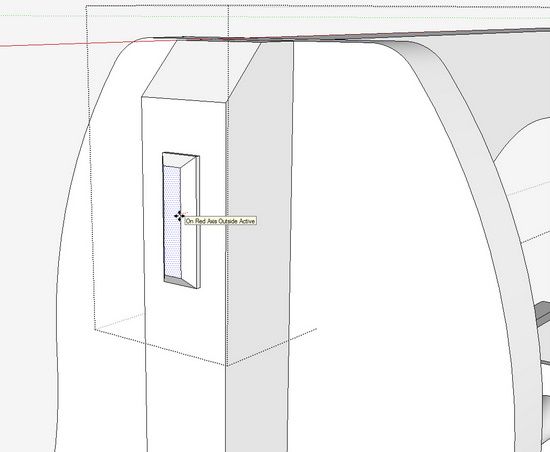
Step 4: With the Select Tool, click on the inner rectangle face. Then choose the Move/Copy Tool, click on the selected face and pull the inner rectangle outward. In this case I will hold the movement on the red axis (by tapping the Right Arrow key) as that is the orientation of my Tool Case Handle. Type 1/8 and hit Enter to get an exact lift on the face. Notice how the top of the tenon begins to fold as you move the mouse.
I would copy this chamfer and move it to the other end of the Handle. Then I would flip it along the red axis and connect precisely to the other tenon end. After erasing the waste, you will uncover a perfect chamfered tenon.
This seems to be an easy way for me, but I’m sure there are a lot of alternatives.
Tim


Comments
I like this trick with auto-fold. I'm pretty sure, however, that as long as you select the inner face first, then use the move tool, it's not necessary to draw those 4 lines to connect the corners. Sketchup puts them there for you. Not a big deal, but saves a couple of steps.
Best,
Michael
Michael, you are correct. Auto-fold will create the diagonal folds if you select the center face and it's bounding edges for the Move operation. I also use this same method for putting chamfers or bevels on the undersides of table and cabinet tops as well as for raised panels that use a flat bevel for the raising and it makes quick work of creating bevels for traditional drawers. For the raised panels and drawer bottoms, I use Offset to define the width of the tongue on the edges of the panel and then Offset again for the width of the bevel. the process also works on round or other curved edges.
In this case, selecting the face with or without the border did not create the Autofold. It would simply move the internal face away from the tenon end with no folds.
If I hold the Alt Key along with Move/Copy Tool, then success as Autofold takes over automatically and creates the corner lines.
It seems you have to coax SketchUp with Alt Key sometimes for autofold to work.
Tim
Interesting, I usually just use the "follow me" tool.
pintodeluxe, Follow Me is a great way to chamfer some things but it sometimes it is easier and faster to use Offset and Auto-fold. For example chamfers on round things like the ends of dowels or edge of a round table top. Having more than one method in your arsenal can be a very good thing.
Thanks for this Tim.
I was just trying to solve this very problem to create a through peg in a model for a Craftsman style drafting table.
It was slightly different though in that one end of the peg protruded through a horizontal component but the other end came through an angled surface. And I was able to use the same process of the Offfset and Push/Pull tools, but I had to change the axes of the end on the angled surface (thanks to recent advice from Dave Richards).
This then allowed me to Pull the inset rectangle out parallel (or is that "coplanar")to the peg's length.
BTW. I recently purchased your plans for a ToolBox from FWW and built it as a gift for my wife last Christmas. First time I've ever built somthing from complete plans drawn in Sketchup. They were excellent to work from. I scaled it down a bit to make it a little smaller so I could use up some "scraps" in the shop. Thanks!
ps. I'll post some pics in the Readers Gallery so you you can see it.
Rich
Strikes54: that sure is a nice looking tool case. And very interesting with the different wood materials. Several people have resized the case. I use my tool case every Friday morning to carry my tools to class. I used old growth redwood. It is very heavy when I fill with several hand planes and other hand tools, but quite handy.
Tim
Log in or create an account to post a comment.
Sign up Log in