Make a Bench from a Board
 Oct 17, 2011
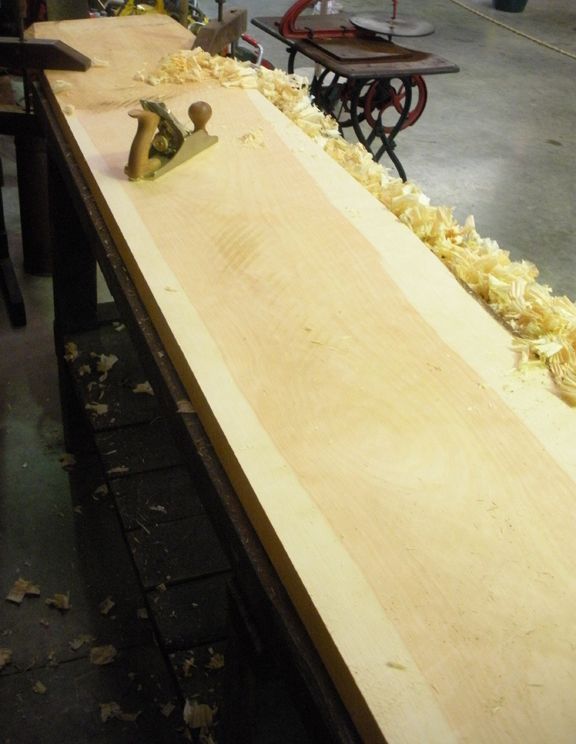
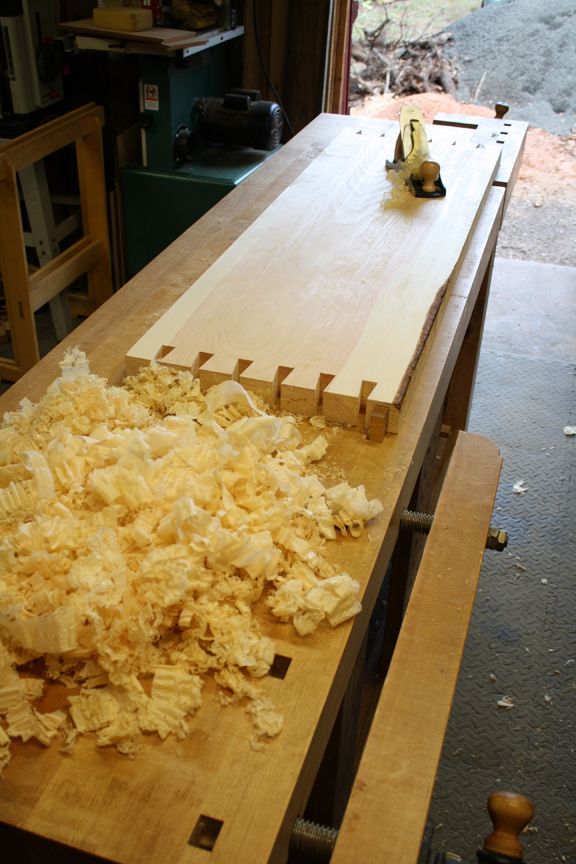
Here I'm removing the saw marks and getting the board flat.
A fellow co-worker had some beautiful pine boards milled up recently. Most boards were a woodworker’s dream – wide, thick and clear. And the best part – he offered them at cost. Just enough per board foot to cover milling and kiln drying. (Thanks again Dan!)
Here’s a quick step-by-step, showing a simple design for a bench, that lets the lumber be the star.
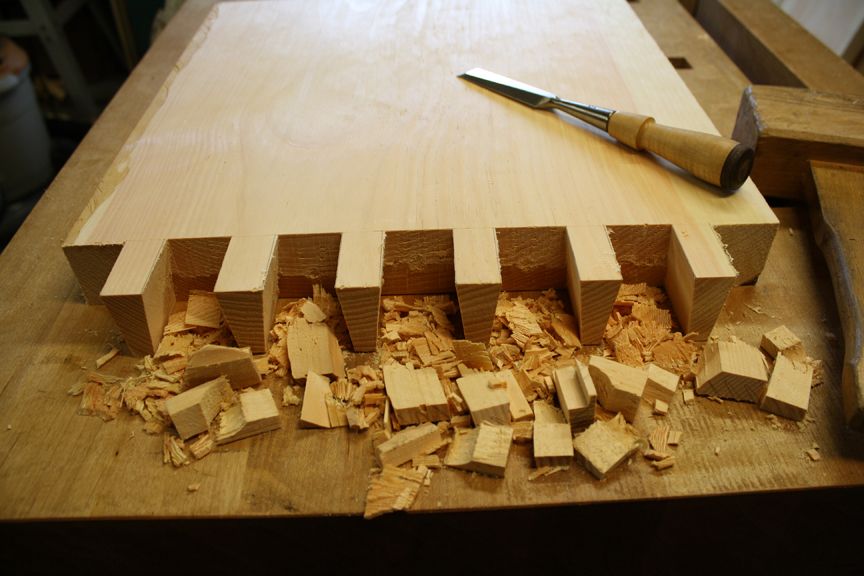
And check out this post to see how I cut out the waste between pins with a reciprocating saw.
-
Here I'm removing the saw marks and getting the board flat.
-
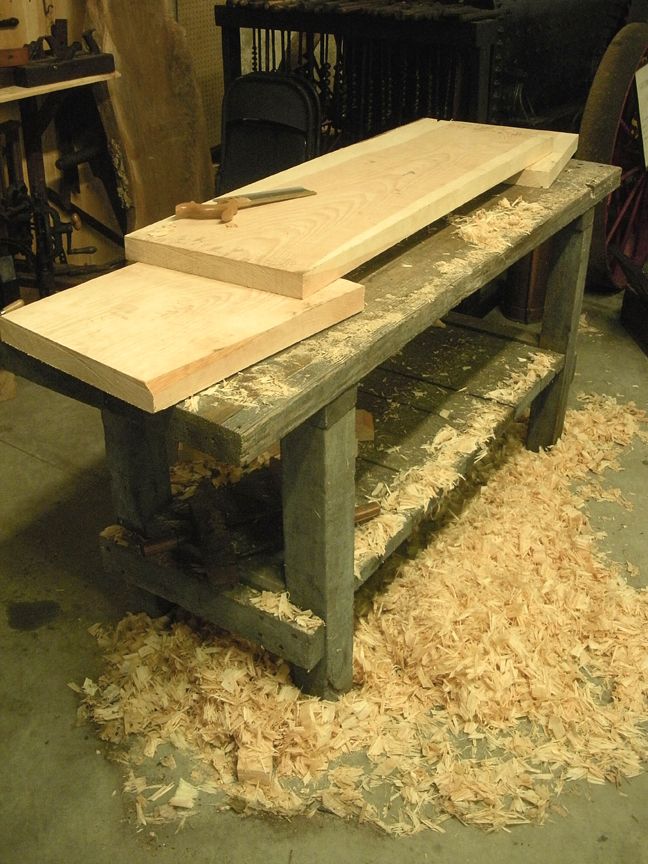
In this photo, the parts have been cut to length with a hand saw (not with the little dovetail saw in the picture), the tails have been laid out, and I'm getting ready to start the joinery.
-
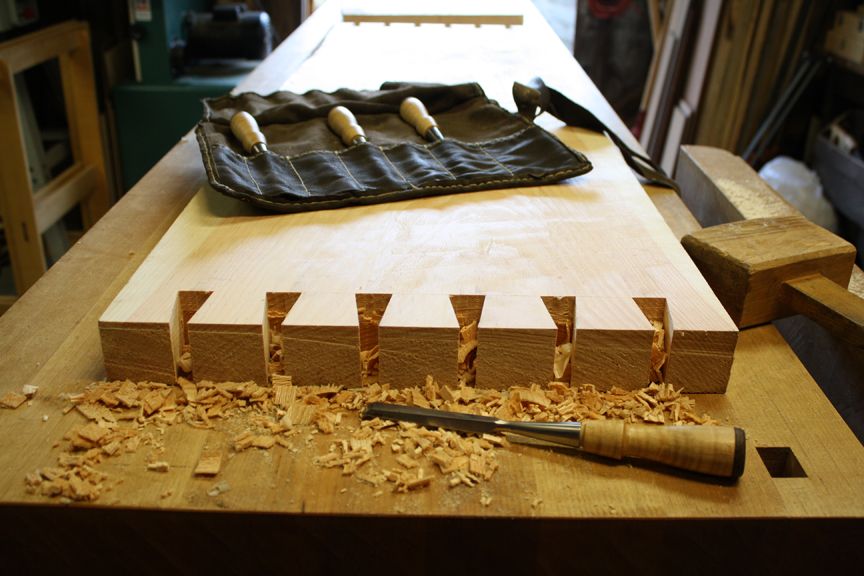
I first cut the tails in the top board...
-
and then cut the pins in the sides.
-
A final smoothing of the parts.
-
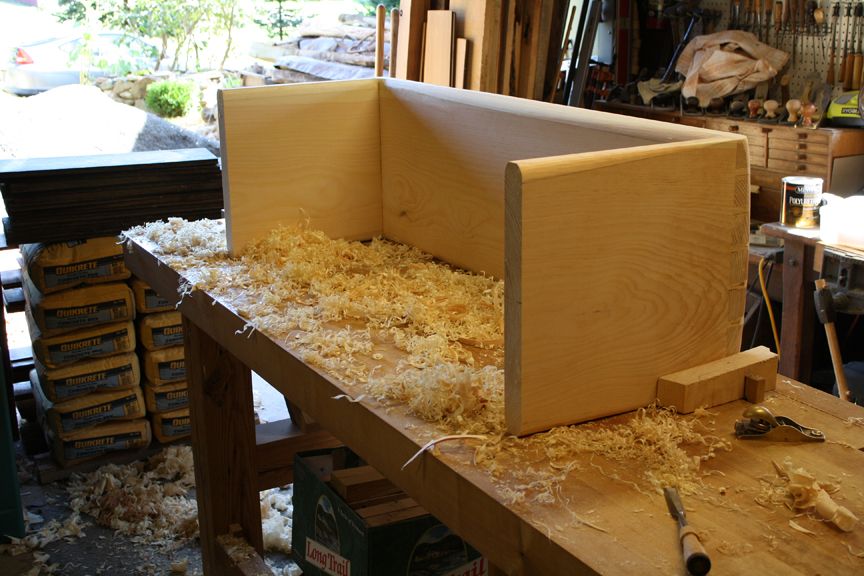
Ready for glue-up.
-
After the glue-up I planed the dovetails smooth.
-
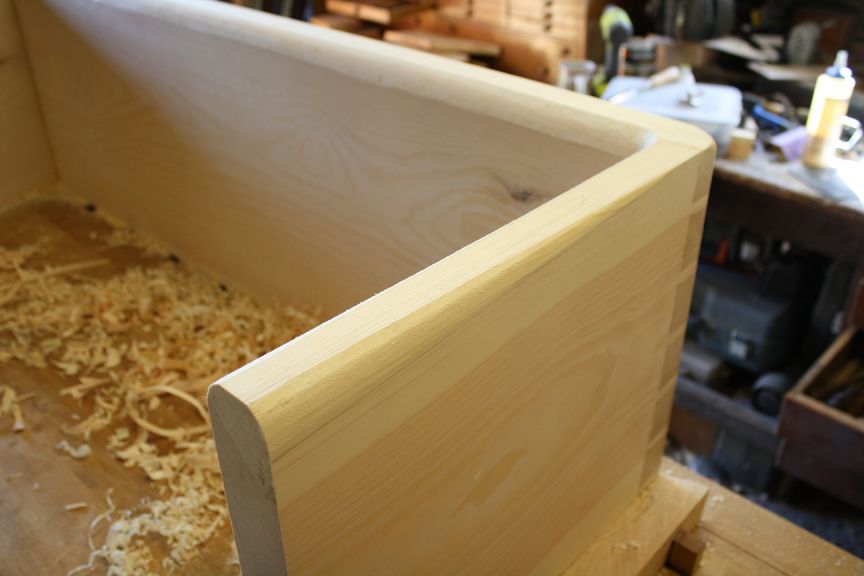
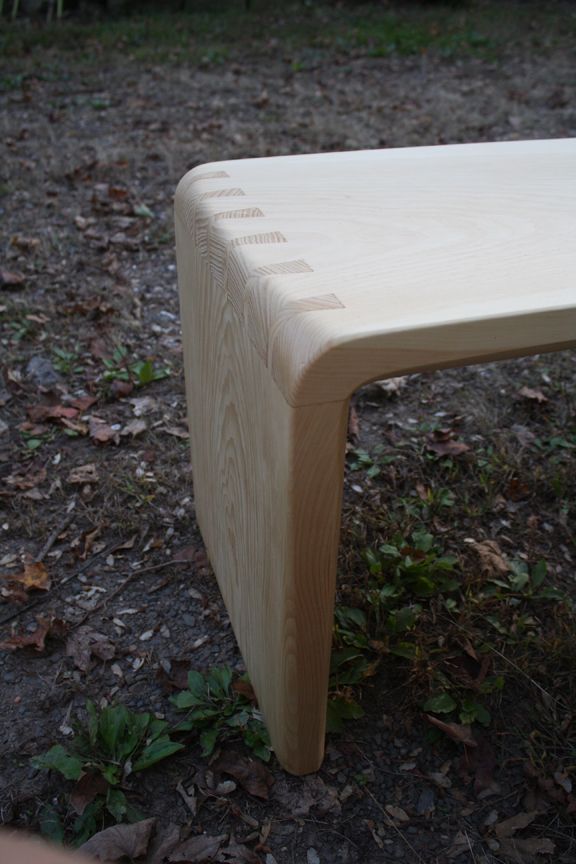
I then added a contour to the edges. A slight taper down to the bottom of the sides and a rounding to the top of the dovetails and all inside edges.
-
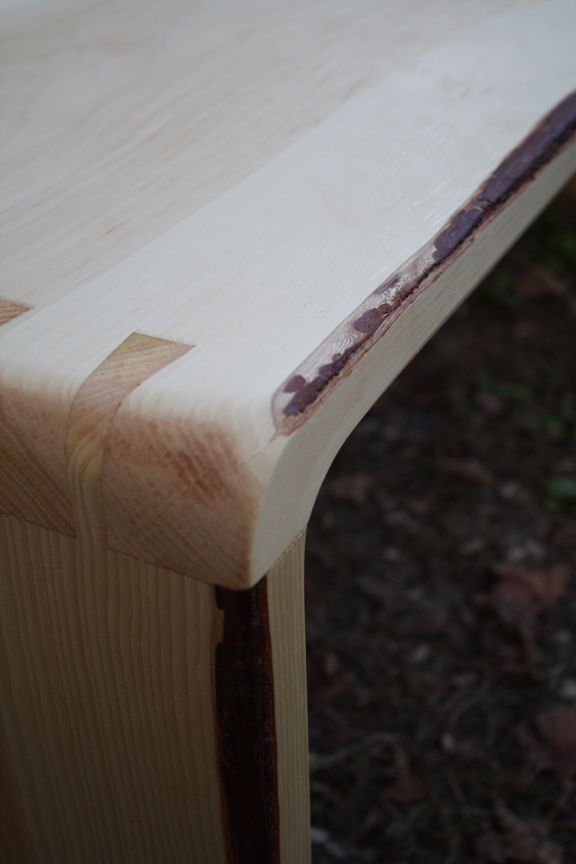
Here's a detail of the taper at the bottom of the sides. I used a flat chisel, block plane and rasp to add the contours.
-
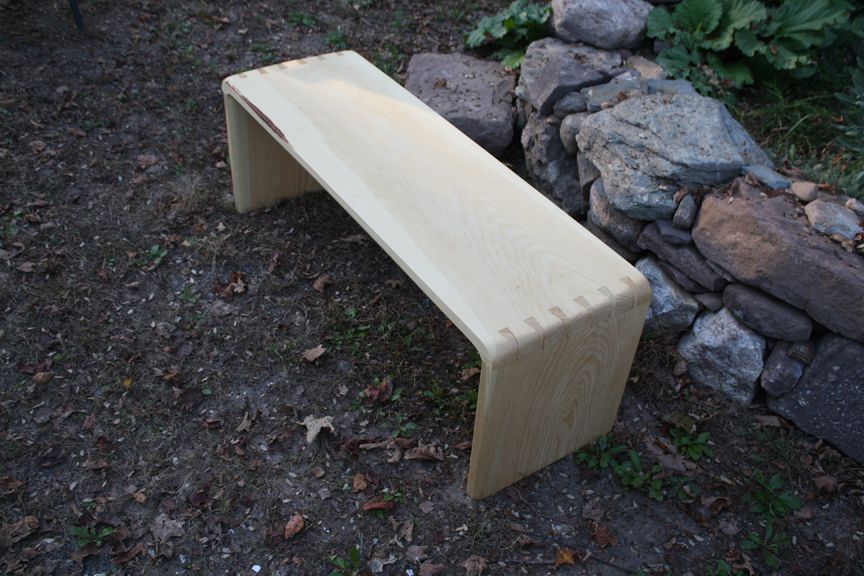
Here's the finished bench.
-
A detail of the contoured edges. I rounded over the dovetails more at the sides and less in the center to give the edge a curve when looking down from the top.
-
I left the bit of bark that was still attached to an edge. This let the bench be as wide as possible, and I liked the natural look.


Comments
Beautiful bench John, really dig the roundover and taper on the dovetails. Great work!
Thanks Mike,
I'm letting the bench stay outside and weather a while in front of the rock wall in the photo. I thought the rounded edges would make it fit into it's "organic" setting a little more comfortably.
John
Nice bench! I was wondering, though, with no cross-braces between the two side pieces, will the bench not become wobbly after some use? Or am I under-estimating the strength of the dovetail joinery? Would you like to comment, John?
You indicate the bench will be outdoors. What will you use for a protective finish??
Thank you for sharing, the bench is a beauty! I have some 3 inch thick slab of eucaliptus or cypress (I think). would the extra thickness allow me to use finger joints for a bench of the same basic construction, or the dovetails are still a must?
Hi OuGrysie,
I was wondering about a stretcher also, but after the dry assembly, I decided against it. I liked the clean look without the stretcher and I felt that the 2in. thick dovetails added an awful lot of long grain glue surface. It wouldn't hurt to have the added strength of the stretcher for sure, but I think it will last for years without it. Thanks,
John
Racecar99,
I'm leaving it outdoors until it turns gray, and then I'm thinking of bringing it inside to use on our front porch. I want it to have a weathered look and feel worn-in. I might carve out the seat a bit to add more comfort, but either way, I think it will be a nice place to sit in the morning with a cup of coffee. Thanks,
John
Thanks slowman,
I think the 3" thickness (my bench was only 2in.) with finger joints would be plenty strong. You could always add a stretcher like OuGrysie suggested if you're worried about the strength of the finger joints. The cyprus would be a great choice for an outdoor bench too, just make sure to use waterproof glue, and it should be around for a long time.
John
For pieces that are going to be outside, you might consider zinc naphthenate to extend their life. I made a smaller scale bench for holding plant pots on a small covered deck in Seattle decades ago which have weathered but are still holding up mechanically.
hi John. i've been admiring your work for the last year or so. i really like your approach to materials and design. my ideal is to never even pay for materials (though i'm not completely opposed to it). i use reclaimed old growth 2x4's, old pine shelves, doors, windows, plywood and/or flooring i find in the trash bin. and i've recently started exploring the woods around my in-laws home in big bear, CA. i found a cool piece of oak burl attached to a fallen tree, borrowed a chain saw and went to work. (btw, i was super stoked to see your cherry burl bowl you turned.) is it possible to contact you directly through email? i have a bunch of questions about working with reclaimed materials. if so, my email is [email protected].
if not, i'll try and post the questions here.
thanks.
josh.
John, I love the look of your bench. Can you tell me its finished dimensions? Thanks
Log in or create an account to post a comment.
Sign up Log in