

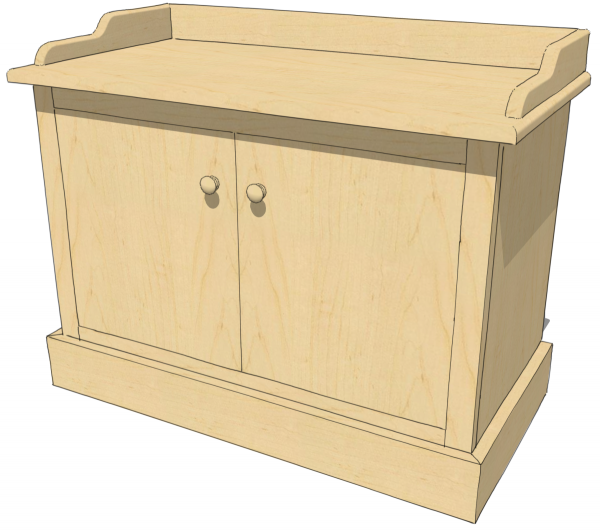
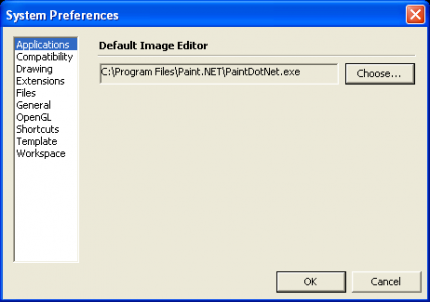
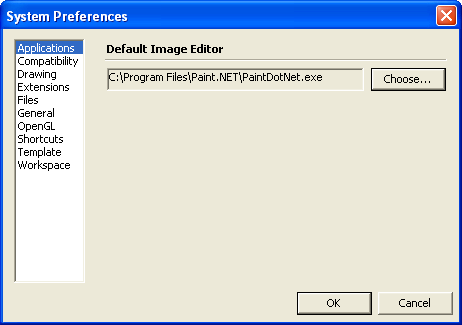
Sometimes I find I want to give the idea that the wood grain material I’ve used in my SketchUp model has been stained, shellacked or varnished. there are some limited controls available under the Edit tab in the Materials browser. Often, though, it is nice to be able to use an external image editor such as Photo Shop. Fortunately this is very easy to do in SketchUp. Before you can actually do the editing in your external image editor, you have to tell SketchUp what editor you want to use and give it the path so it can find it. Go to Window>Preferences>Applications on the PC or SketchUp>Preferences>Applications on the Mac. Browse to find the program you want to use and choose it. In my example, I am using Paint.NET which is a freeware application that works quite well. You only need to make this setting once and it should be available any time you need it.
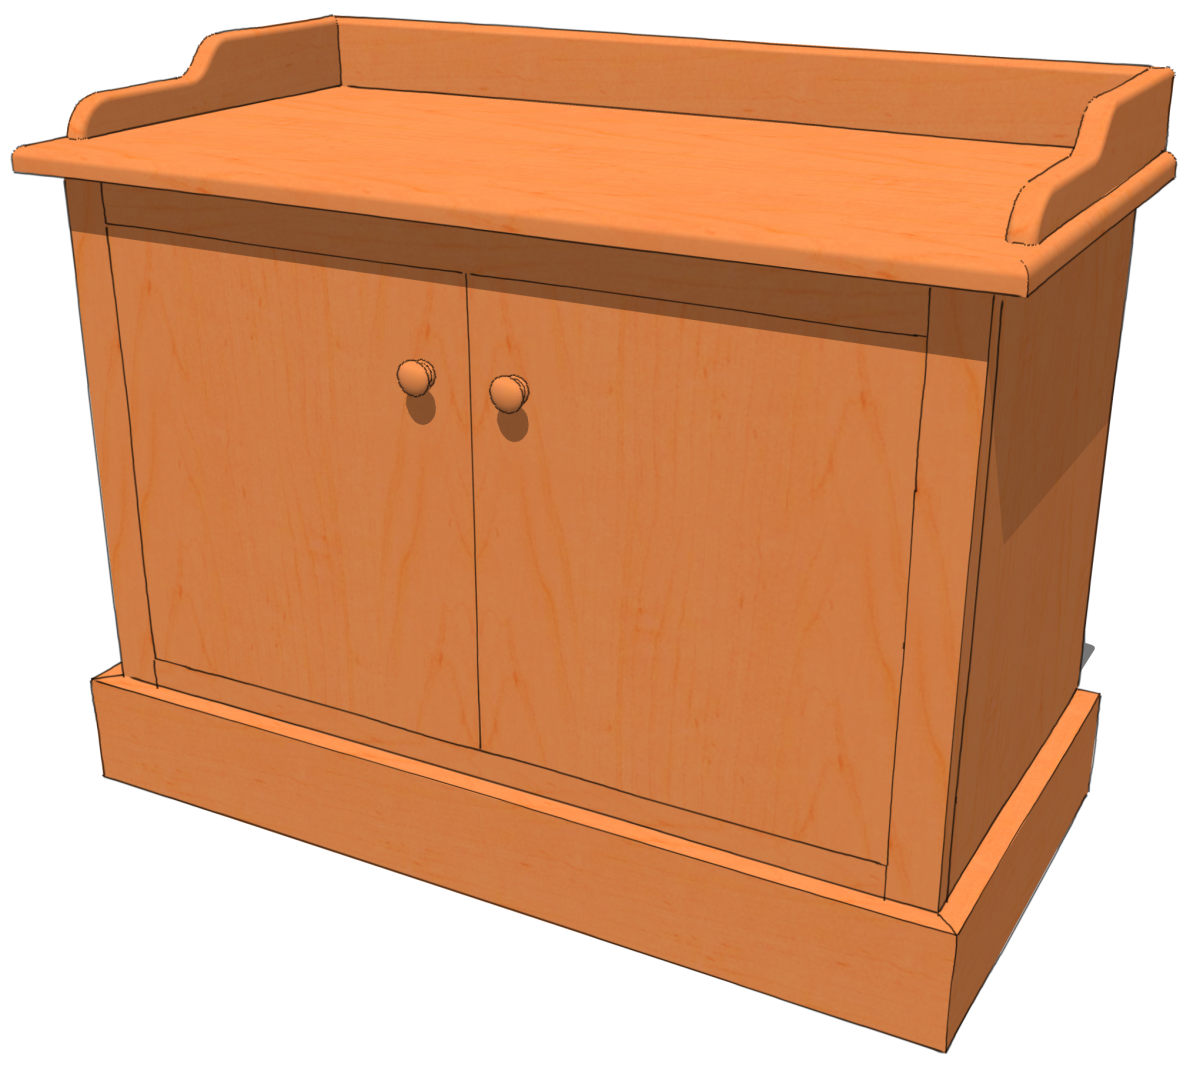
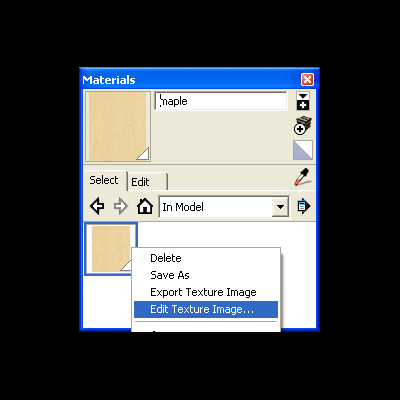
So to edit a material first get it into the In Model materials library. You can either apply the material to a face or faces in the model or you can simply right click on the material thumbnail and choose Add to model. In this example I painted all of the surfaces with this material. Then, in the In Model library, right click on the thumbnail and choose Edit Texture Image.

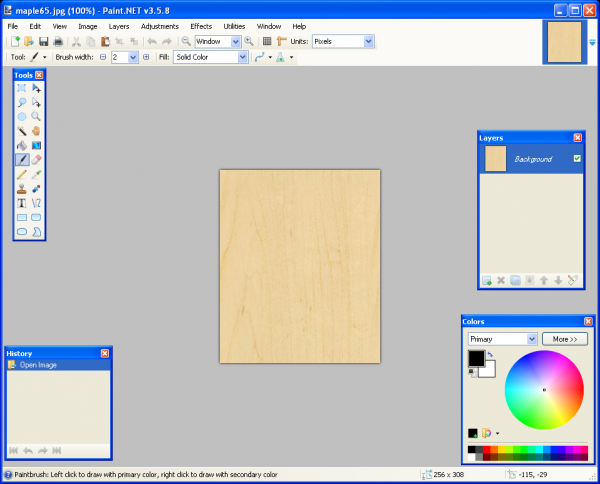
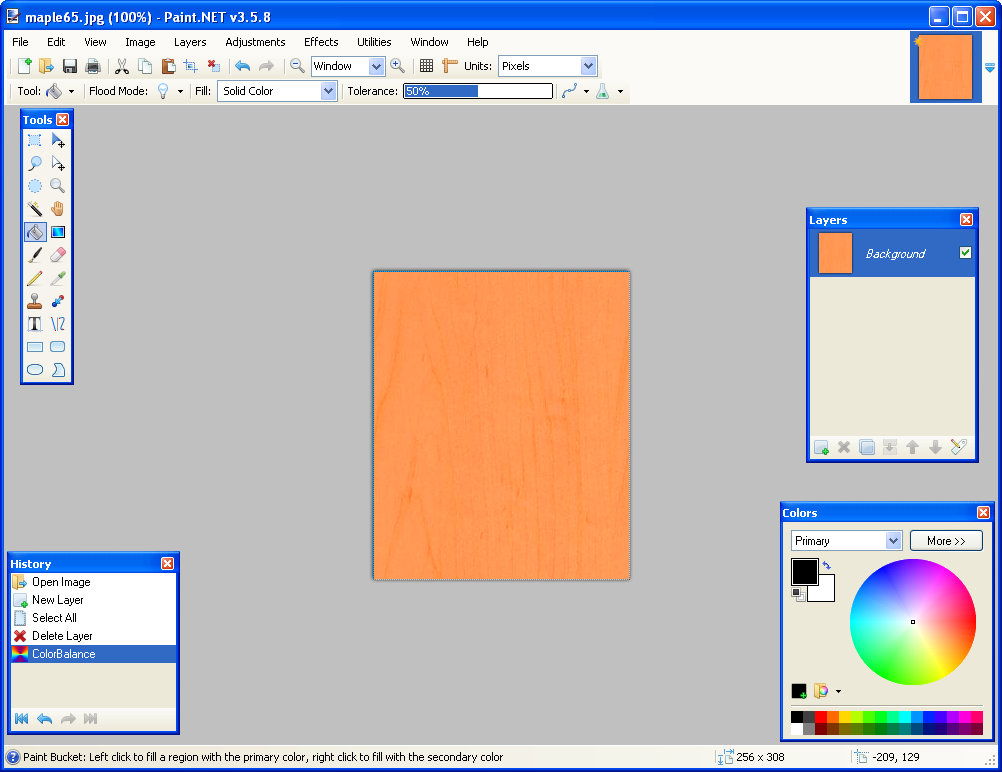
The image editor you selected in Preferences will now open with the material image ready for manipulation.
Make the desired changes to the color. If you use additional layers in the image editor remember to flatten the image before saving.
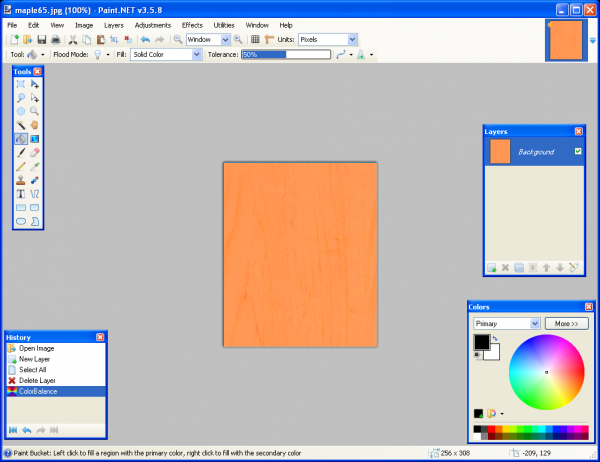
After you’ve made the desired changes to the image, save it. Once the image file has been saved, go back to SketchUp, you’ll notice the thumbnail image and any faces to which you’ve applied the material will show the change automatically.

Short, easy and sweet. Note that this doesn’t modify the texture image in the original library. It only changes the one in the In Model linrary. If you wish to save the modified texture, open the secondary pane in the Materials browser. Set the lower pane to the destination library then click and drag the thumbnail from In Model to the other library.


Comments
Dave
This seems a useful facility so I tried it on somme existing projects. The first wont let me edit the texture because the "EDit Texture" menu item is unavailable I must be doing something wrong but Im puzzled. I decided to try another project and it works as you describe
Ted Gibbs
Dave
Ive had another go at this and noticed that the textures I am trying to edit are the problem The ones I cant edit are those I created using the SU materials editor, the ones I can edit are downloads from web sites.
Ted
Ted, have you applied the material in your model or at least added it to your model? I just gave it a try on a couple of native materials even after editing them in the SketchUp materials editor and it worked fine for me.
Perhaps you could send me a SketchUp file with the problem material?
-Dave
Log in or create an account to post a comment.
Sign up Log in