
To help answer comments on the creation of mortise and tenon joints for the Chamfer Post Table in Chapter Nine of my book, I’ve created the video below. This shows my recommended procedure for these joints – the book describes this starting on Step 15, Page 49, of Chapter Nine.
As with many SketchUp operations, there are alternate ways to obtain acceptable results. Dave Richards and I often repeat a preference for working with the assembled model to create and add detail to the components. This video and the book shows this style of modeling, particularly in the creation of the mortises using an X-ray view of the model.
On some computer screens, it may be too difficult to see the outline of the tenon where it intersects the face of the leg. Use Obit, Zoom, and Pan to get in close to the joint to enhance the view of the lines in X-ray. Otherwise, you will need to layout the mortise with guidelines on a copy of the leg pulled away from the assembly.
Note that Figure 16 on page 49 incorrectly shows the tenon length at 1 1/16-in. It should be 11/16-in.
;


Comments
Tim:
Please help. I am at the point where I am building drawer bottom for the Chamfered Post Table. I follow the directions in the book to build the trapezoidal shape. I make it a component then build the guide lines for the follow-me tool. I tried many time to get it to work as directed in the book but could not get it to select the face of the Trapezoid.
After experimenting on other object I discovered that if I "exploded" the trapezoid shape then used the follow me tool it worked. Am I missing something or was there something left out of the instructions?
Thanks
Bud
To Bud: I'll have a closer look tomorrow. In the meantime, perhaps this may be the issue you are having:
The path for the Follow Me and the profile shape (trapezoid) must be in the same context. That is the path must be part of the trapezoid component, or the trapezoid must be exploded to work with the path that is not a component. This is a change for Version 8. In Version 7, the path and the shape did not need to be in the same context.
Tim
Tim,
I'm glad to learn that the tenons on the stretchers are 11/16 long. When I got to making the mortices I couldn't understand. There is one other thing though I still am not getting. At step 20 on pg. 50 you indicate the tenons on the back stretcher are different from the front stretcher. I don't see how that can be. Are you speaking of the lower back stretcher or the upper back stretcher? Barb
To Timberlady: Welcome back. There is a "Back" which is different than the Upper Front Stretcher, therefore different mortises in the Back Legs. I think all of the stretchers have identical size tenons. But the Back is not a stretcher.
Tim
Thanks Tim for the clarification. I accept your comment that the "back" is not a stretcher, and although it matters not one iota, and if you can stand one more stupid question, why is it not called a stretcher? I am enjoying your book so much, and have learned so much, I'm very happy you published it. It's the best!!!. Barb
Tim:
Thanks for you answer. I am not sure what is meant by "being in the same context" but exploding the Trapezoid did work. I must say the follow me tool has given me fits so I need to work on a better understanding of how it interacts with shapes and paths. Maybe a better explanation of what is meant by context may help.
Many Thanks
budlyte3, Hopefully Tim doesn't mind me chiming in. By "context, we mean that if the profile for Follow Me is a component then the path must be inside the component, too. Both the profile and path are enclosed inside what I refer to as the component "wrapper". By exploding the trapezoid you placed the trapezoid in the same context as the path. both are just loose geometry. You could have opened the trapezoid component for editing and then drawn the path, run Follow Me and ended up in the same place except your profile component would then be an extruded shape component.
Perhaps you'll find the video here to be of some help. https://www.finewoodworking.com/item/23154/moldings-by-follow-me
Dave
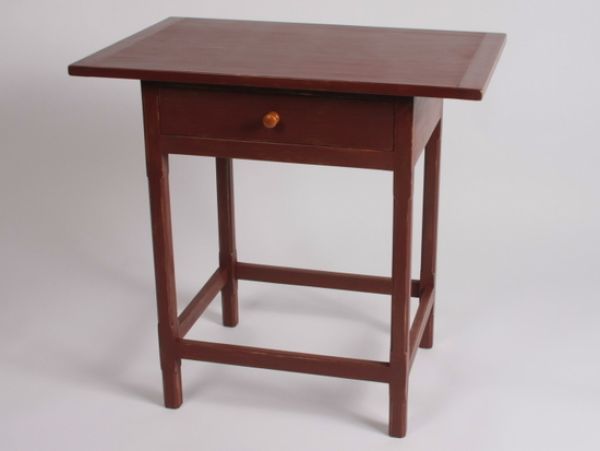
To Barb (Timberlady): Good question about stretchers. I really don't know how the experts would define this term. However, to me a stretcher is something that is relatively thin and connects legs. I use this term all the time for chairs where there are usually stretchers (often turned) that connect below the seat. But the term applies to other kinds of furniture, like this table where there are thin braces connecting the legs for strength and stability.
I am pleased about your progress with the book. Thank you for the feedback.
Tim
I think of a "stretcher" as something that spans across the middle (more or less) of an otherwise empty space. So any component that's directly adjacent to another doesn't count as stretcher.
The most popular generic term for horizontal members seems to be "rail" (or sometimes "beam" in large work, especially if it acts as a support). With tables in particular, the rails that are located directly beneath the top are typically called "aprons."
-Steve
Dave:
Thanks for the clarification. I suspected that was the case.
I have a TERRIBLE time getting mortises drawn efficiently. Once I'm editing a component in xray mode, I lose all visibility of the tenon edges. In spite of all variations of zooming, orbiting, etc. it usually takes me about 5 times before I draw lines in the right places. Is there some style setting of edges, profile, or something that will make this a little easier? Or any other tips? Thanks.
Hal, if you are having a difficult time seeing the rail component when you have the leg open for editing, you could try adjusting the sliders under Window>Model Info>Components so that the components that are not open for editing don't fade quite so much. If you're still having difficulty getting the mortise drawn, you could try the method I use of orbiting inside the rail so I can see the base of the tenon. You can see that demonstrated just after 5:40 in the video here: https://www.finewoodworking.com/item/22911/a-fern-stand-demonstrating-my-drawing-process
Of course you could also layout the location of the mortise with guidelines much as you would do in the shop on the real leg. This will work but requires a bit of extra care to make sure you have it laid out correctly. Working right off the tenon using the methods Tim and I use, eliminates the error.
-Dave
Dave - the slider did it. A huge help. THANKS!
Log in or create an account to post a comment.
Sign up Log in