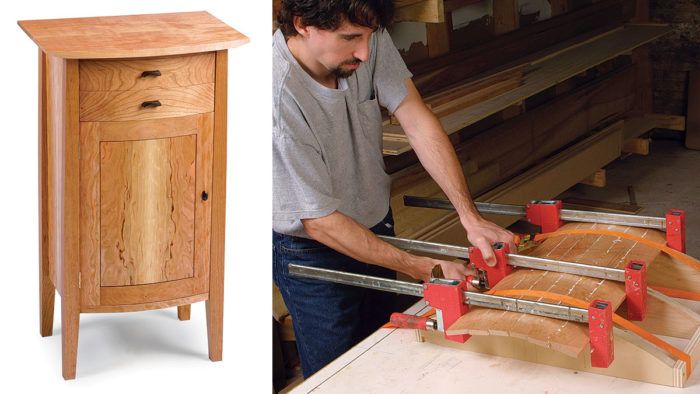
Sooner or later, most woodworkers end up experiencing the “urge to curve.” Curved elements not only serve to add grace and beauty to a piece, they also show of the skill of the craftsman. The trouble is, a lot of folks just don’t want to deal with messy, leaking steam rigs and bending forms. Therein lies the beauty of Stephen Hammer’s design for this small case piece. In “Small Stand is a Lesson in Curves,” Hammer offers woodworkers two distinct ways to incorporate a gentle curve along the front plane, without heating up a steam kettle.
CLICK HERE to download the free PDF article and woodworking plan for Hammer’s small stand.
| More on Building with Curves • Hall Table Project: A Lesson in Curves • Flawless Curves on the Bandsaw • Hot-Pipe Steam Bending |
-
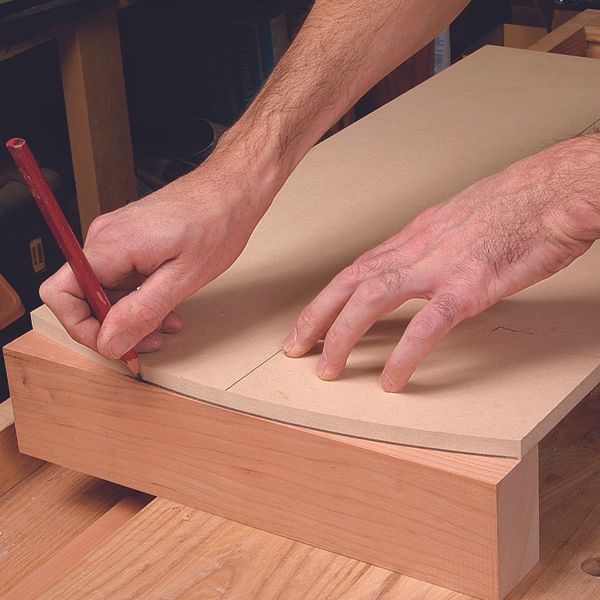
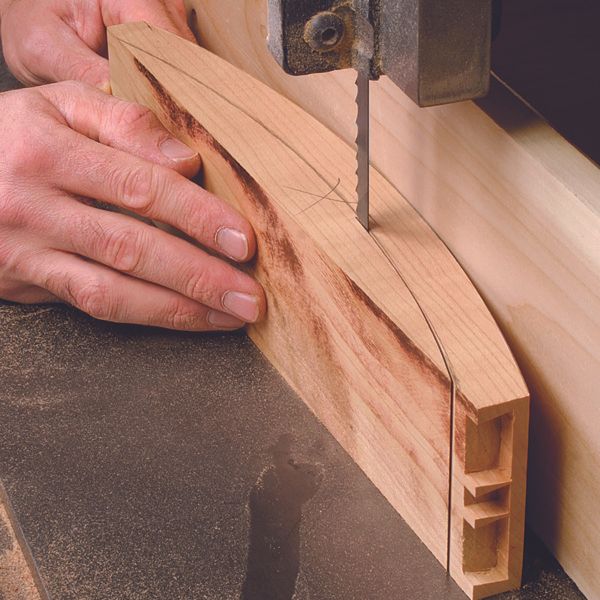
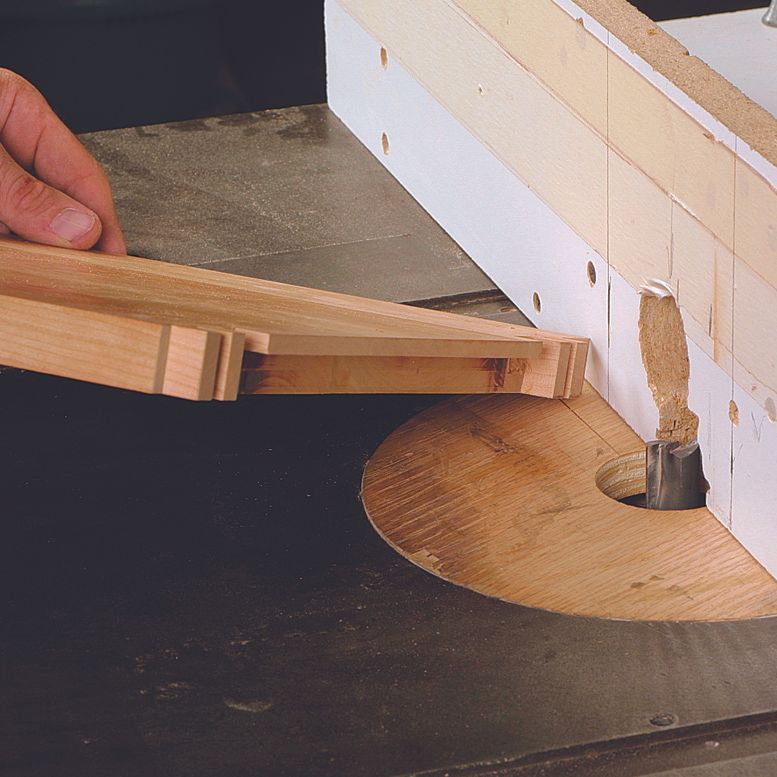
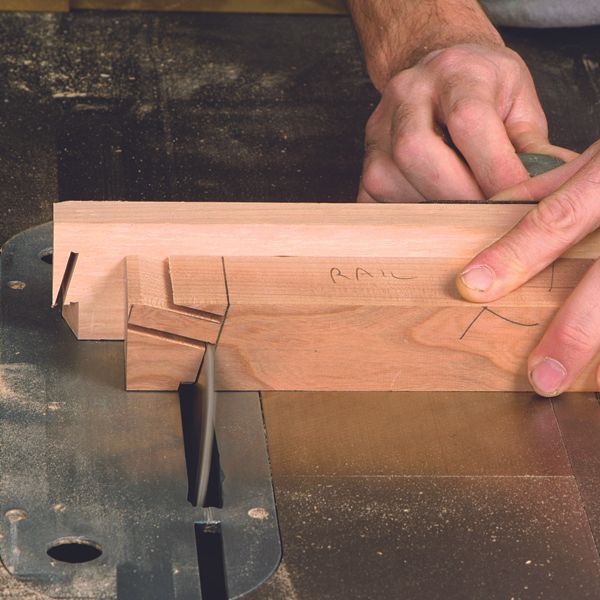
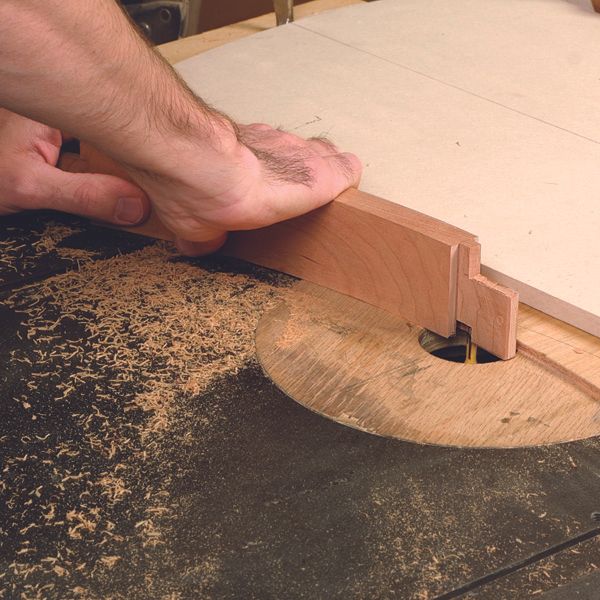
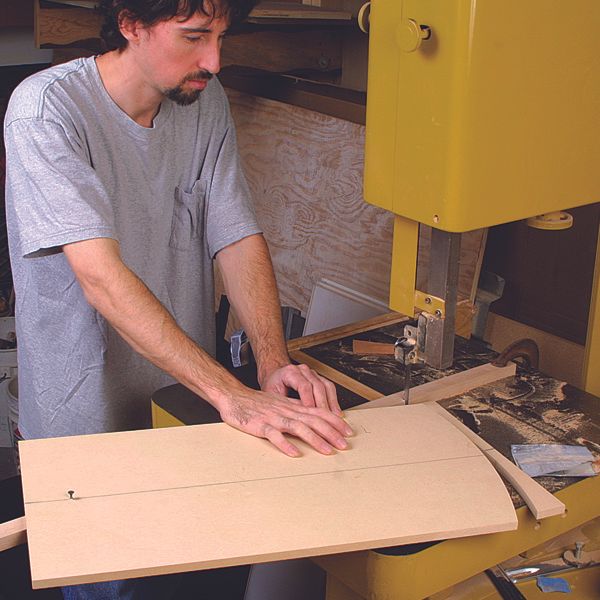
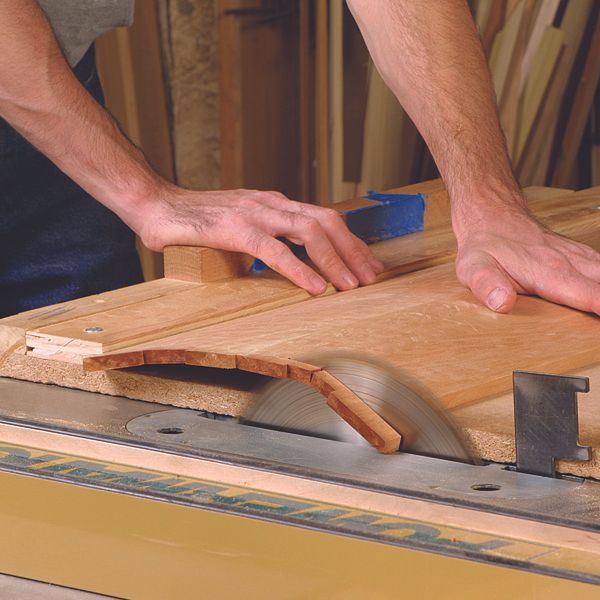
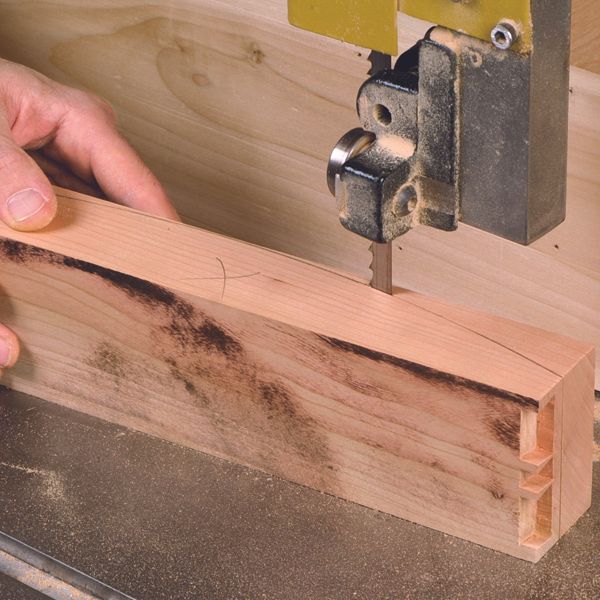
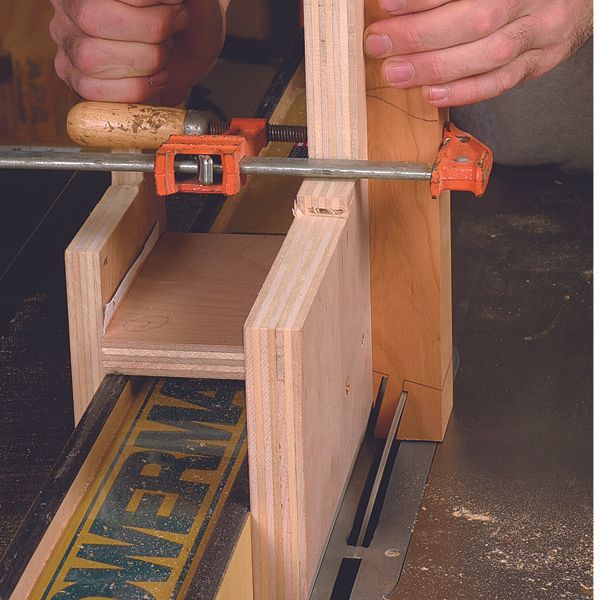
One of the secrets to Stephen Hammer's small case involves the order of construction: Cut the joinery first, then saw the curves.
-
-
-
-
-
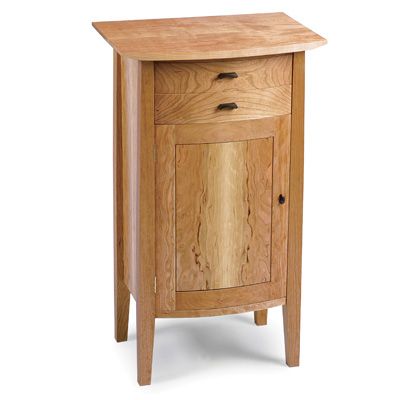
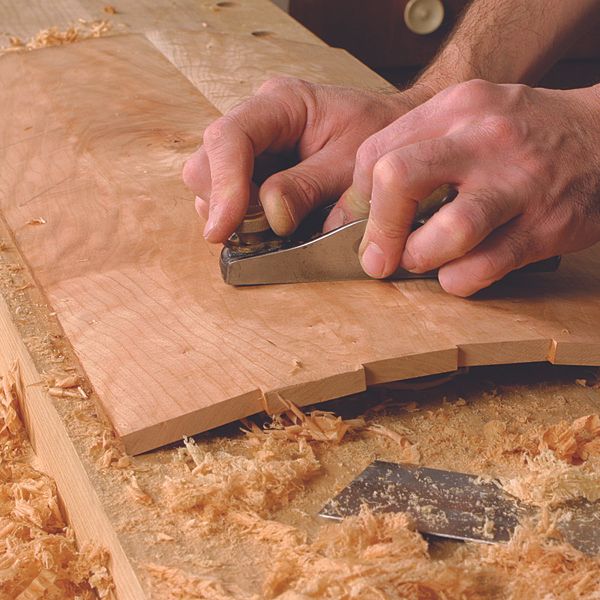
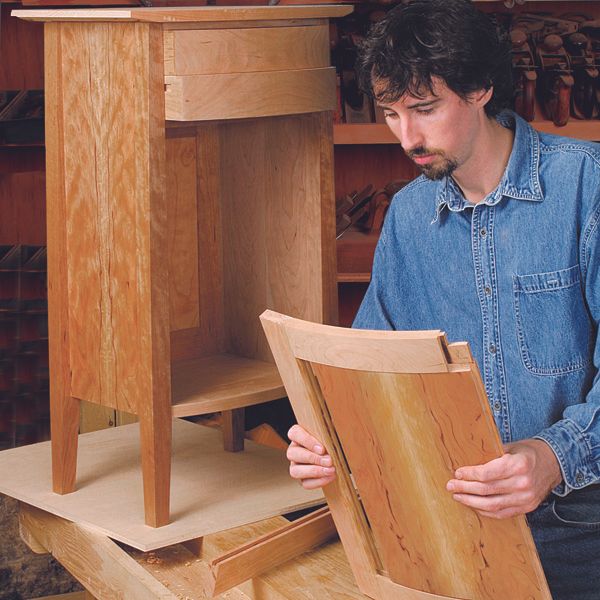
The coopered door gives this piece its signature style.
-
-
-
-
The coopered door gives this piece its signature style.
-
-
-
-
-
One of the secrets to Stephen Hammer's small case involves the order of construction: Cut the joinery first, then saw the curves.


Log in or create an account to post a comment.
Sign up Log in