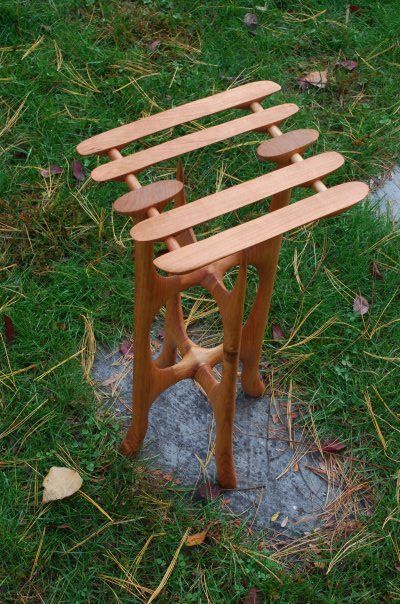
sculptured joinery cherry table

I built this table to replace a small table that we were using to stand a lamp on in the corner. I also wanted to experiment more with the idea/technique of sculpted joinery. I didn’t want to create another “box” type frame so I went with the “center” joinery system using dowells.
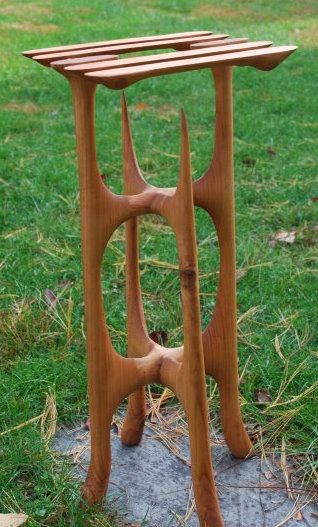
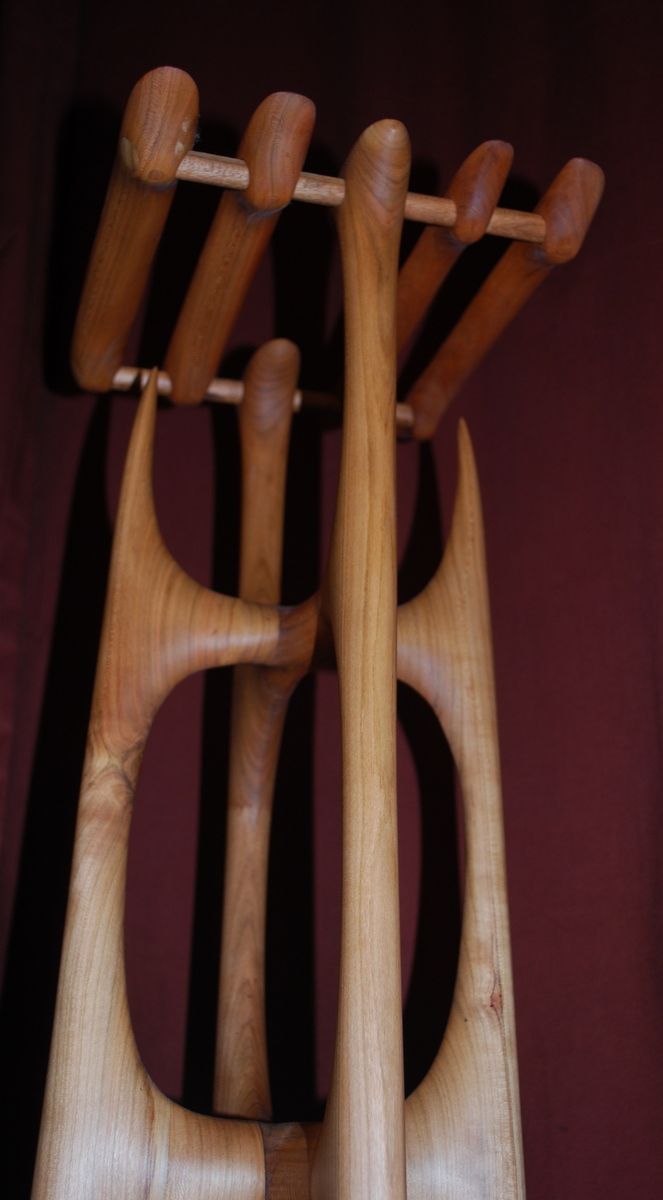
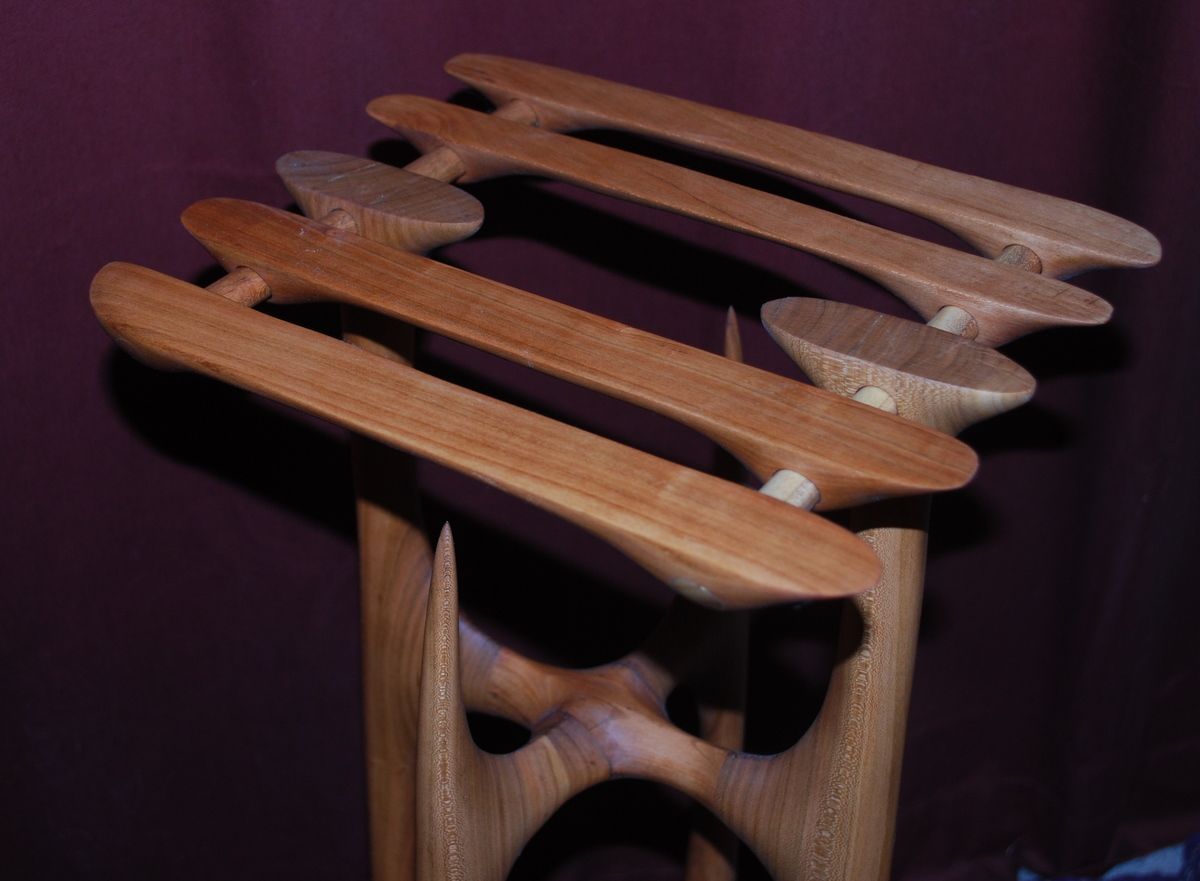
I created a template to make the four legs and cut them on the bandsaw. After joining the pieces together I used spokeshaves, rasps, and files to sculpt the joints into a more organic shape.
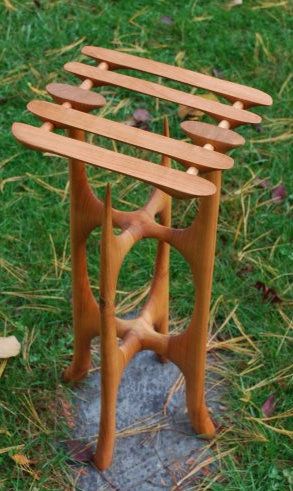
My original intention was to have a solid table top. When I fitted the top to the stand…I felt that it didn’t mesh well with the open and negative spaces of the stand. Oddly enough, I received a dowell plate as a gift around the time this design dillema occurred. I came up with the resulting design. The solution allowed me to play with my new toy and maintain the ‘openness’ I wanted.
The devil horns were a result of the new design. I didn’t need all four supports, but I didn’t want a “stumpy” feel. I just kind of shaped one into the point and liked the look.
I sanded up to 400 grit and used tung oil to finish the piece.


Log in or create an account to post a comment.
Sign up Log in