
I’ve been a self taught woodworker my whole life. Aside from your regular high school shop class taught by a gym teacher, I’ve never had the opportunity to study woodworking from someone who knows how to work wood well. Even my Wood Technology class at the University of Cincinnati was more on-your-own learning. I’ve always wondered what it would be like to attend a woodworking school. I’m sure you can learn things a lot quicker with hands on training rather than read it in a book or watch it on video, but I doubt I’ll ever have the chance to attend a craft school.
For me the hardest thing to learn is finishing. Only in the past few years have I paid more attention to it. In the past, I would build something, sand it, and then wipe a couple coats of Danish oil on it and call it done. My finishing was passable at best.
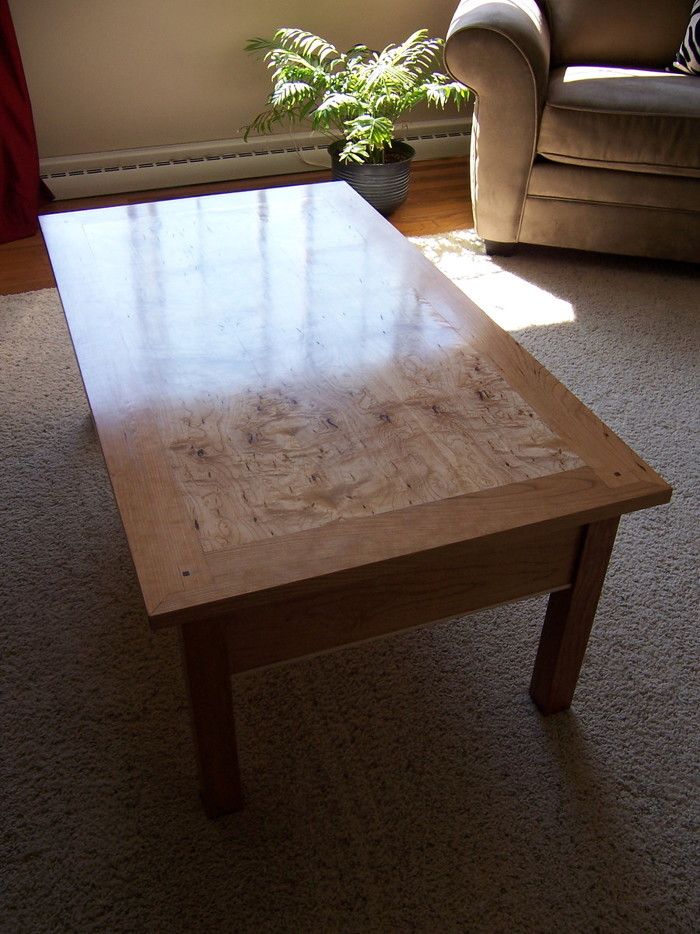
Then one year I went to The Philadelphia Furniture and Furnishing Show. I wanted to see the quality of work from the exhibitors and compare it to my own. It was there that I realized that finishing was the most important step in the building process. After all, the finish on a piece of furniture is the first impression that you get when you look at it.
The furniture I saw at the show was incredible. When you walked up to inspect it, you didn’t see any tool marks, sanding marks, glue spots, brush marks, blotches, etc… Just a clean surface area that was completely smooth to the touch. It had the mark of quality and you knew it was worth the amount of money they were asking for.
Ever since then I’ve taken my time when it comes to the finishing process. I’ve even gone so far as to retire my random orbital sander as I can’t stand the little pigtail swirl marks it leaves. They seem to telescope when the first coat of finish is applied even when I previously sanded all the way down to 220 grit.
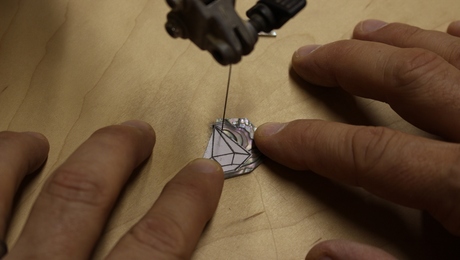
Now I use planes and scrapers and then sand using my palm sander with 120 and 220 grit paper. Then I’ll apply at least four coats of oil-urethane and sand with 320 grit between coats. For finalizing a finish, I’ll apply two grits of pumice rubbed with mineral oil and then finish with rottenstone to really bring out the shine. It has definitely helped my furniture look a lot better but I wish there was someone there to teach me this twenty years ago.


Comments
Mike,
This is my first for participating in a blog and for my maple desk. Your piece looks fantastic and I thought that I was on the way to having a great looking desk and then my 3rd coat of Watco Danish oil never dried. I went to sand it and the finish balled up. The prior two coats were no problem. My guess is that I left too much oil on.
Do What are my options to fix the problem? Any and all help is appreciated.
Thanks!♠
Scott
I think you'll need to sand until you sand away the third coat, smooth out earlier coats, and re-apply third coat. I had same problem and it took forever, I.e weeks, before third coat dried.
Log in or create an account to post a comment.
Sign up Log in