
Synopsis: Given the choice between a fixed-base router and a plunge model, Jeff Miller will take the plunge router every time. Because it can plunge in and out of the work, it not only easily routs grooves, dadoes, and edge moldings, but also mortises, stopped cuts, recesses for inlay, and a variety of decorative cuts. Here Miller explains how to choose a plunge router and how to use it to make mortises, dadoes, and freehand cuts for inlay.
The router is one of the most versatile tools in the shop. Of the two main types, the plunge model trumps the fixed-base variety, at least for me. It handles everything its more basic cousin can, adding the very useful ability to plunge in and out of the work on the fly. this means that in addition to grooves, dadoes, and edge moldings, you’ll also be able to rout mortises, cut stopped grooves and dadoes, excavate grooves and recesses for inlay, and create a variety of decorative piercings.
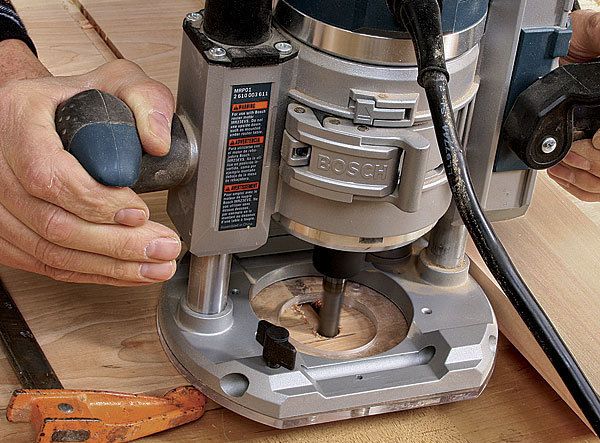
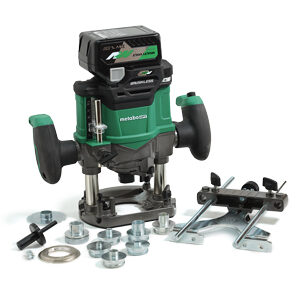
As for choosing a plunge router, I recommend buying one with at least 12 amps of power. A smaller motor can bog down during heavier tasks like mortising. It’s best to hold a router in your hands before buying it. You should be able to keep your hands on the handles at all times when working. that’s why plunge routers have both the on/off switch and the plunge lock either on the handles or a finger’s reach away. each manufacturer takes a slightly different approach, so make sure you can easily stop the tool and lock and unlock the plunge mechanism while maintaining control.
How to make clean mortises
One of the tasks a plunge router does best is make smooth, accurate mortises for strong joinery. making this challenging cut is a good place to introduce my approach to plunge routing.
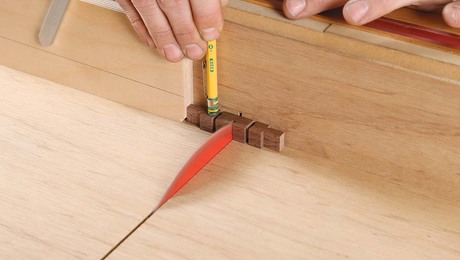
There are many ways to control a router for safe and accurate movement. For mortising, I generally use an edge guide, an accessory that attaches to the base and rides the edge of the workpiece, letting you rout in a straight line parallel to that edge.
If the fence on your edge guide is shorter than 12 in., add a longer wooden fence to it. the extra length will make it easier to maintain contact with the workpiece throughout the cut.
For the full article, download the PDF below:


Log in or create an account to post a comment.
Sign up Log in