
A key benefit with SketchUp is the ability to work through design alternatives. I typically find I’m developing about ten versions of a piece of furniture before ready to go to the shop. Along the way, I’m saving these iterations in separate SketchUp files, numbering them sequentially as I go. Often, I return to previous versions, as a newer approach does not work out as well as planned. So keeping these past efforts, can turn out to be great time savers.
In this video, I show some of the major steps during my design process for a coffin. My design process usually begins by seeing a picture of an attractive piece of furniture. This could be in a book, on the TV or movie, magazine, museum, or a friend’s home. Often a next step is opening Google Images to find pictures of the desired piece of furniture. This procedure was true in the case of the coffin, and I spent quite a bit of time in Google images looking at pictures of coffins – particularly those used by Pope John Paul.
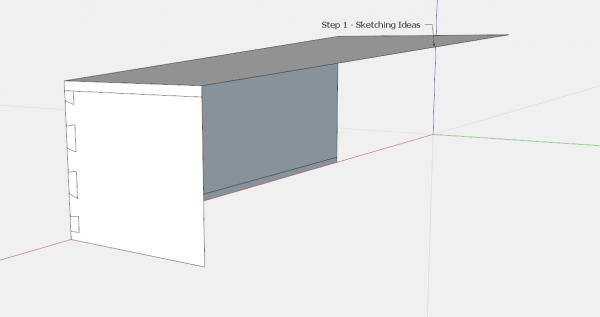
Step 1 Sketching Ideas
This first step usually involves pictures of a piece of furniture. Often I can import the picture and sketch out some shapes, as happened in this case with the coffin. This is usually quite crude without any detail.
Step 2 – Working on Sizing and Shaping
In this step I use whatever sources and means to decide component sizing and angles. In this case I had access to an old book on coffin making that showed standard sizing. Often pictures will delineate overall dimensions, length, height, and width.

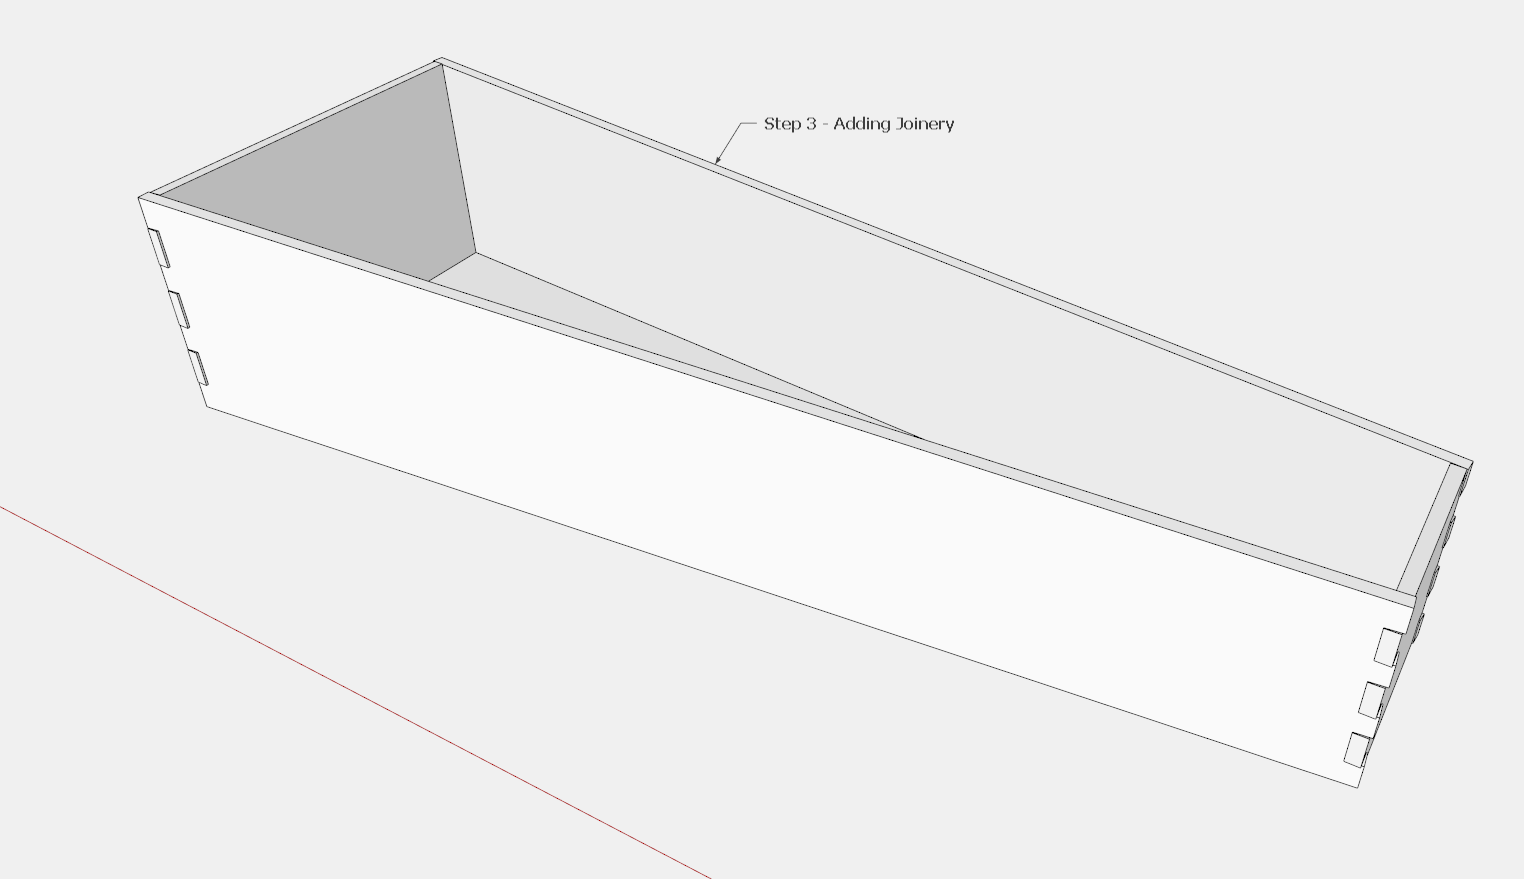
Step 3: At this stage I developed the main corner dovetail joinery.

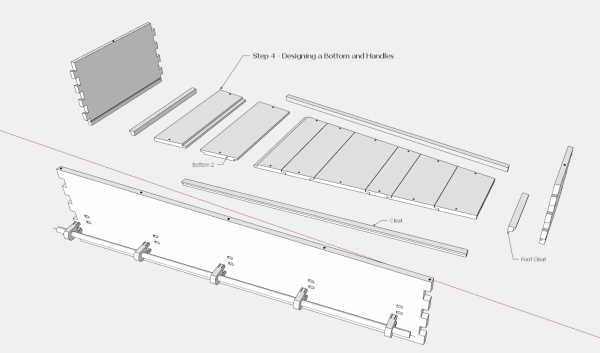
Step 4 – Designing a Bottom and Handles
At this stage I began development of the Bottom and Handles. But these first designs were quite involved and complicated, so I worked on simpler alternatives.
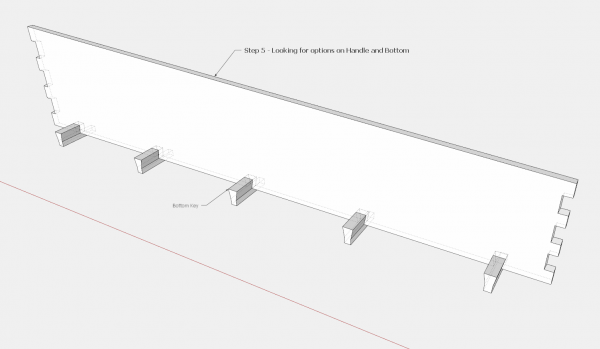
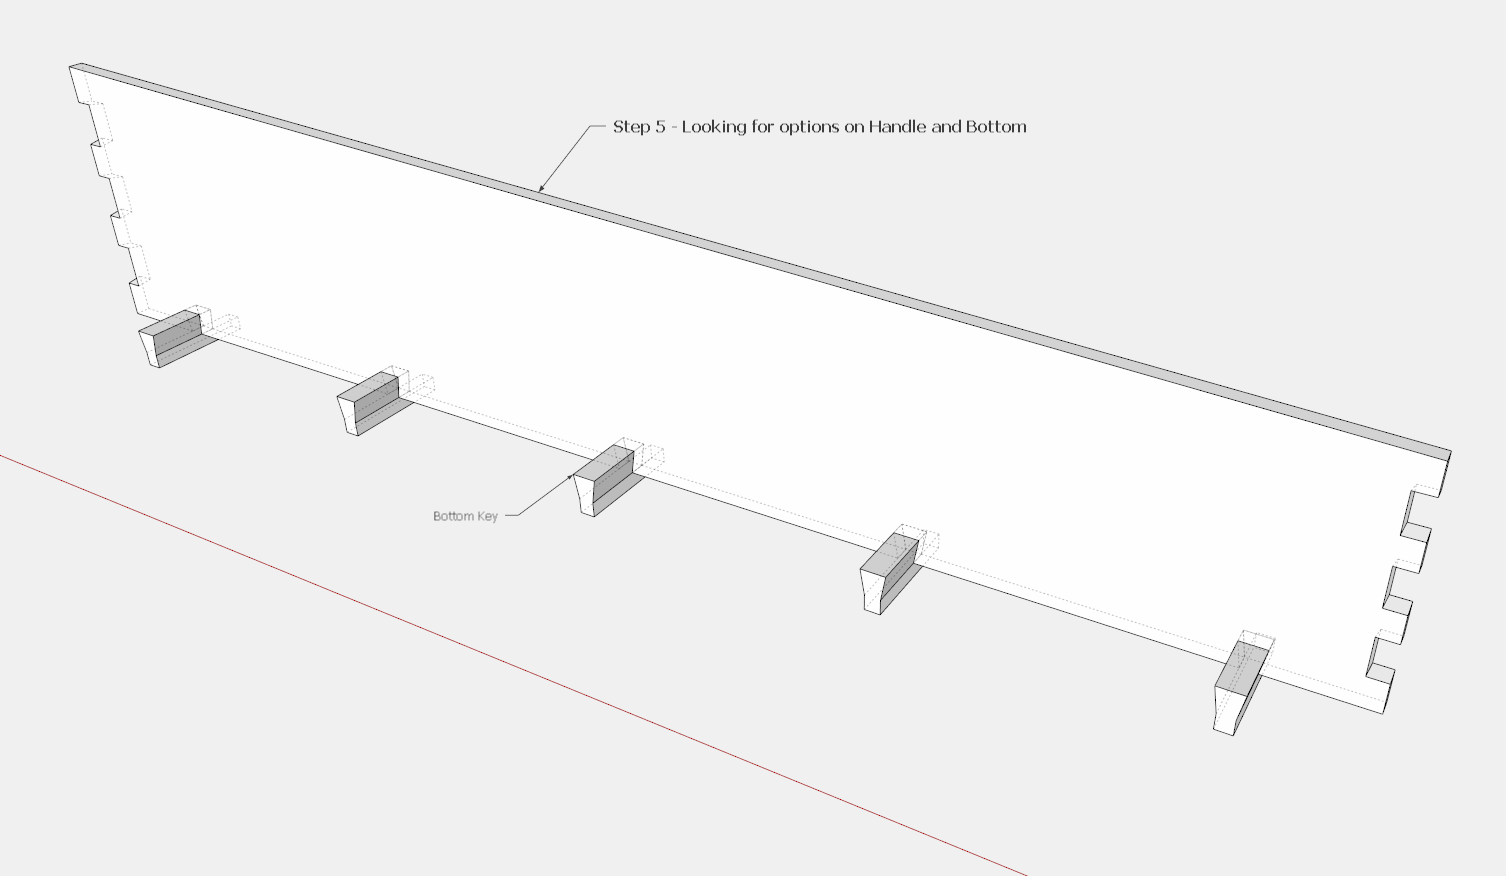
Step 5 – Looking for options on the design of the Handle and Bottom
I looked for ways to combine the support of the Bottom, along with provision of Handles. This first iteration involved short dovetail keys fitting into the bottom edge of the Sides. I decided this dovetails would be more difficult with the tapering of the coffin from head end to foot end.
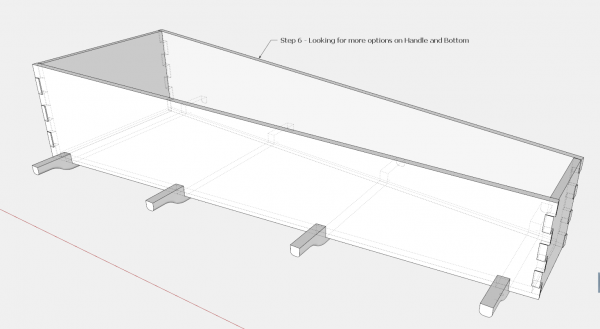
Step 6 – Another option for the Handles and support for the Bottom
I found an easier solution by shaping these handles stretchers that provide a good support for the coffin bottom.
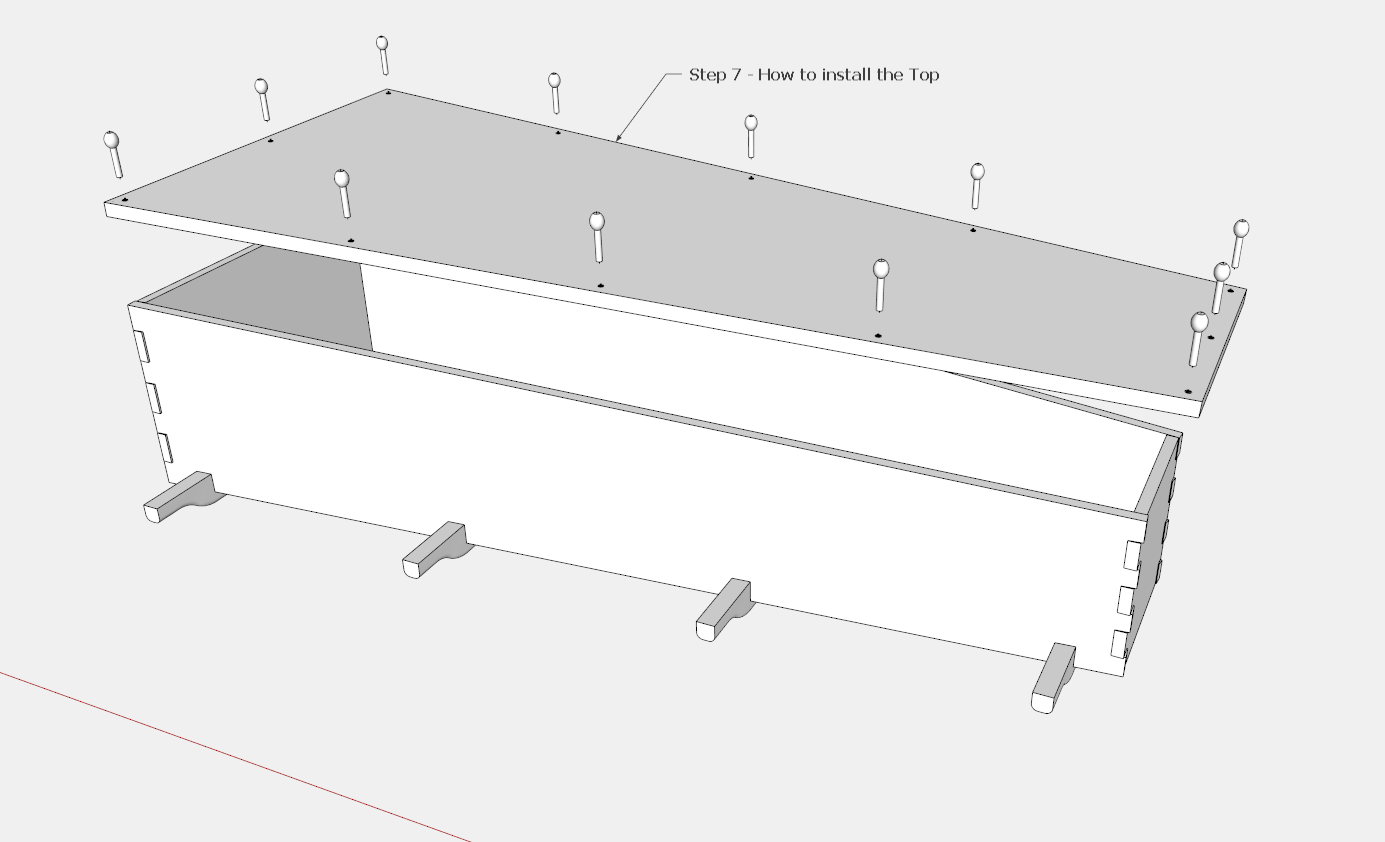
Step 8 – Design options for the Top
This first design for the Top included many turned pegs. I continued to look for alternatives.

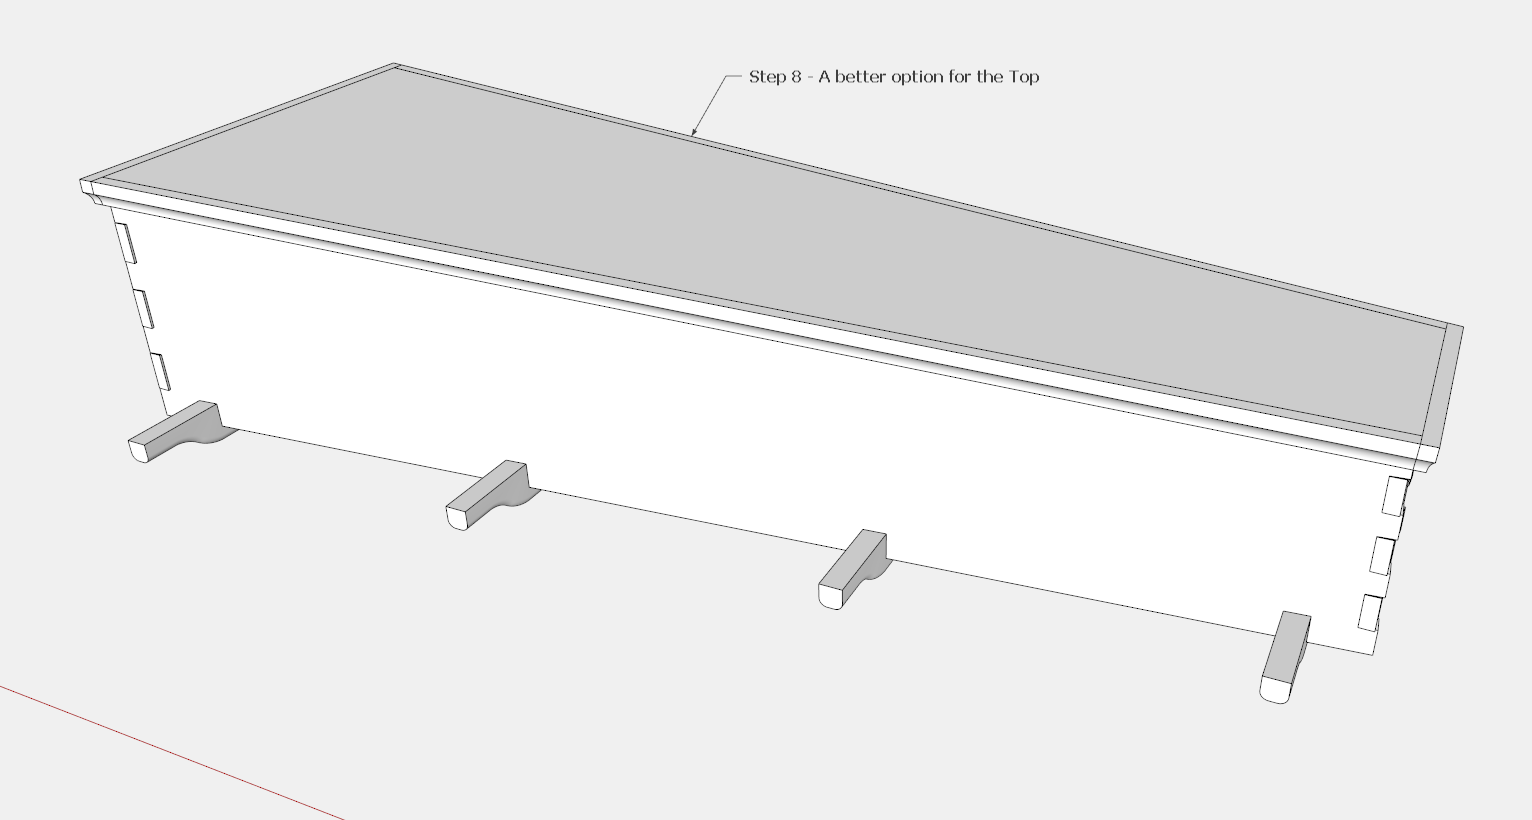
Step 9 – The final version of the Top
I decided on a molded lip around the perimeter of the Top. This required a 1/4-in. x 1/4-in. tongue on the perimeter of the Top, that fitted into grooves in the molding. The molded ends act as breadboards and are allowing movement of the Top cross-grain.

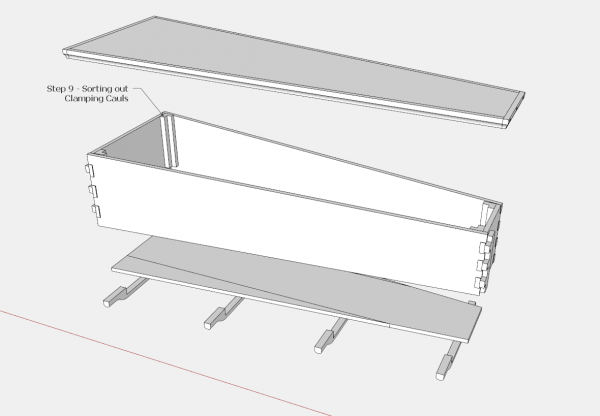
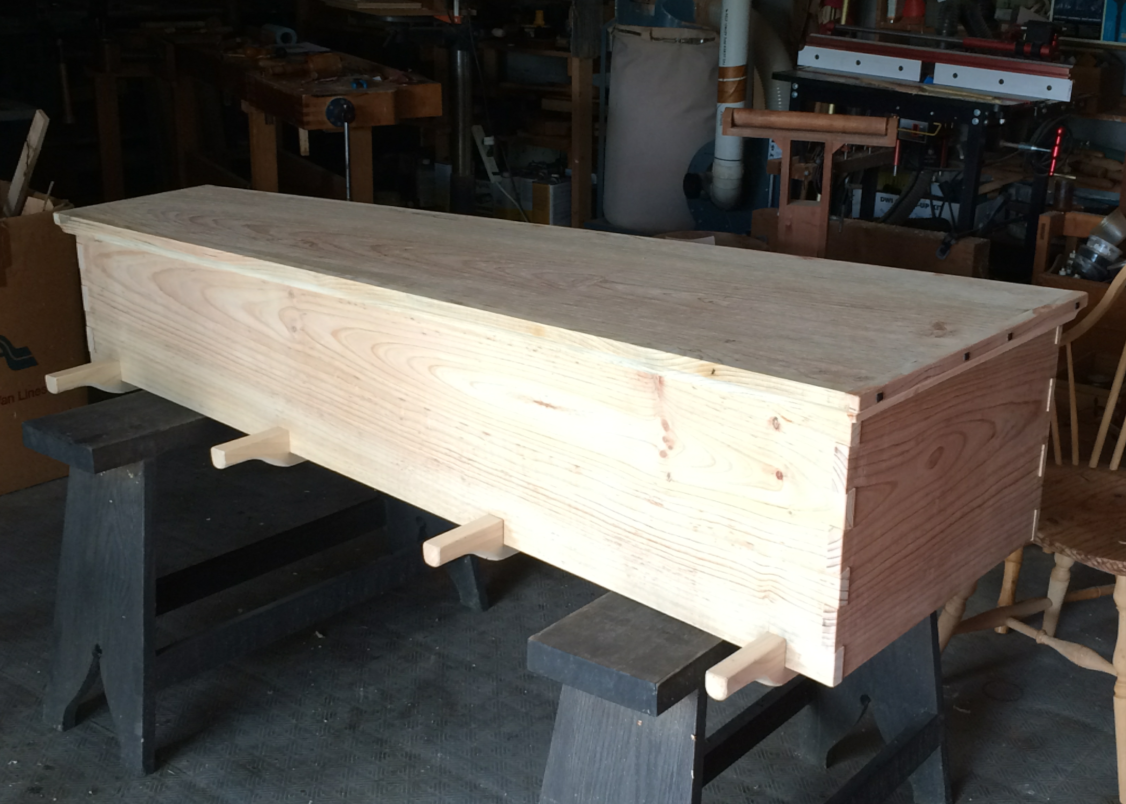
Step 10 – Sorting out the Clamping Cauls
The last step before going to shop, was the design of Clamping Cauls.
The Video:
Tim
http://killenwood.com


Comments
Wow... excellent, very smart wood expert... ;)
Could I have those sketchup? my gmail is [email protected]. I love the design. Ty
Log in or create an account to post a comment.
Sign up Log in