Have you ever scanned a coathanger? Introducing the Bar Coat
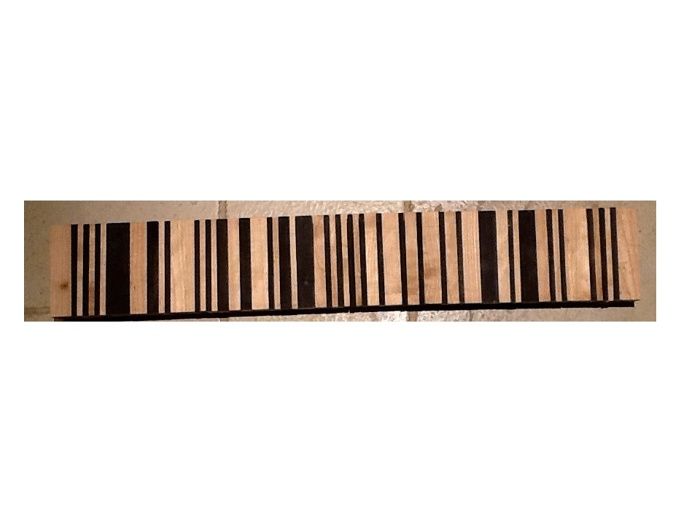
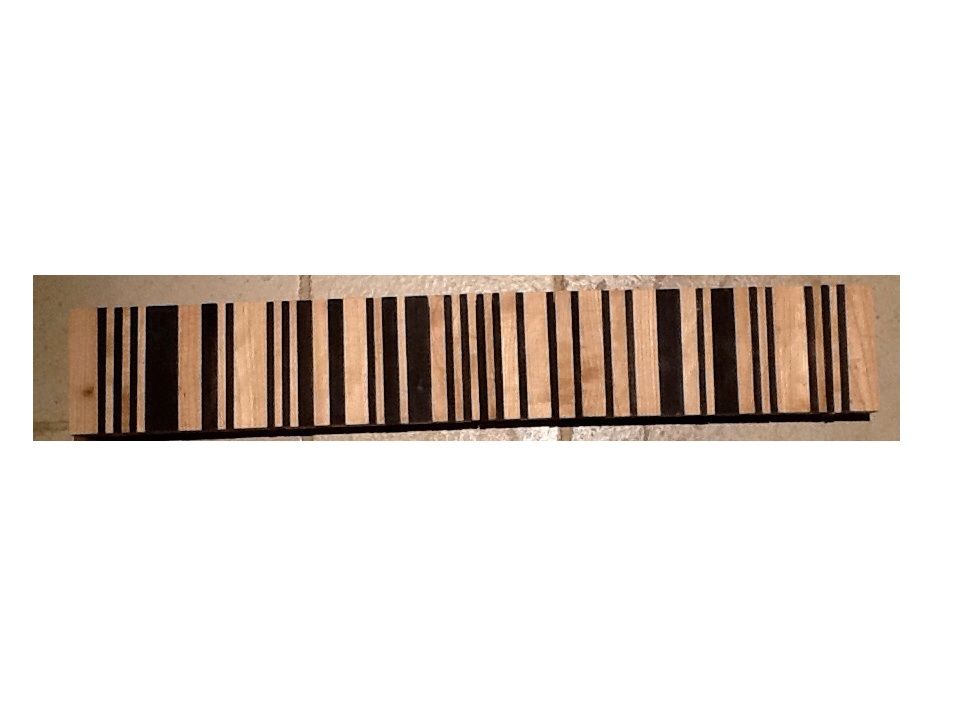
A bar-coded coathanger
Bar Codes are a superb invention. Originally developped in the early 1960’s to track railroad cars, you can’t escape from them whenever you enter ( or rather, leave) a supermarket. So, I decided to bring it to another level: the BarCoat.
Bar codes are easy to create: the white and black bars come in four standard widths, 1,2,3 and 4. There are a number of standards, e.g. UPC (Universal Product Code), which require 12 or 13 digits. You can use a free online generator, such as http://barcode.tec-it.com/ to create your own custom barcodes- in this case, a combination of a birth date and zipcode of the recipient ( make sure that he/she has a barcode app such as Red Laser on his/her cellphone or tablet that will work with this code).
Then, with a ruler, analyse the width and number of the white and black bars on a printout. Re-count as a precaution! Start ripping stock in widths of 1/4″, 1/2″, 3/4″, and 1″ wide, in stock that is 3/4″ or 1″ thick. The length of the pieces was in my case about 6″. Typically, you will end up with a puzzle of 40-50 pieces.
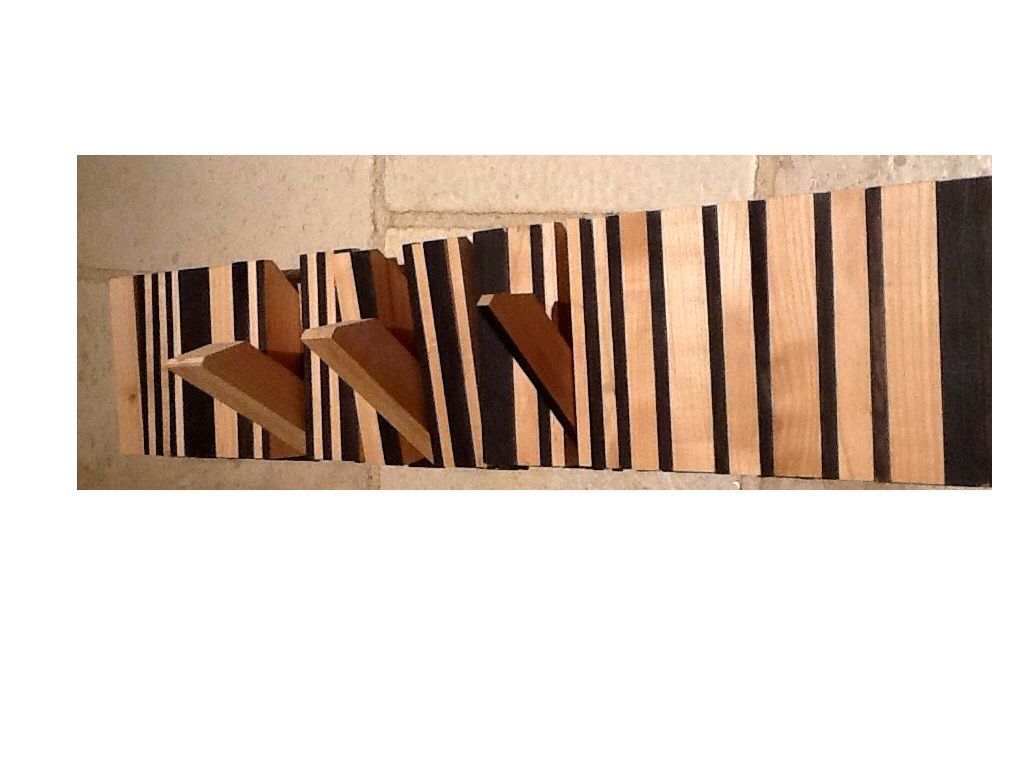
Drill in the bottom part of each key a 1/4″ hole, through which you will slot later a 1/4″ steel rod as pivot point for the keys. Drill these holes precisely, any deviation will show up in the end product. Regroup the four widths of keys according to the required number of blacks and whites, sand the keys, paint the front of the black ones with an acrylic paint, and thereafter put shellac on all keys. Rub the sides of the keys with paraffine or a candle butt to grease them for easier manipulation.
Put all the keys next to each other to get the total width of the coathanger, and mill the backbone, 4″ wide by 1/2″ thick ( in my case, about 40″). Cut the bottom of the slope in a 30 degree angle, the keys will rest against this when opened. Finish the two end pieces left and right by drilling the hole on the insides.
Insert the steel rod through the holes after having assembled the keys in the right order, and thereafter cut the rod to length. Test the barcoat with a scanner app to verify that it generates the correct number! Thereafter, put a few screws through the backbone and 4-5 keys, as well as the sides of the coathanger to keep everything together.
It’s easy to prepare some advance runs of keys whenever you have time/ scrap stock, so that you need to do only the assembly for the particular client or recipient. It would also be fun to make the keys in two species of wood, e.g dark walnut and ash.
One thing I have not tested yet: as you have a large width of wood, it will likely expand/contract with humidity and temperature, possibly loosing or increasing friction when opening the keys for hanging a garment. I used wood that was quite dry, so far so good…






Log in or create an account to post a comment.
Sign up Log in