Gap-Free Through Mortise and Tenons
Make your cabinets stand out with clean, attractive through-tenons.
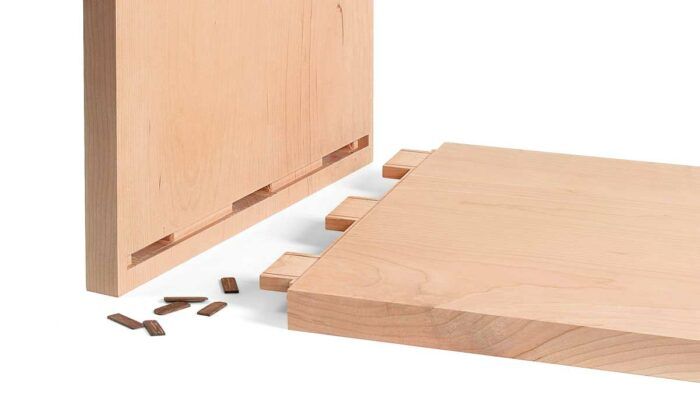
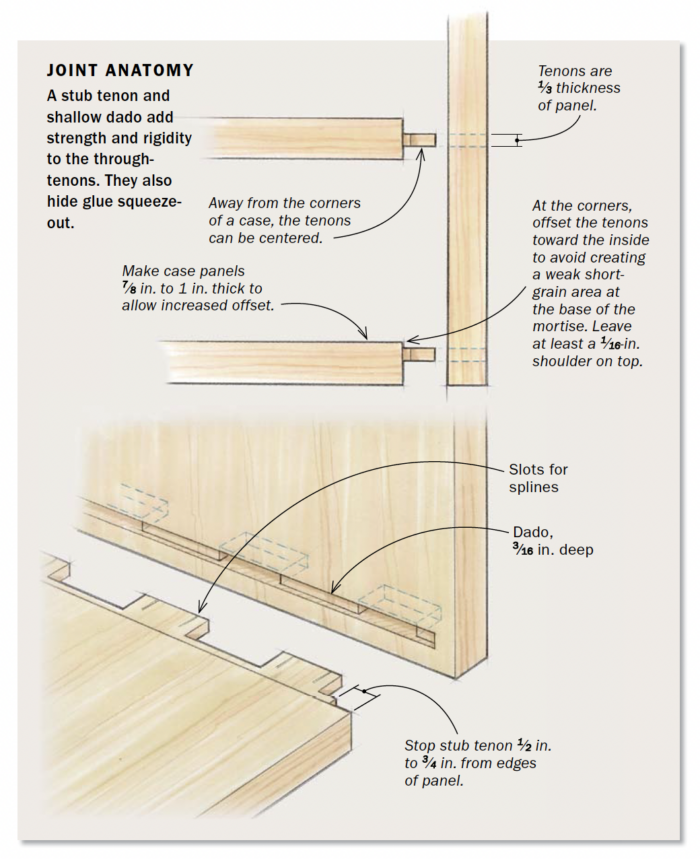
Synopsis: Through-tenons can be an attractive alternative to dovetails when building cases and boxes. Using two router jigs, Brian Hubel makes multiple through-tenons and mortises accurately without a lot of tedious setup. A stub tenon and shallow dado add strength and rigidity to the joint, while hiding squeeze-out. Hubel often adds splines for decorative effect.
I use exposed joinery to call attention to the effort, accuracy, and care that goes into furniture making. But it’s also a form of expression and an opportunity for design.
For boxes and cases, dovetails certainly fill the bill for some woodworkers. But I prefer to use multiple through-tenons at the corners, which provide a more modern look and feel. For decorative effect, and also to close any small gaps, I often insert thin splines into the ends of the tenons.
This joinery is robust and attractive, but it can be unforgiving. Mistakes are not easily concealed. To do it accurately and fast, I came up with two simple router jigs, one for the mortises and another for the tenons.
Router jig guides the mortising
One of the great things about this technique is that you have to lay out the mortises only once, on one of the case panels. The number and layout of mortises is mostly personal preference, but to prevent cup or twist, they should start 1⁄2 in. to 3⁄4 in. from the front and back edges of the panels. Also, keep in mind that several smaller mortises and tenons will be stronger than one or two oversize ones because of the increased glue surface.
To cut the mortises I use a jig that works with a 5⁄8-in.-dia. guide bushing and a 3⁄8-in.-dia. spiral upcutting bit, though other combinations would work. The jig has a long guide slot that lets me rout not only the shallow dado but also the individual mortises. I use small, tight-fitting spacers that drop into the slot to limiteach cut.
Carefully mark the center of the slot both horizontally and vertically. You’ll use those marks to align the jig on the first workpiece, which also should have the layout marks on it. Mark a line on the underside of the jig where the panel ends. Then attach a fence along that line.
After cutting the spacers to length, you can lay out the first workpiece and start mortising. Mark a centerline on the workpiece, and align the jig’s centerline with that, while pulling the end of the panel flush against the fence. Clamp down the jig in that position. With the dado spacers in place, first rout the long dado. Then use a combination of the other spacers to rout the through-mortises. I square up the ends of the mortises later during the fitting process.
Rout the tenon using a jig
Cutting a row of multiple through-tenons to match a row of mortises is usually very tricky, but my tenon jig delivers a great fit with no fussing. First you use the jig with a bearing-guided router bit to form the tenons, making them a bit wider than the existing mortises. You use it again later to mark the ends of those mortises, so you can chop them to the same width as the tenons for a perfect fit.
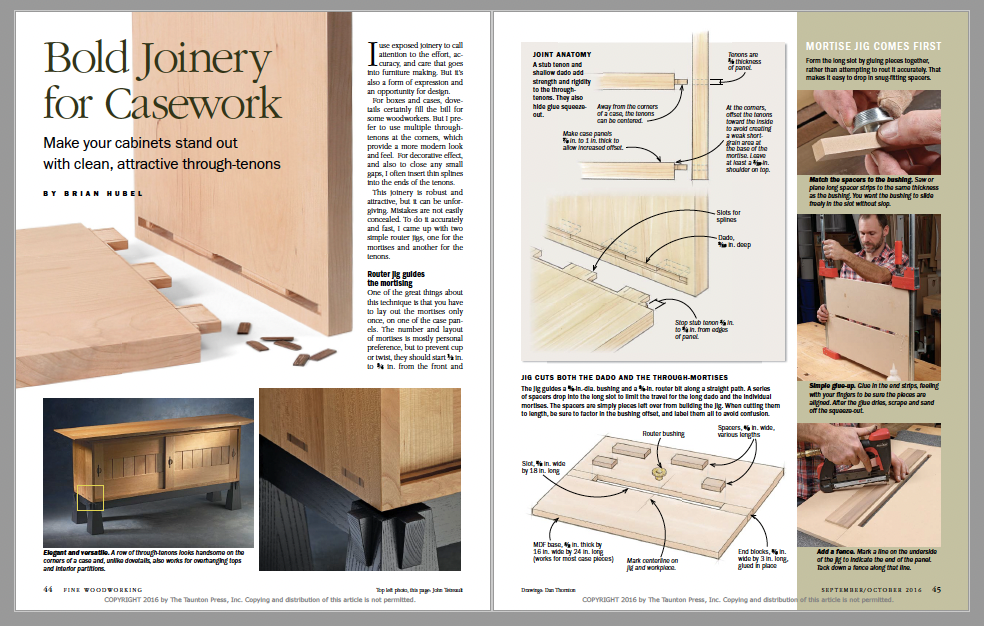 From Fine Woodworking #256
To view the entire article, please click the View PDF button below.




Log in or create an account to post a comment.
Sign up Log in