Are you sanding right?
Random-orbit sanders are not as foolproof as they seem.

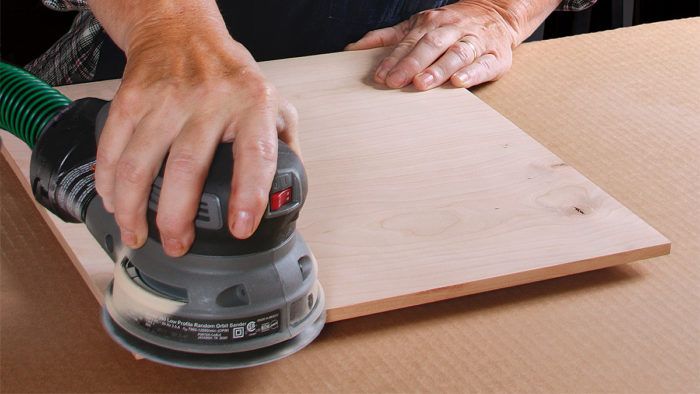
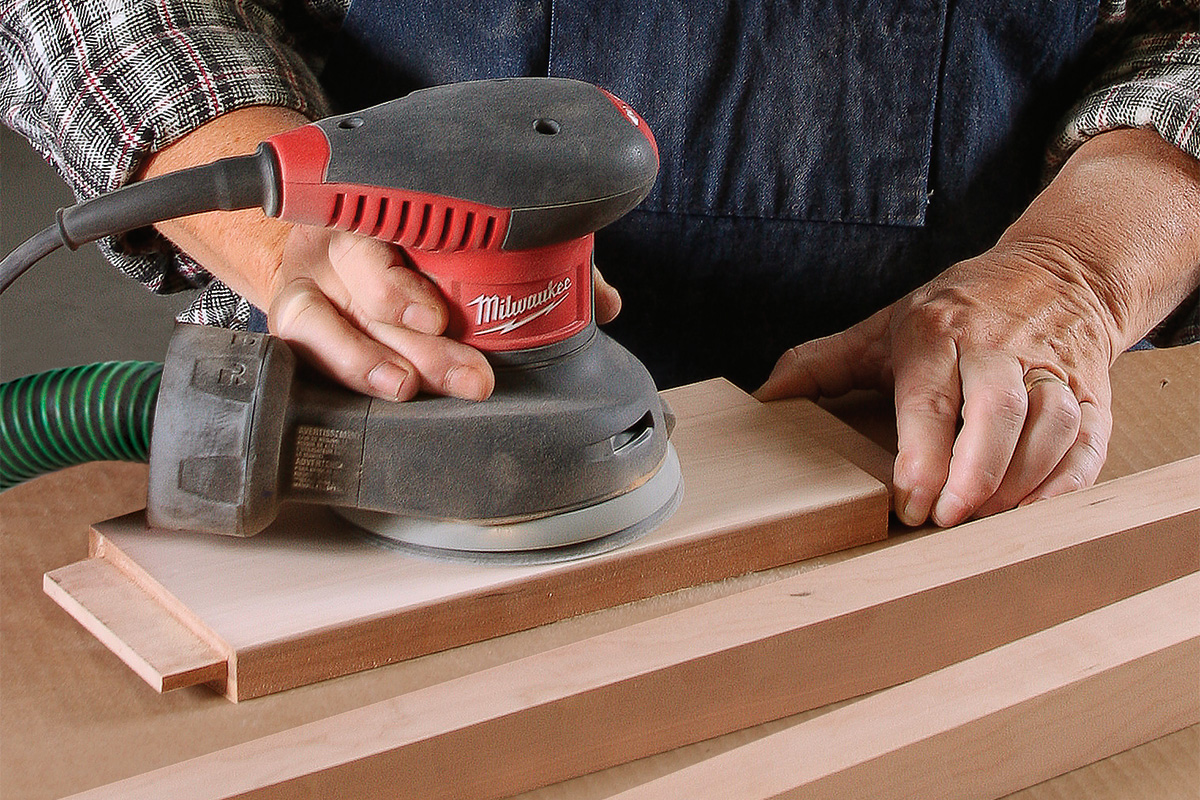
Synopsis: Just about everybody has one, but not everybody knows how to use it effectively. To get the most from your random-orbit sander, you need to know how to handle the sander correctly, what grits to start and end with, and how to check your progress. It’s worth learning how to sand correctly, as sanding is the most critical part of the finishing process. Here, Teri Masaschi shows how to choose the right sander for the job, to use a light touch and a slow hand, manage dust and grit, and avoid the pitfalls caused by tipping the sander or using it on too narrow a surface. Then, she demonstrates the proper technique for sanding a tabletop and a frame-and-panel assembly.
Just about every woodworker has a random-orbit sander. They’re cheap to buy, they can handle any job, and you don’t need to serve an apprenticeship to use one effectively. But you do need to understand how the tool works. Most people don’t.

Perhaps they saw one being used on TV, a friend gave them a one-minute lesson, or more likely they simply slapped a disk on their new sander and hit the wood.
The result is too many pieces that show the telltale evidence of poor sanding. These include failure to remove planer and jointer marks or scratches from coarse sandpaper, and surfaces that are smooth but not flat, with depressions and rounded-over edges. I’ll tell you how to handle the sander correctly, what grits to start and end with, and how to check your progress. It’s worth learning how to sand correctly, as sanding is the most critical part of the finishing process. A well-sanded piece is already half finished!
A light touch and a slow hand
One of the biggest sanding debates is about whether to land the sander on the surface running at full speed, to place it on the wood and then turn it on, or to try a compromise, touching down while the motor is still picking up speed. In truth, do whatever feels best (this can vary by model); it really doesn’t matter. What is more important is how you sand once you begin.
A key factor is how fast you move the sander over the workpiece. Some people work in a frenzy, moving the sander rapidly back and forth as if they were using a sanding block. Others spend too long sanding the same spot. The correct speed is eight to 10 seconds per foot. The frenzied among you will find slowing down like coming off the highway and going 25 miles an hour, but skittering the tool around doesn’t help: You can’t possibly move faster than the sander’s vibration. On the other hand, slowing down allows you to keep better track of your sanding pattern and to be sure you are covering the surface evenly.

Random-orbit sanders need to float on the surface with light pressure to produce an optimum orbital pattern. Don’t push down on the sander in the belief that it will cut faster. You’ll just cause the tool to bog down, load up the paper with dust, and leave swirl marks on the wood. Bearing down also will create excessive heat, which can warp the sander’s pad. If the sandpaper is constantly wearing out only around the perimeter, the pad has been distorted by heat buildup around the edge and you need to replace it.

From Fine Woodworking #225
To view the entire article, please click the View PDF button below.
Fine Woodworking Recommended Products

Osmo Polyx-Oil

Bahco 6-Inch Card Scraper

Diablo ‘SandNet’ Sanding Discs


Log in or create an account to post a comment.
Sign up Log in