Repairing hand-plane totes and knobs
If you have a vintage Stanley hand plane, chances are you'll need to repair the "furniture"—or wooden parts—sooner or later.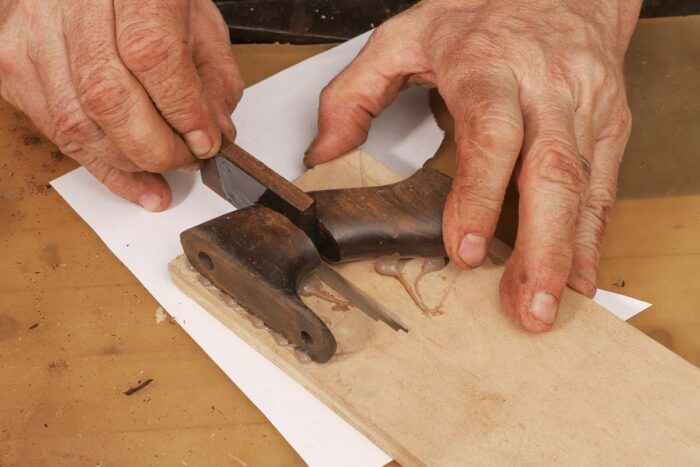
If you have a vintage Stanley hand plane, chances are you’ll need to repair the “furniture”—or wooden parts—sooner or later. Often the tote and knob are made of rosewood, and time will have left them nicked, split, chipped, or fully broken. But with a few straightforward techniques, almost any damage can be repaired. Learn how, and you’ll have a beautiful plane for years.
Over the past 20 years I’ve become pretty well obsessed with Stanley-style hand planes. After collecting and repairing quite a few for myself, I began fixing the furniture—the handle, or tote, and the knob—on Stanley planes for many other woodworkers and collectors. The story usually starts with “I bought this at a yard sale” or “I’ve inherited my grandfather’s tools.” Whatever the particular case may be, a lot of people seem to agree that vintage hand planes are a joy to use and collect. Most planes that have survived decades of use, however, have some issues. Quite often the tote and knob will be nicked, split, chipped, or fully broken. But with a few straightforward techniques, almost any damage can be repaired. This article focuses on resolving the most common problems you’re likely to face in putting an old plane back into service, or simply back into beautiful shape.
Admire it or use it
There are two restorative paths: One leads to the collector’s shelf, the other to the user’s till. I do both types of work. Restoring the furniture on a museum-quality plane leans more toward preservation and involves reversible adhesives, minimal changes, and retaining as much of the original wood, finish, and patina as possible. Repairing totes and knobs for everyday use can be a bit easier, as we strive for strength and durability first, and visual appeal second. This article includes some techniques that could be helpful in a full restoration, but it focuses on repairs for “user” planes.
Identification of rosewood
For many years, Brazilian rosewood was the primary wood used for totes and knobs on metal-bodied hand planes. But for more than 30 years now, this beautiful tropical wood has been listed on the Convention on International Trade in Endangered Species (CITES) treaty with the highest level of concern. Manufacturers transitioned away from rosewood, using beech, cherry, and domestic whitewoods, which were then painted.
But rosewood totes and knobs remain the most coveted, and for good reason. Since no more new rosewood is forthcoming, I place my emphasis on salvaging and reusing what is already in the field. Even badly broken or damaged rosewood totes are useful as “donor” stock for making patches and repairs.
Select the adhesive
I use PVA and CA glues for some repairs, but for rosewood totes and knobs, my first choice is almost always epoxy. With epoxy I know the adhesive will cure, the bond will be tenacious, and the assembly won’t require clamp pressure to ensure permanent adhesion. Using a slow-cure epoxy, which will seep into the fibers, further increases the strength of the joint. Of course, it is necessary to secure the parts while the adhesive cures, but this can be done with shopmade fixtures or painters’ tape as well as with traditional clamps. The epoxy I use is System Three G2, which is made for oily woods. G2 offers good open time, and it’s tintable, which helps the joint line disappear.
Prep the surfaces
It should come as no surprise that even the best adhesive will fail if the surfaces being bonded are not clean. With planes that have been in service for more than 100 years, it’s common to find totes and knobs that have previous repairs. Dirt, debris, and old glue must be removed to achieve the best bond.
When using CA or PVA glue, the mating surfaces need to be well matched. Clean, flat surfaces are best because they allow the glue to work as intended and afford control when applying light pressure with a clamp or fixture.
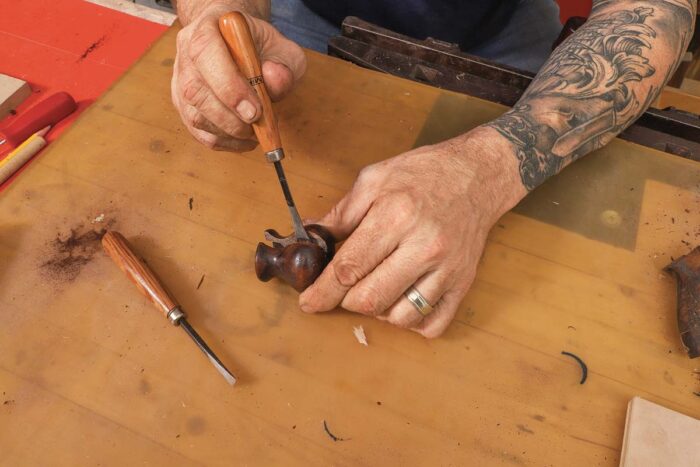
Epoxy, on the other hand, does not require perfectly matched surfaces. When preparing a tote or knob for repair with epoxy, I will often texture the mating surfaces using a carving tool. This rough surface allows for maximum adhesion. Just be careful not to alter the parting line, as this may inhibit your ability to hide the repair.
How to fix a cracked hand-plane tote
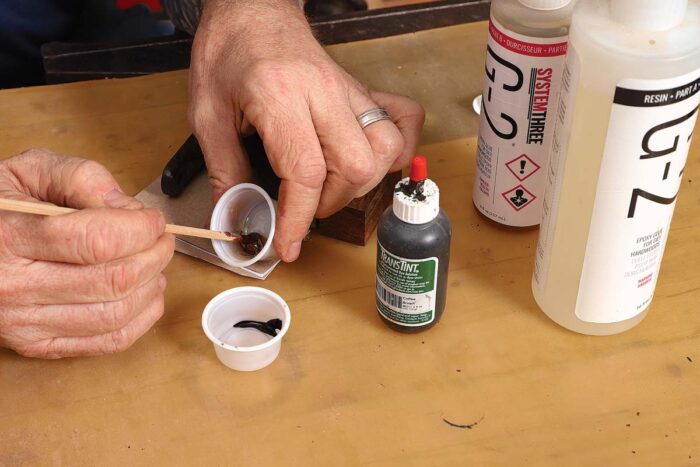
Mix and color the adhesive. For almost all repairs of the furniture on user planes, Addison glues with System Three G2 epoxy, which he mixes and then colors with a tiny dab of TransTint.
 |
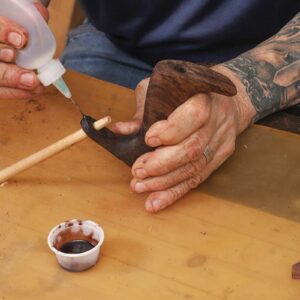 |
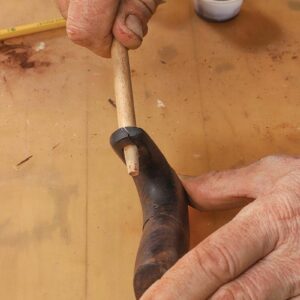
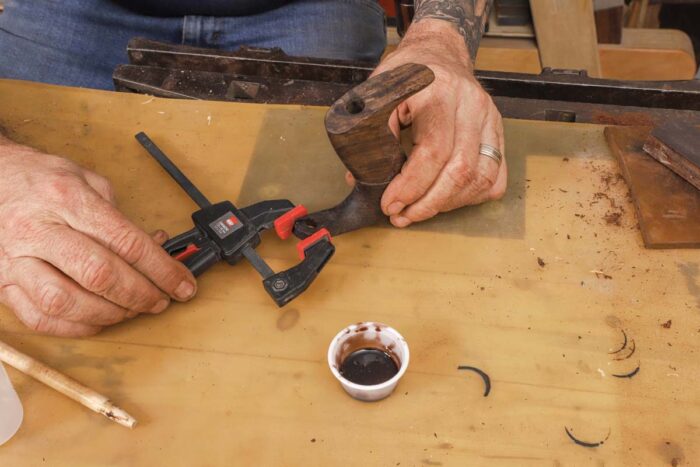
A split in the toe of the tote. To remedy this minor defect, which is common in vintage planes, Addison tapers one end of a dowel and twists it into the screw hole at the toe of the tote. This opens the crack in the toe enough to deliver some epoxy using a syringe bottle.
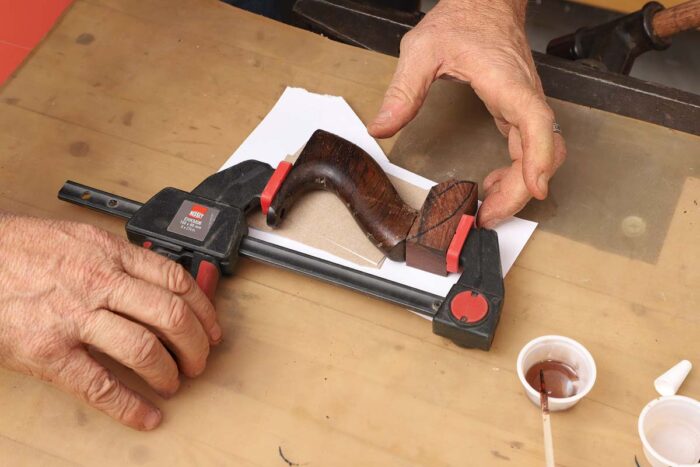
Light clamping. Moderate pressure from a light-duty quick-release clamp is adequate to close a repair when using epoxy.
Repairing a tote with a clean break
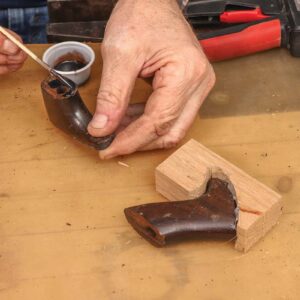
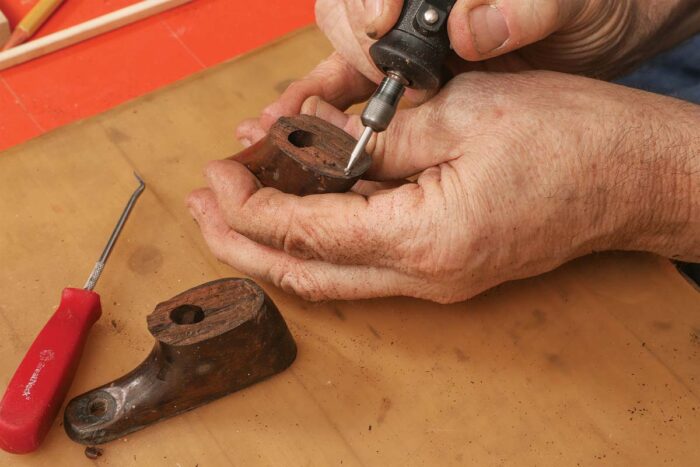
Prepare for epoxy. For a tote that has split right through, Addison cleans any debris or old glue from both surfaces with a sharp pick; then he uses a Dremel tool to texture the surfaces to give the epoxy greater purchase.
 |
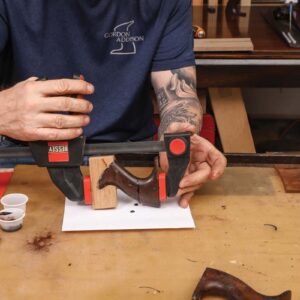 |
Do the glue. Before applying epoxy, Addison makes a custom clamping caul to fit the tote’s horn; it provides a clamping surface parallel to the base of the tote. He uses hot glue to attach the tote to the caul to stabilize it during clamping.
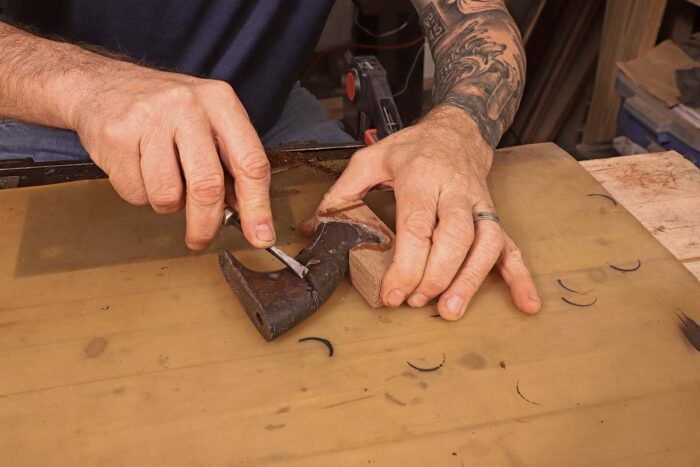
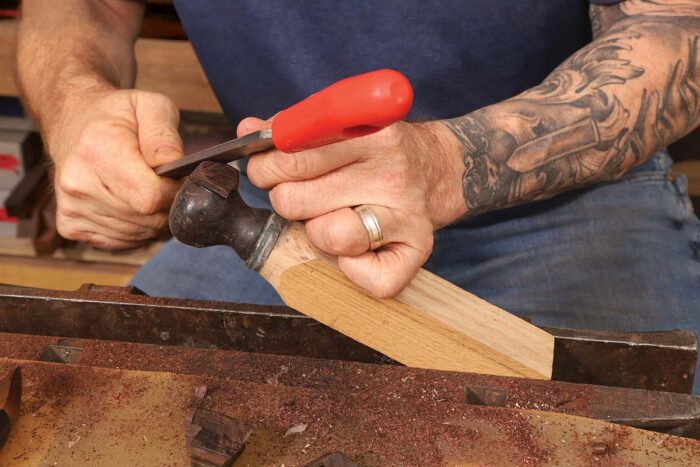
Easy peeling. While the epoxy is drying but not yet fully cured, it is flexible enough to be peeled off cleanly with a chisel wielded gingerly.
Fixing a tote with a rough break
 |
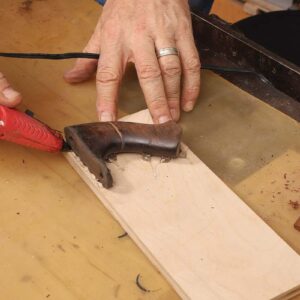 |
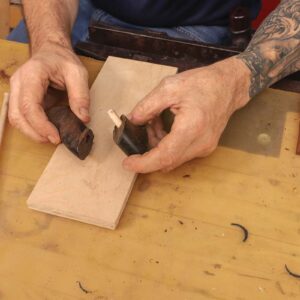
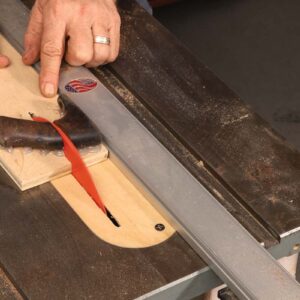
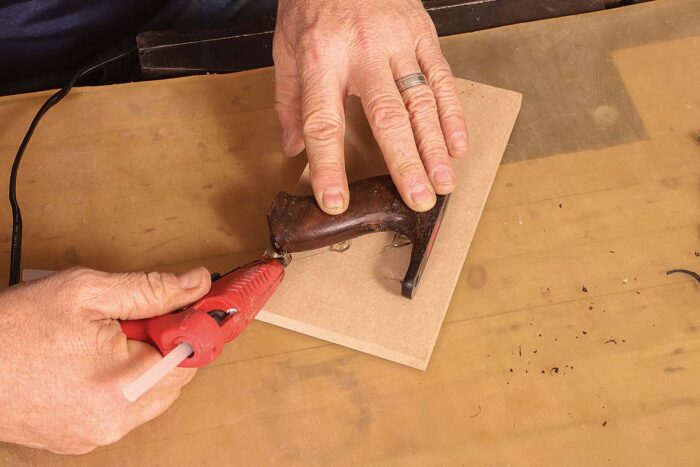
Align the halves. To repair a broken tote whose parts don’t mate cleanly, Addison first aligns the top and bottom by fitting a dowel into the bolt hole. Then he hot-glues the tote to a piece of plywood that will act as a table-saw sled (far right).
 |
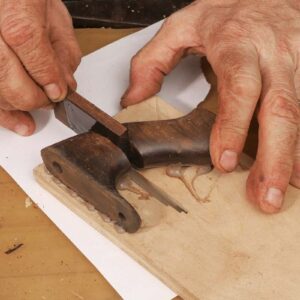 |
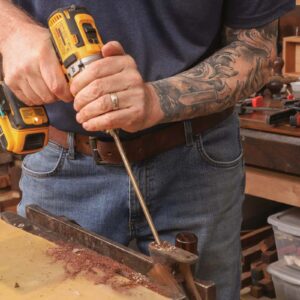
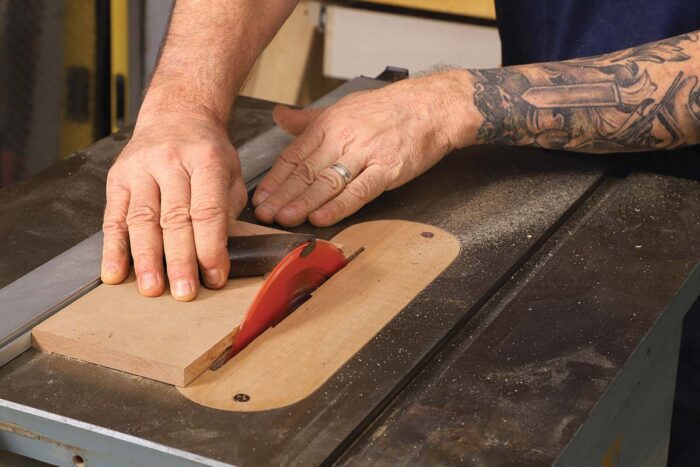
Divide and reconnect. Making several stopped passes on the table saw, Addison cuts a clean swath through the tote, creating a pair of flat, parallel glue surfaces. With the halves of the tote still hot-glued to the sled, he epoxies in a patch cut from another damaged rosewood tote.
 |
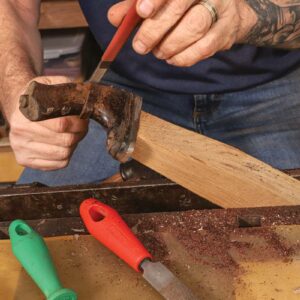 |
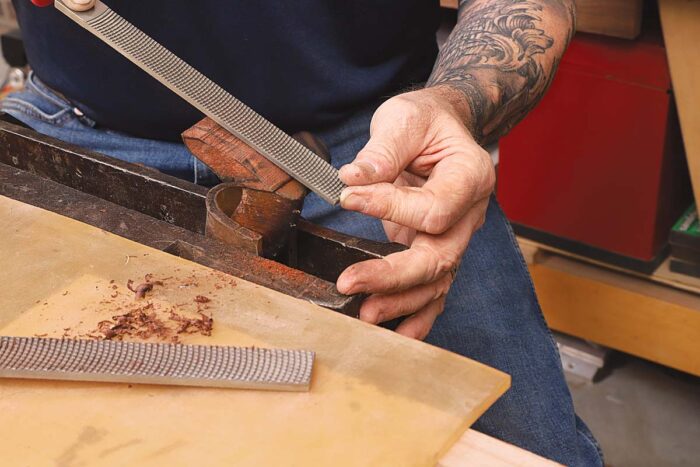
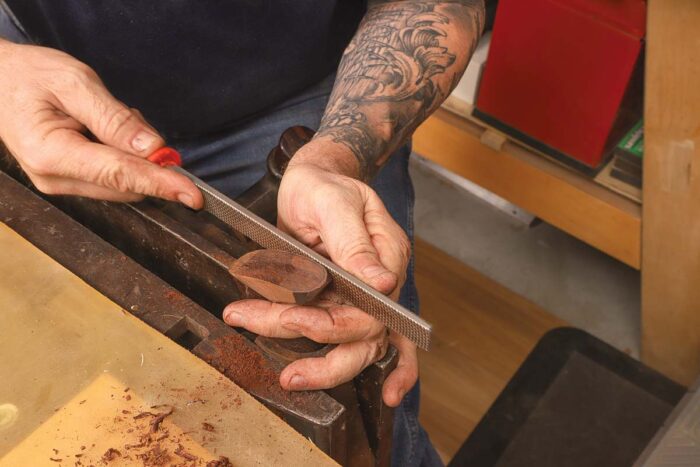
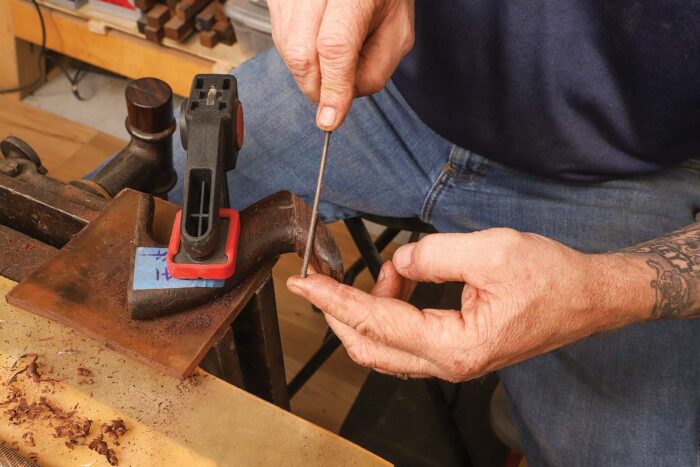
Tune the patch. Before shaping the patch, Addison drills out the alignment dowel and bolts the tote to a work-holding fixture that he clamps in a vise. Using a series of rasps, files, and rifflers, he shapes the donor piece to match the contours of the tote. He aims to remove little or no wood from the original tote.
Replacing a missing horn
Set for severing. The horn of a tote is especially vulnerable to breakage. To repair one, Addison hot-glues the tote to a sled with the area to be removed aligned along one edge.
Zip off the tip. A single pass on the table saw creates a flat surface ideal for grafting on a chunk of rosewood donor stock for a new horn.
A big addition. As he epoxies on the horn stock, Addison has the tote body elevated 1/16 in. or so on a scrap of cardboard to guarantee some overhang. He traces the shape of the horn on the patch stock to be sure it is big enough and properly positioned.
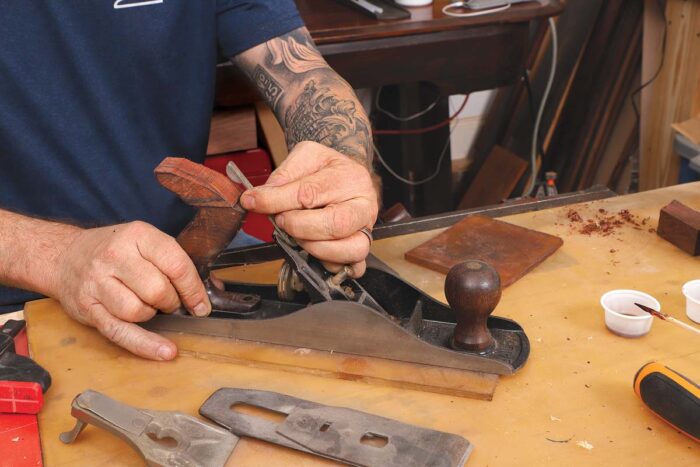
Clearance check. After gluing on the new horn stock, Addsion bandsaws to his layout line. Before proceeding to hand shaping, he fits the tote on its plane to be sure there will be adequate clearance for the blade adjuster.
Shaping the new horn
Smooth the top of the horn. Addison wraps the workpiece in a small scrap of polyurethane mat to stabilize and protect it in the vise. He abrades the top to shape with an Iwasaki rasp.
Curve the perimeter. With the curved top profile of the horn smoothed, Addison next shapes the perimeter.
Around the horn. One of Addison’s favorite shaping tools is this tiny Japanese riffler. Like the other Iwasaki rasps, it cuts rather than tears the wood and leaves a surface that needs no sanding.
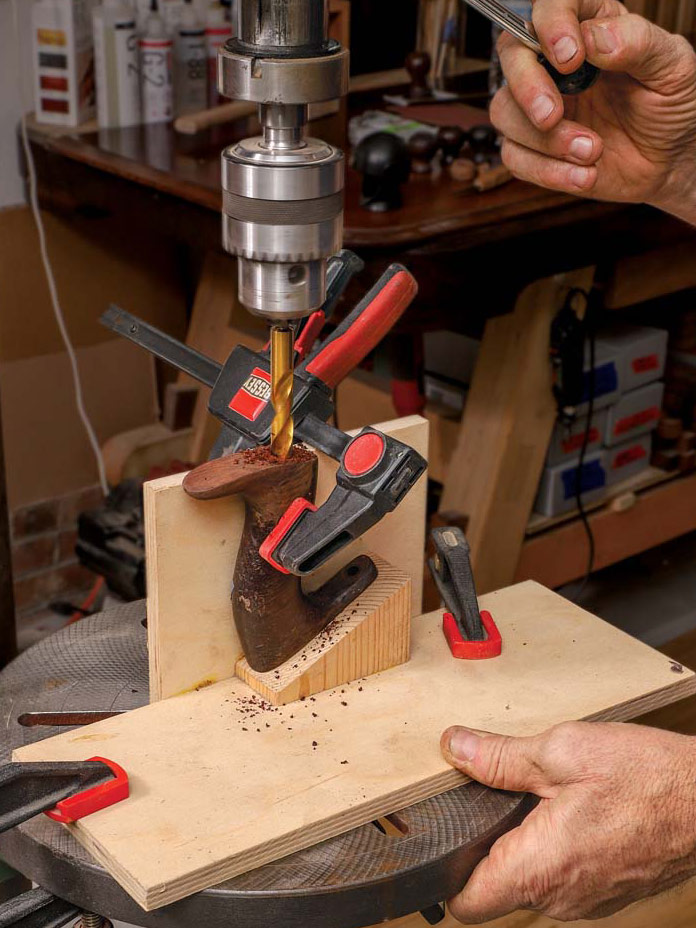
Bore the horn. A special fixture at the drill press holds the tote at the proper angle to cut a fresh counterbore in the new horn for the tote’s bolt head.
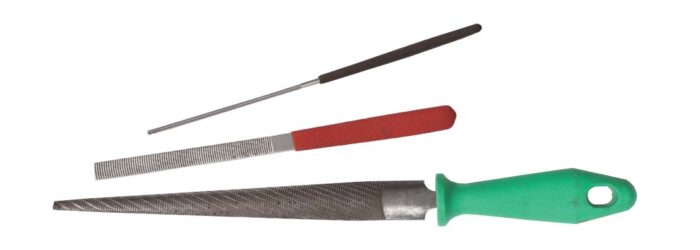
Shaping toolsRepairs to broken plane furniture often involve adding fresh wood, which needs to be shaped after gluing. You may be tempted to use benchtop power tools to shape the wood you’ve grafted on, but I avoid power tools from this point until the repair is complete. The idea is to shape the new material without ever contacting the original rosewood. With power tools you run the risk of removing too much stock, so I prefer a cabinetmaker’s rasp, riffler files, and a handful of common files to get the perfect shape. Hand tools afford the control and finesse required as you match a new part to the geometry of the old one. Trust me when I say patience is a virtue; taking your time is essential in this work. |
Repairing a cracked hand-plane knob
Split knob. Knobs will sometimes develop splits along the grain. When they do, Addison says, they often can be “pried open like a clamshell.”
 |
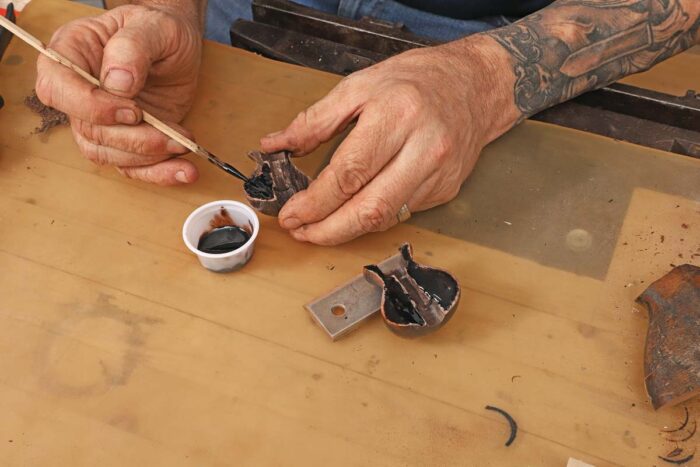 |
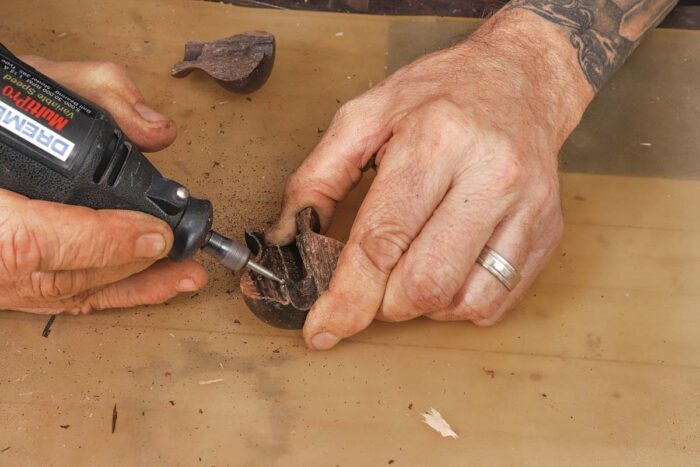
Rough out the middle and fill with epoxy. Knobs that crack open this way often won’t close perfectly. To get closure on the whole glueline, Addison carves away some wood with a Dremel tool, leaving only the perimeter untouched. Then he fills the shallow cavity he’s created with epoxy.
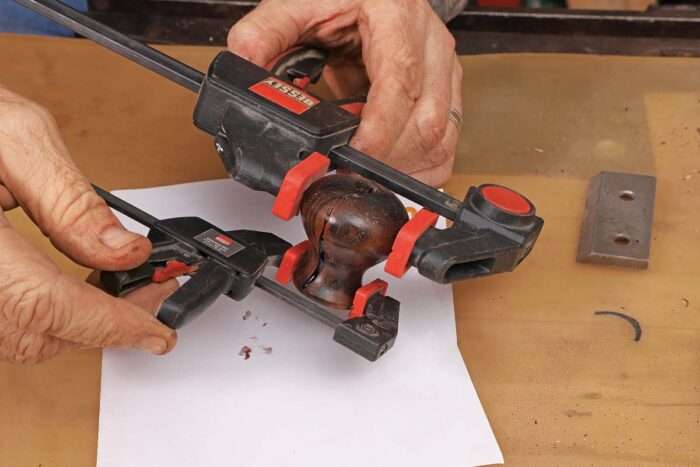
Duplex pressure. Quick-release clamps with cushioned jaw pads grip nicely even on curved surfaces. Addison exerts just enough pressure to close the glueline.
Fixing a hand-plane knob that’s missing a piece
 |
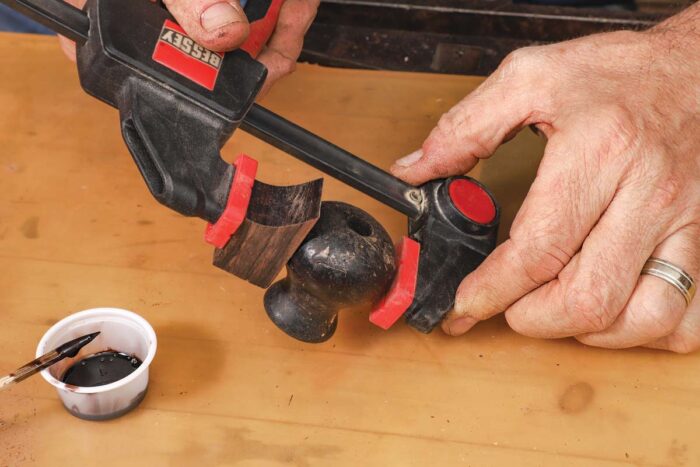 |
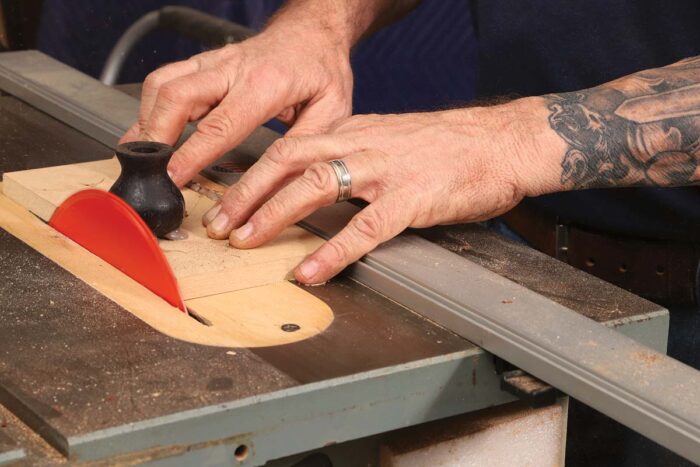
Flat face. To fix a knob with a chunk missing from its edge, Addison hot-glues the knob to a sled and creates a flat at the table saw. Then he epoxies a patch piece to the flat (far right).
Manual removal. With the knob attached by its bolt to a shopmade work-holding fixture that’s held in a vise, Addison files the patch to within 1/16 in. or so of the surface of the knob. Initial waste removal was accomplished with a bandsaw.
 |
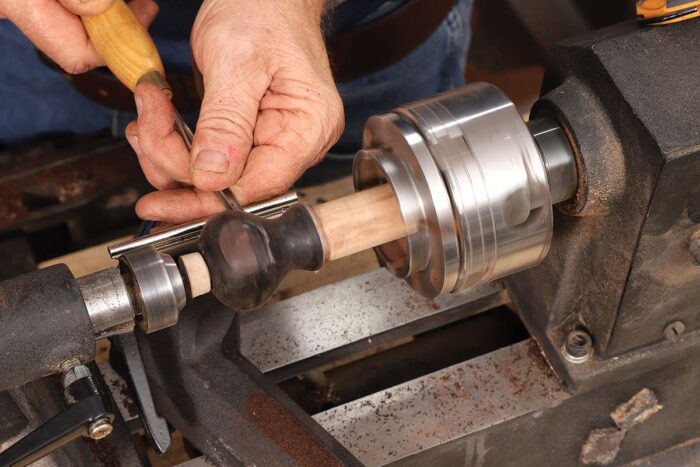 |
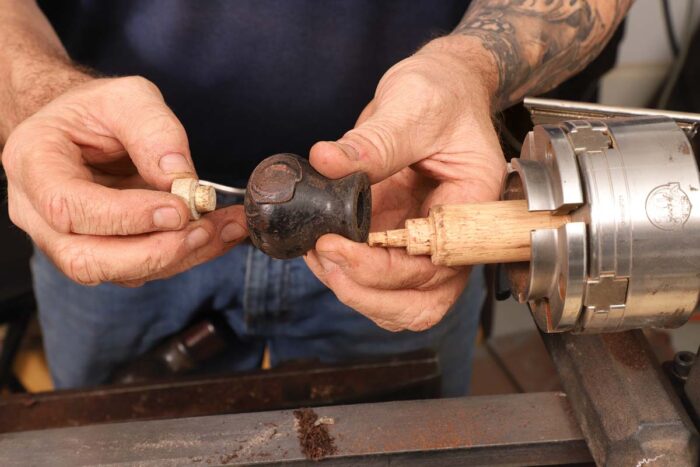
Turn that knob. To bring the patch into round with the knob, Addison turns it on his mini lathe, working very judiciously. To mount the knob, he made a stepped jam chuck for the headstock’s four-jaw chuck and a plug that fits into the knob’s bolt hole and provides purchase for the live center in the tailstock.
Finish the furniture
Once I have a newly repaired tote or knob fully shaped and lightly sanded, I mount it on a stick so I can easily turn it 360°. The initial light spray coat of satin lacquer will be the first real peek at the repair. The lacquer will sometimes highlight a flaw or imperfection, and now is the time to lightly sand and make adjustments. Once you’re happy with the finished product, spray on multiple coats of satin lacquer and lightly scuff with #0000 steel wool.
Then apply a coat of paste wax. The lacquer adds depth and brings out the grain, while the paste wax provides a satin appearance and a satisfying, grippy feel.
Gordon Addison repairs and uses hand planes in Sanford, N.C.
Fine Woodworking Recommended Products

Starrett 4" Double Square
Tite-Mark Marking Gauge

Suizan Japanese Pull Saw


Comments
What's the point of going over trivial, common sense cases and leave out the important parts, like counter boring accurately? There's a picture that shows a tote in a drill press and vaguely mentions "a fixture".
Log in or create an account to post a comment.
Sign up Log in