How to properly mix milk paint
Elia Bizzarri demonstrates how he mixes milk paint to produce a classic finish that not only reveals the beauty of the wood, but also adds a depth and warmth that you don't get from thicker, more modern paint.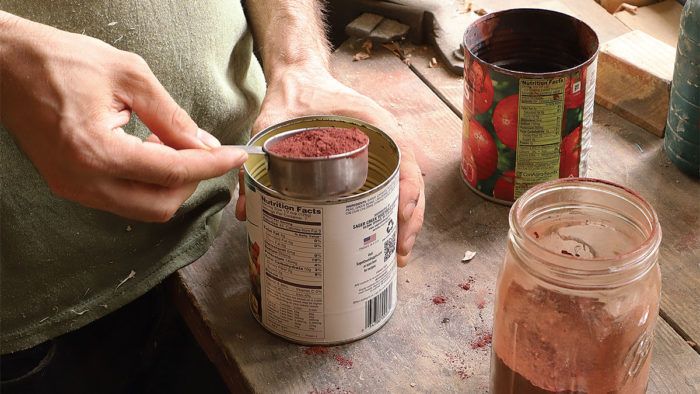
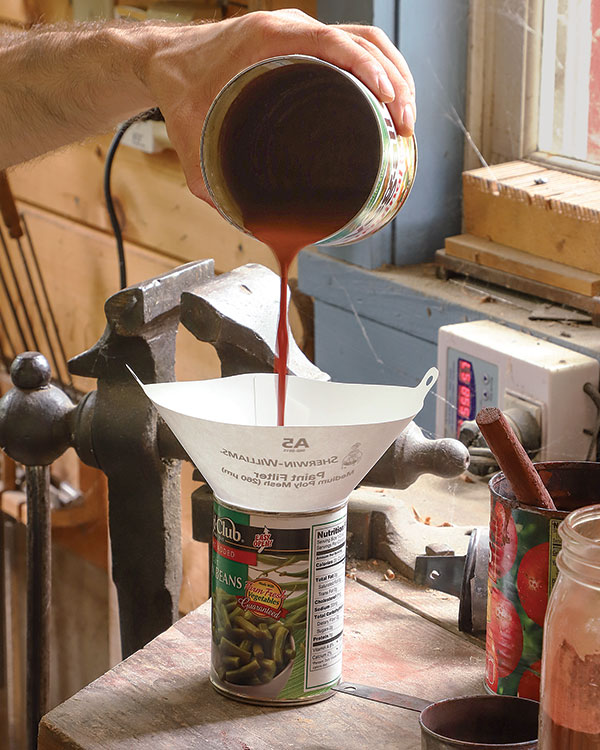
When mixing milk paint, getting the right viscosity is critical, and each color and brand of milk paint requires a different ratio of water to powder. A good starting place is equal parts powder and hot water; you can add more water later if needed. Powder particles will dissolve more completely if you mix the paint thoroughly, let it sit for an hour, and mix it again. Strain the paint through a conical strainer to remove clumps and foam.
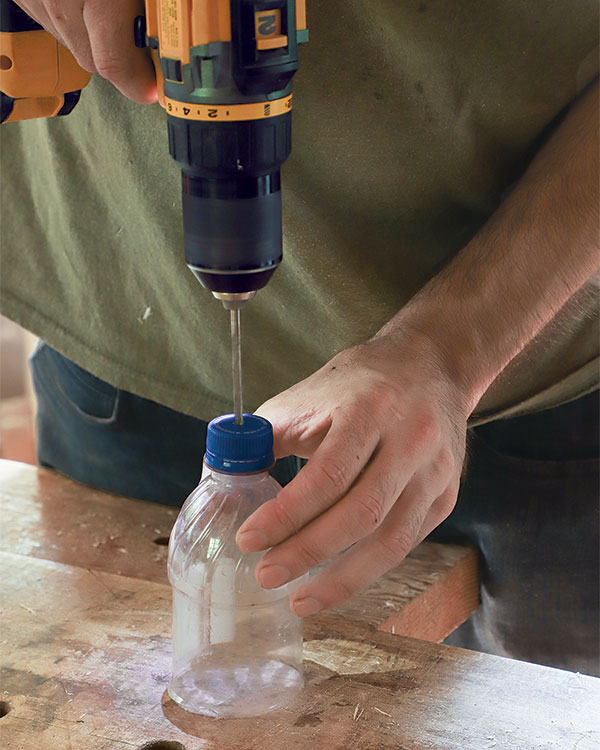
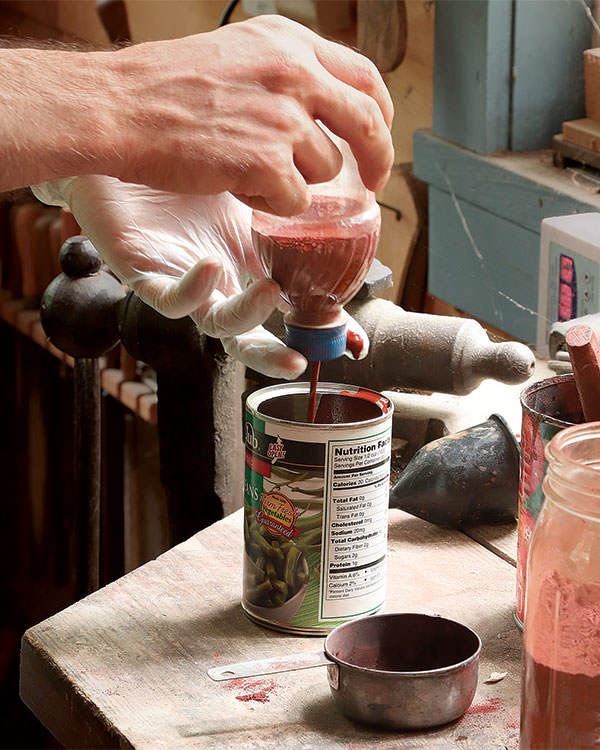
To measure the paint’s viscosity, you can use a viscosity cup, or you can make one from a plastic soda bottle. First cut the bottle in two at the waist. Then drill a 5/32-in.-dia. hole in the cap and remove any resulting burrs. With the cap pointing down and a gloved finger over the hole, pour in half a cup of paint. Remove your finger and count the time it takes for the paint to flow out in a steady stream (don’t count the dribbles). Nine to 11 seconds is about right.
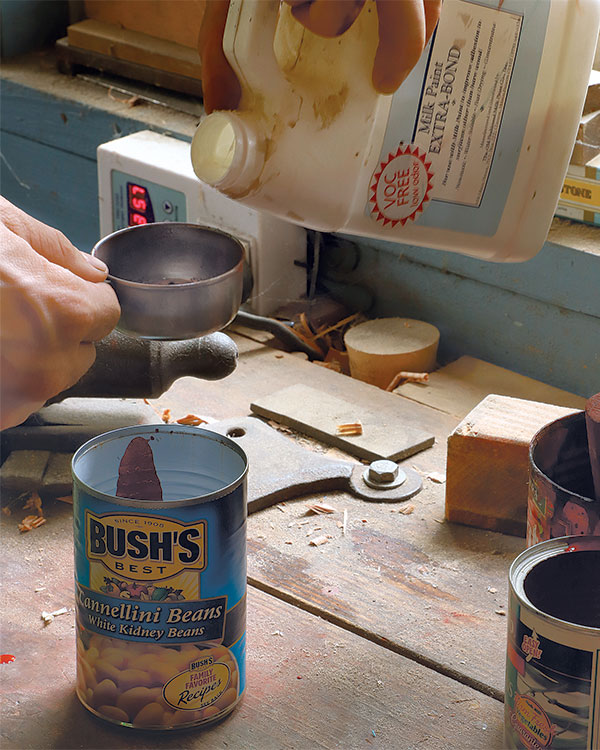
For the first coat of red, I mix in some adhesion additive (Milk Paint Extra-Bond), available from milk paint companies, which helps the first coat bond to the wood. The resulting coat looks like plastic, so only use Extra-Bond in the first coat.
This is an excerpt from Elia’s article A Stunning Black-Over-Red Milk Paint Finish in Fine Woodworking issue #281
 |
A stunning black-over-red milk paint finishElia Bizzarri shows how to layer black milk paint over red to create a rich, layered look on his Windsor chairs. |
 |
|
 |
Fine Woodworking Recommended Products

Odie's Oil
Diablo ‘SandNet’ Sanding Discs
Foam Brushes






Log in or create an account to post a comment.
Sign up Log in