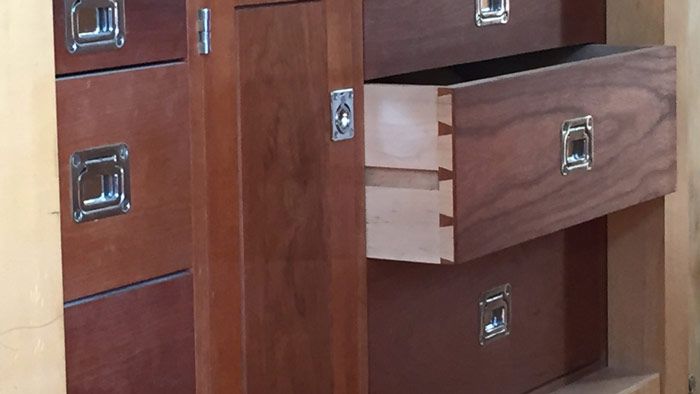
Synopsis: It’s often stated that drawers are an indicator of craftsmanship, so it’s important that the drawers you build fit well and glide smoothly. But it’s also vital that they stop in the right place, remaining consistently flush with the front of the case. You don’t want drawers that are inset in summer and proud in winter because of seasonal changes in humidity. Here are some tried and tested techniques for using stops to keep drawers flush in all seasons.
It’s common knowledge among woodworkers that your drawers are an indicator of your craftsmanship. A close examination will reveal if the dovetails are well cut and if the drawer fits the pocket snugly and glides smoothly. But a quick glance is all you need to see if the drawers look good and are stopping in the right place. I prefer the look of flush-front drawers, but keeping drawers consistently flush with the front of a case can be tricky. We’ve all seen drawers that are slightly inset in the summer and a bit too proud in the winter. This is a particular problem when building solid-wood slab cases, as opposed to frame-and-panel or plywood furniture. However, there are several stop options available. Here are a few methods that I’ve seen and used for many years.
1) Side-hung drawers stop themselves
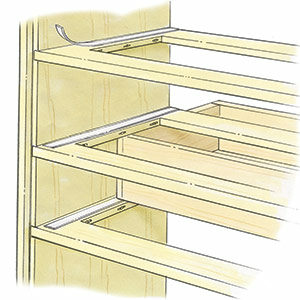
Side-hung drawers eliminate the need for traditional runners, kickers, and dividers. Instead, they rely on a groove in the drawer side and a runner attached to the inside of the case. When the runner hits the end of the groove, the drawer stops. The trick, of course, is to position the end of the groove and the front of the runner so that the drawer is perfectly flush in front.
2) Lipped drawers don’t need stops
This type of drawer is constructed with a lip on the sides and top (the bottom traditionally has the same profile, but no lip). As the lip hits the carcase, the drawer can go no farther. The lip remains proud of the case year-round, no matter how much the case itself expands and contracts. As foolproof as this method is, building the drawer itself is a bit more work. The lipped drawer front has to be rabbeted and profiled. Fitting the drawer is also more involved. A flush drawer can be planed, sanded, or scraped across the end of the front, the dovetails, and the drawer side, while a lipped drawer precludes such simplicity. Lightly proud dovetails must be pared, scraped, or sanded to make them flush with the drawer side. If the drawer is slightly oversize, that can mean a lot of additional planing, paring, or sanding.
3) Front stops are traditional
These are the most traditional method, and Becksvoort’s personal favorite, perfect for flush drawers. Because the groove for the drawer bottom is usually about 5⁄16 in. to 3⁄8 in., or even 1⁄2 in., above the bottom edge of the drawer side (this allows room at the bottom for a half dovetail and also gives support to the drawer bottom), there is a space of about 1⁄4 in. between the drawer bottom and the runners and front side-to-side divider housing the drawer. A small scrap can be glued parallel with the front, the thickness of the drawer front from the edge.
For the full article, download the PDF below:
Fine Woodworking Recommended Products

Festool DF 500 Q-Set Domino Joiner

Stanley Powerlock 16-ft. tape measure

Jorgensen 6 inch Bar Clamp Set, 4 Pack






Log in or create an account to post a comment.
Sign up Log in