
How-To
Gluing Up Sliding Dovetail Joints
Learn three steps for successful sliding dovetail joinery glue-ups.
 Dec 06, 2012
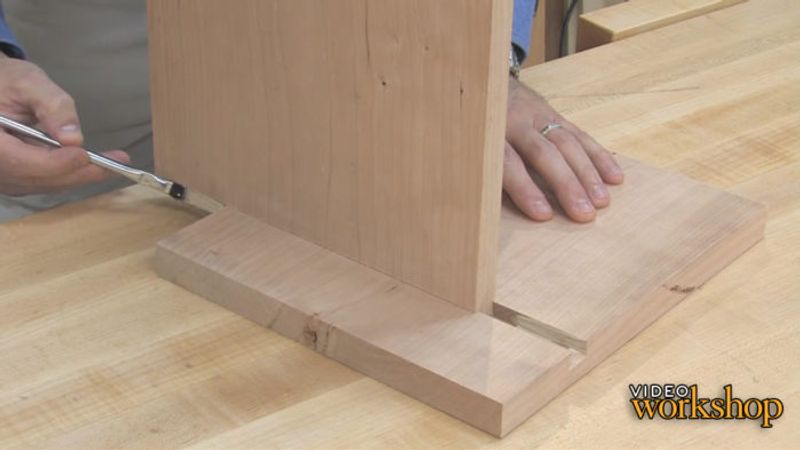
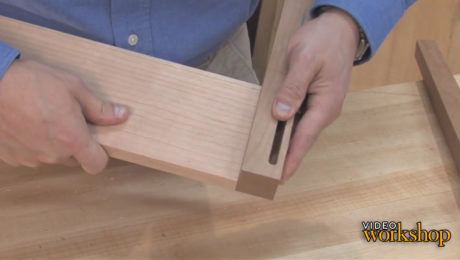
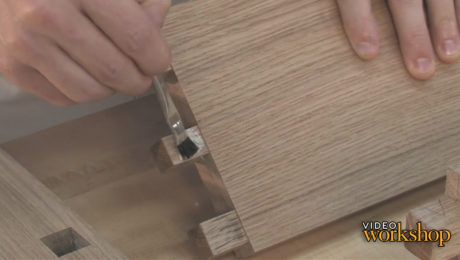
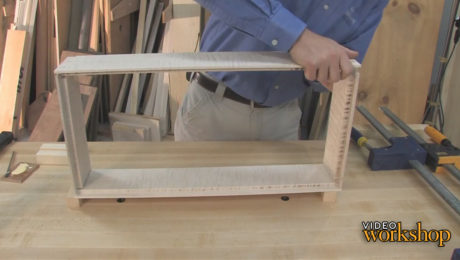
Sliding Dovetail Joints: Apply too much glue to this joint and the assembly phase of your woodworking project could come to a grinding halt. Learn how glue can work for, or against you with glue-up strategies for sliding dovetail joints.
Edited by: Gary Junken
This site is protected by reCAPTCHA and the Google
Privacy Policy and
Terms of Service apply.
Videos in the Series
-
 3 Steps to Great Glue-Ups: Edge JointsOctober 31, 2012
 -
 3 Steps to a Great Dado-Joint Glue-UpNovember 2, 2012
 -
 3 Steps to a Great Mortise-and-Tenon Glue-UpNovember 16, 2012
 -
 Gluing Up Through Mortise-and-Tenon JointsNovember 19, 2012
 -
 3 Steps to a Great Dovetail-Joint Glue-UpDecember 3, 2012
 -
 Gluing Up Sliding Dovetail JointsDecember 6, 2012


Comments
excellent primer on glue-ups! Surprised how little glue Ed Pirnik uses, and will have to change my ways.....
This is pretty basic stuff, but it's the basic stuff that we take for granted and just assume we know. Very useful - thanks.
Interresting hints thought the excess of Titebond advertising is a bit annoying
Excellent information
Very Good Advice. I was glad to see the sparing use of glue. Nothing is better than good joinery. Glue wont fix a bad joint.
Well presented.
On the sliding dovetail joint, if you apply glue to both ends doesn't that restrict the wood from movement?
That's only a concern if it's a crossgrain glue up. Most aren't.
Thanks Ben, but just so I understand. For example, if I would joint an edge of a board to a face of another?
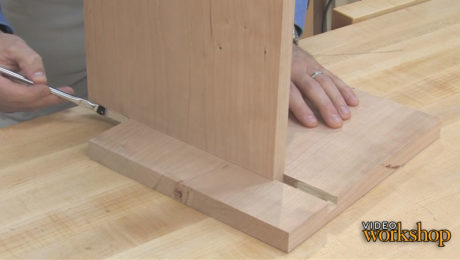
Yes. You would only want to glue one end, leaving the rest of the joint free to move. Likely you'd want the front of a case piece to remain flush, so you'd glue the front. In a panel, you'd glue the middle and let both ends move freely.
Log in or create an account to post a comment.
Sign up Log in