Leaded glass made easy
The leaded-glass for these doors are simple to make and they really help to finish out the Stickley style for this piece.
Synopsis: The leaded-glass doors in Michael Pekovich’s Arts and Crafts display cabinet are not only true to the Stickley style, but they look great and are simple to make. Once you have mastered the techniques, you can easily apply them to more intricate designs. Pekovich takes you through the process of making a template, cutting the glass cleanly, assembling the glass panes between strips of lead called came, soldering the frame together, and adding the finishing touches. Also included are instructions for making a curved glass design.
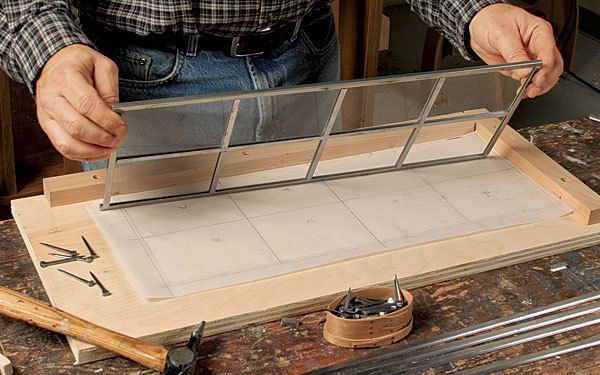
For the Arts and Crafts display case on p. 30, I made doors with leaded glass. Not only is leaded glass attractive and true to Stickley furniture, but it’s also simple to make and an alternative to glass panels divided by wood mullions. The simple pattern on these doors is a great introduction to the craft, but the techniques apply easily to more intricate designs (see “A technique for tight curves,” p. 91).
Choose your glass first
You will need a few special tools and materials to make leaded-glass panels (see box, below). For the panes, I chose a slightly distorted glass (5⁄16 in. thick) that my local glass shop referred to as restoration glass. There are a lot of glass options available online and from stained-glass supply stores, but for this display case, stay away from anything too textured or bubbly. Clear plate glass would be better than something that draws too much attention to itself.
The process of making a leaded-glass panel involves cutting the glass into small pieces and reassembling them between strips of lead called came. Lead came is available in a few profiles, but for this panel I used a simple H-profile. Surrounding the assembly is a U-shaped zinc channel that adds some rigidity to the panel. After assembly, the joints are soldered, and cement is forced between the came and the glass pieces. Finally, the came is buffed, which has the added benefit of darkening the lead.
Use a template to cut the glass
It’s always best to start with a full-size pattern of the glass panel. In this case, it’s easy enough to lay the glass on the pattern and use it as a guide to cut the rectangles. For ornate designs, I’d transfer the pattern onto heavy paper and cut the pieces apart to use as individual templates for the glass. When cutting the rectangles, offset the cuts 1⁄16 in. inside the pattern lines to allow for the 1⁄16-in.- thick rib inside the lead came; otherwise, the panel will end up too large.
As you cut the glass, number each rectangle to correspond with the numbers on the pattern.
From Fine Woodworking #211
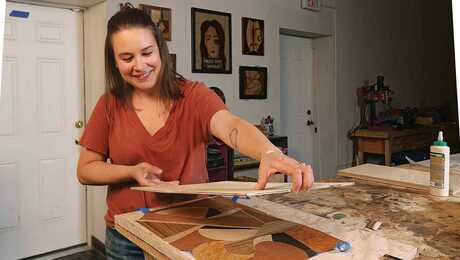
For more tips on making leaded-glass doors, check out this video.
For the full article, download the PDF below:
Fine Woodworking Recommended Products

Bahco 6-Inch Card Scraper

Whiteside 9500 Solid Brass Router Inlay Router Bit Set


Log in or create an account to post a comment.
Sign up Log in