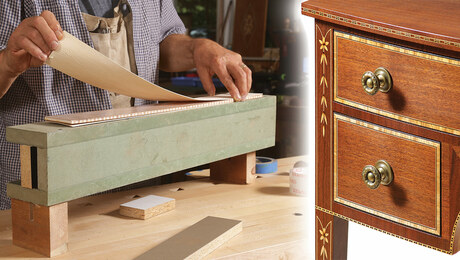
No-Clamp Veneering with Yellow Glue
I was making an end table and wanted to use a nice piece of walnut veneer on the top. Unfortunately, the substrate was too big to use a sandwich-and-clamp method, and I did not want to buy a veneer press for one job. A friend, Neil Artman, told me about a method that doesn’t require clamps or a press.
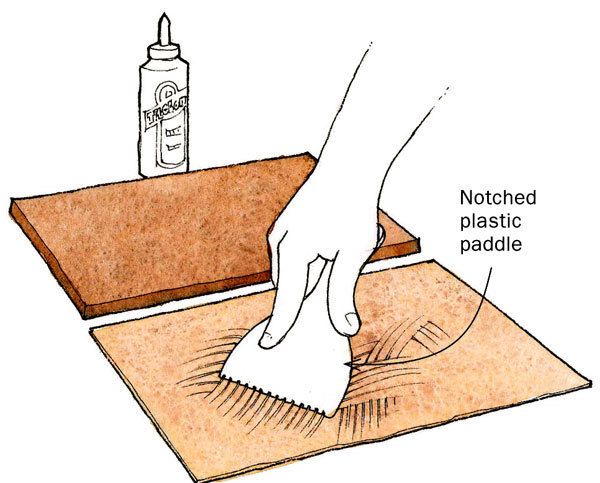
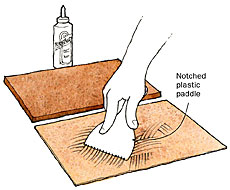
First, I bought a plastic paddle, the kind used to spread drywall mud, and cut kerfs into it about 1/8 in. deep and 1/4 in. apart. I then sprayed the show side of the veneer with water. I flipped it over and used the paddle to spread a liberal, even amount of Titebond Original Wood Glue on the other side of the veneer, being sure to cover the edges. As the glue soaked in, the veneer started to flatten out. Next, I spread an even layer of glue on the substrate with my altered paddle.
At this point, I let both the glue on the substrate and the veneer dry separately for at least an hour. Once the glue dried, I carefully placed the veneer (glue side down) on the glue side of the substrate. Once I had it in position, I used an iron set to medium heat to reactivate the glue and adhere the veneer to the substrate.

I started in the middle and worked toward the edges to cover the entire veneer. I first tried this on a sample piece and was shocked at how well it worked.
Editor’s note: Although the process worked well with Titebond Original, a customer-service representative at Titebond says Titebond II will work better because it tends to have better grab and provides more strength in the wet form.
Drawings by Jim Richey.
Drawing by Jim Richey.


Comments
Excellent tip! How could I utilize this method to build starbursts and other complicated inset designs?
Thanks!
@RobertMorris348 you should tape up and join all the pieces of veneer first, to work it as one 'piece' essentially.
Log in or create an account to post a comment.
Sign up Log in