

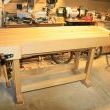
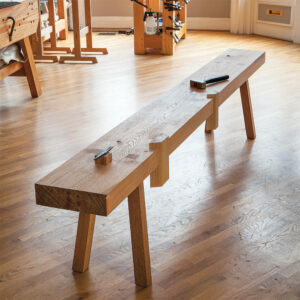
Paul Tomlinson's recent version of "The Essential Workbench" incorporates a center tool tray that is removable for clamping.
LOOKING FOR JOHN WHITE’S NEW FANGLED WORKBENCH? CLICK HERE. (sorry, we put the wrong link in our eletter).
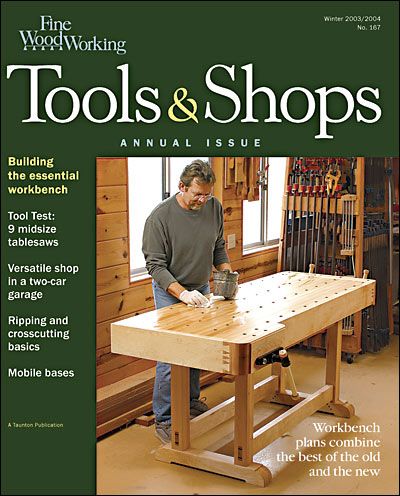
“The Essential Workbench” we published in FWW 167 (Tools & Shops issue, Winter 2003/2004) has proven to be a real favorite with readers. Over the years, the article’s author, Lon Schleining, has copied me on many e-mails from readers wanting to share a jpeg of their finished bench. And Schleining has taught three full-capacity classes on the bench at Marc Adams School of Woodworking.
Last week, Lon e-mailed me to say the tally of reader e-mails is probably around 50 now. Here at FWW, we’ve received at least another 50. Only a small percentage of readers ever bother to contact us directly, so I have to assume the number of happy owners of this bench is in the thousands at this point.
SHARE YOUR ESSENTIAL WORKBENCH PHOTOS IN THE READERS GALLERY:
Essential Workbench Kitchen Table Bench
by Sanjeev by John Archbell
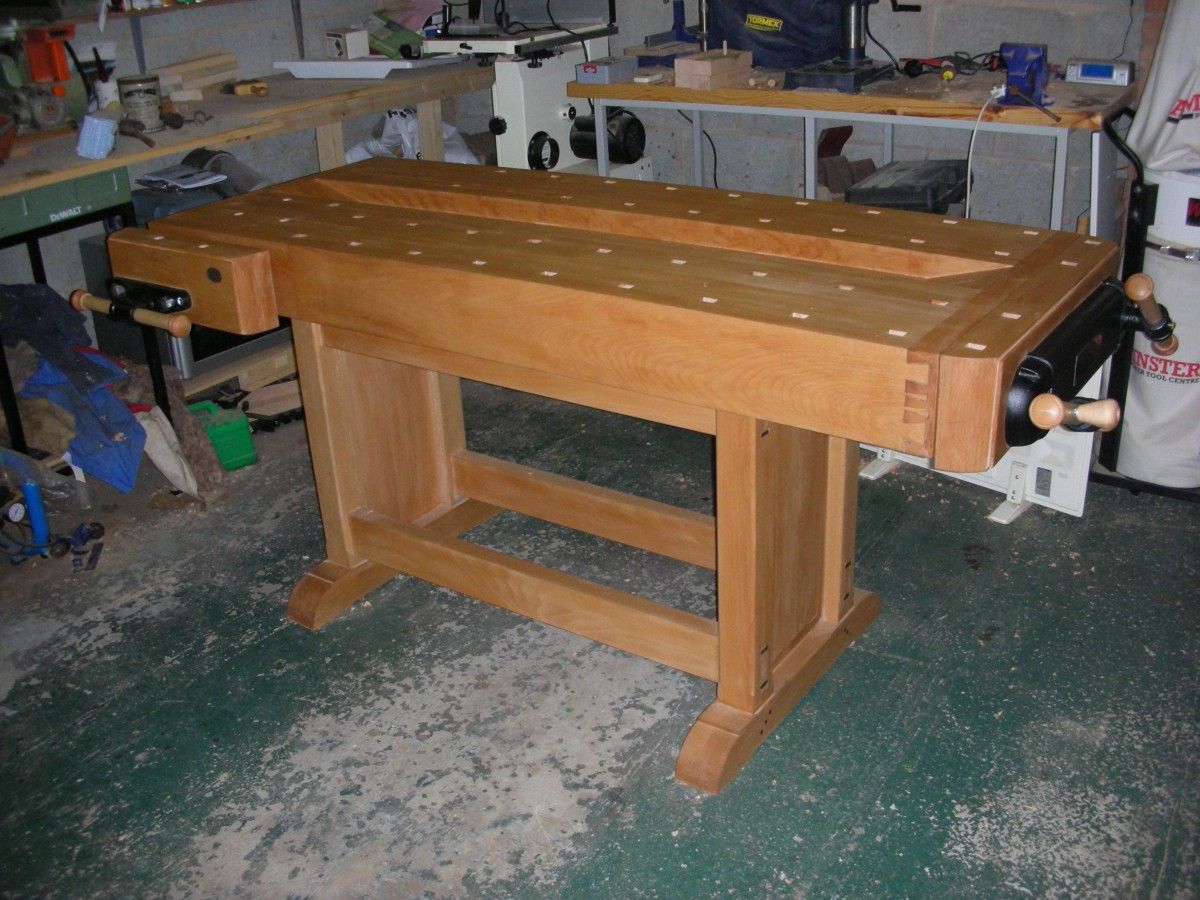
This broad, solid, and versatile workstation was a collaboration between Schleining and a few of our most experienced woodworkers here at the magazine. It combines the rock-solid trestle base, wooden front vise, and square dog holes of a traditional bench with a new-fangled (at the time) Veritas twin-screw vise at one end. The twin-screw vise allows 15-in.-wide boards to be clamped upright for dovetailing, for example, and supports dogs for clamping long boards down on the bench for planing tasks. The workbench got one of the highest ever reader ratings for a project, and seems to have held its popularity over the years.
I was one of the editors in on the design, and I shot the photos for the article, so this bench is close to my heart, but I stand by it as a flawless workbench that will provide a lifetime of smooth, fast clamping of almost any workpiece, and unflinching support for the hardest mallet blows.
By the way, in a subsequent Tools & Shops issue (FWW 181), Schleining presented the big tool chest that we always intended to sit between the two sets of stretchers in the base.
Here’s a recent e-mail from the U.K. It’s great to see how people add their own ideas to this malleable design:
Hi Lon,
At long last the bench is finished! I’ve attached some pictures as promised: I think the layout with the central tool tray works well. I don’t know if you can see from the pictures, but the central section of the tray comes out to aid clamping (a couple of sprung clips underneath).
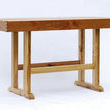
On the whole, I’m pretty pleased with it: I’ve now got to enlist a friend to help me move it into place as it is ********** heavy! The material, by the way, is steamed beech, which is a little easier to source over here than maple. I finished it with three coats of Danish Oil.
Thanks again for the inspiration: next project is the drawer units, for which I have a nice piece of walnut for the drawer fronts.
Best wishes,
Paul Tomlinson
-
Paul Tomlinson's recent version of "The Essential Workbench" incorporates a center tool tray that is removable for clamping.
-
"The Essential Workench" was the cover story for 2003's Tools & Shops issue.


Comments
I've been using a similar bench with the Veritas end vise for 3 or 4 years now and work part-time building furniture and cabinetry. I find I use the end vise with dogs much like I would use a traditional vise and rarely use the vise for its full width or find a need to drop a piece between the screws. The main disadvantage of it seems that it only has one dog hole in it. The vise is always cranking in or out to get to the next hole and since it has the chain and the twin screws and goes out of alignment over time, it isn't the easiest vise to be cranking. I am about ready to chop it off and put in a Lie-Nielson end vise instead!
Breaton, you should post pictures of your workbench in the gallery. -Gina, FineWoodworking.com
I am now building a new workbench and have decided to use the Essential Workbench. Can you tell me where I can find the German made front vise that is part of the article as Woodcraft does not have it anymore and its part number or manufacturer was not mentioned.
Thanks
I am a fairly new woodworker but that's not going to stop me! I am going to build THE ESSENTIAL WORKBENCH.
I do have a quick question which I hope can be answered. How are the round overs cut?
Wow, Great bench!!!
Wow, Great bench!!!
Log in or create an account to post a comment.
Sign up Log in